 Save to Pinterest
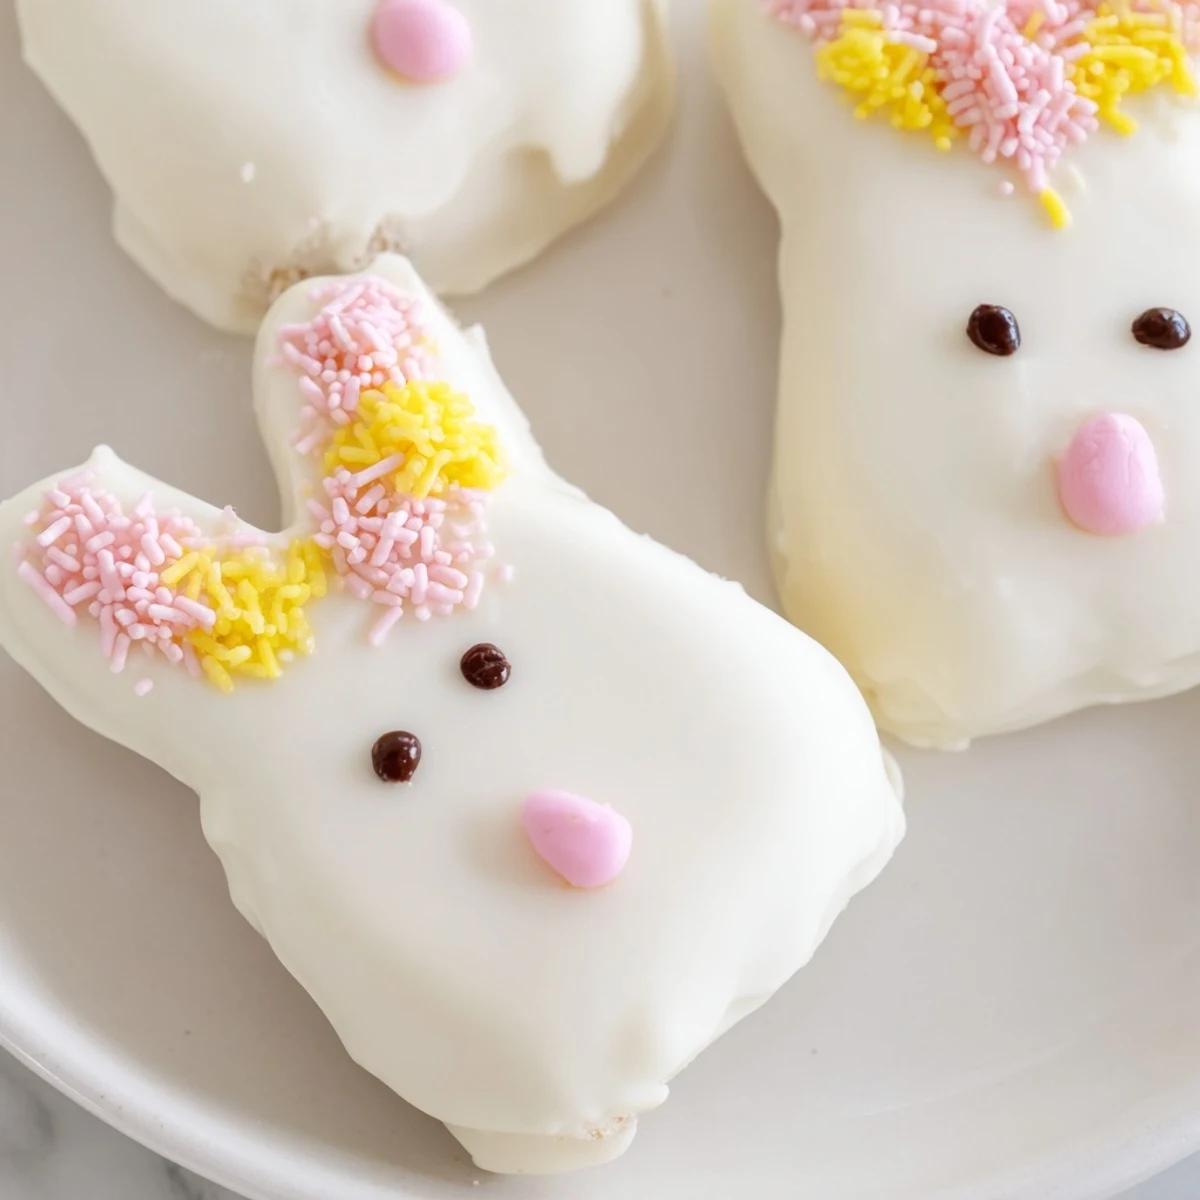
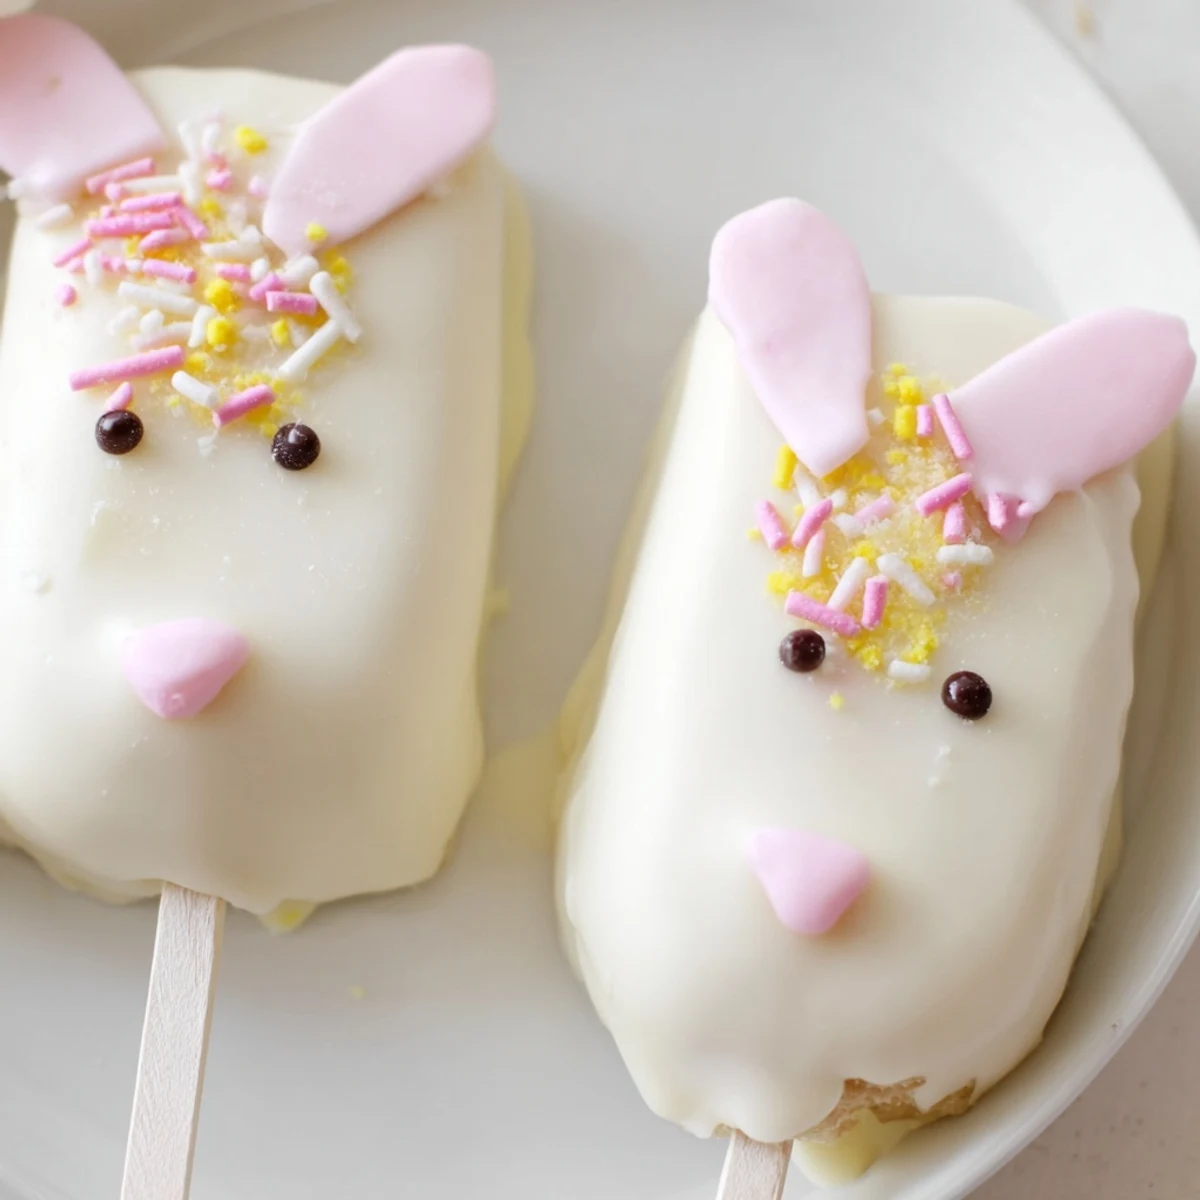
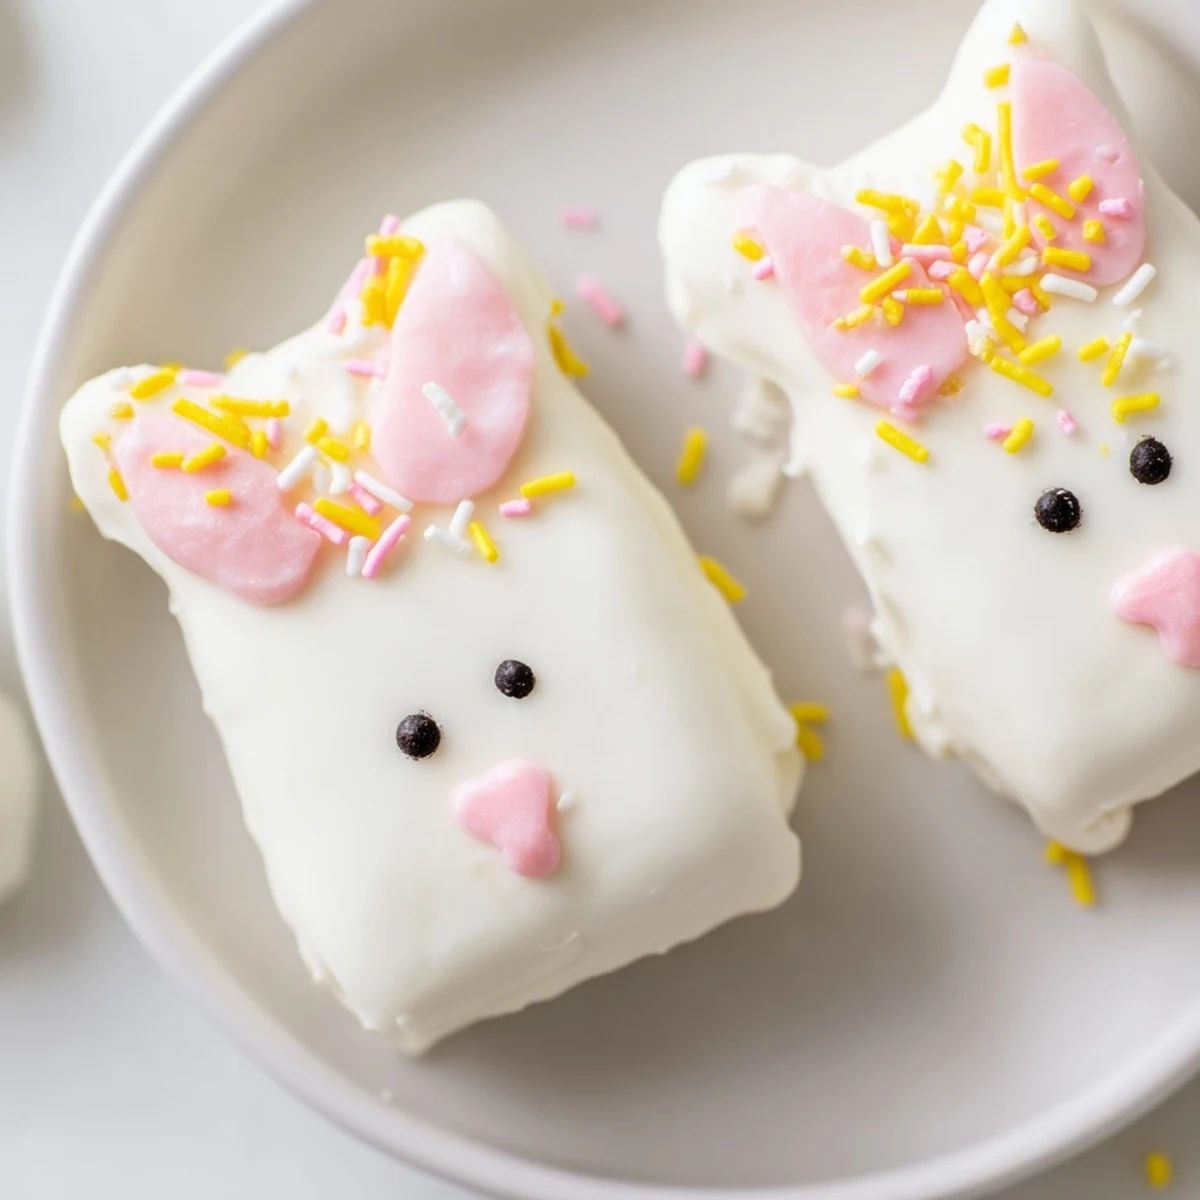
 These delightful bunny-shaped treats start with moist vanilla cake crumbs blended with softened cream cheese, butter, and vanilla for a dough that holds its shape perfectly. Each portion is formed into an oval bunny face, secured on a stick, and chilled until firm. The magic happens when each cakesicle takes a dip in melted white chocolate, creating a smooth, luscious coating that sets beautifully. Decorate with candy eyes, sprinkles, and fondant features to bring these festive bunnies to life. The result is a handheld dessert that combines the nostalgic comfort of cake pops with the elegance of white chocolate confection. Perfect for Easter gatherings, spring parties, or anytime you want to add whimsical charm to your dessert table.
Last Easter, my kitchen looked like a confetti explosion after an attempt to make these with my niece. We had white chocolate smeared on our cheeks, pink food coloring on the counter, and the most delighted giggles when the bunny ears kept falling sideways. Those imperfect, lopsided cakesicles disappeared faster than the picture-perfect ones.
I brought a platter to our neighborhood Easter potluck, and honestly, watching grown-ups light up when they spotted the bunny faces was worth every sticky moment of preparation. My neighbor asked for the recipe before she even finished her first one, chocolate smudges and all.
Ingredients
- Vanilla cake crumbs: Use leftover birthday cake or bakery cupcakes--the slightly stale texture actually absorbs the cream cheese mixture better
- Cream cheese: Room temperature is non-negotiable here, or you will end up with lumpy pockets instead of smooth dough
- Unsalted butter: Softened butter helps bind everything without making the mixture too greasy
- Powdered sugar: Just enough to sweeten the cake mixture without overpowering the white chocolate coating
- Vanilla extract: Pure vanilla makes the inside taste like a secret little cake truffle
- White chocolate: Candy melts are foolproof for beginners, but high-quality white chocolate chips melt into something truly luxurious
- Edible gel food coloring: Gel coloring will not seize your chocolate like liquid drops can
- Cakesicle sticks: Paper sticks work, but the thicker ones feel more substantial and less likely to snap
- Sprinkles and decorations: Have everything sorted into tiny bowls before you start dipping--the chocolate waits for no one
Instructions
- Mix the cake base:
- Combine cake crumbs, cream cheese, butter, powdered sugar, and vanilla in a bowl until it holds together when squeezed
- Shape your bunnies:
- Form eight flattened ovals and gently press sticks into each one, then chill until firm to the touch
- Melt the coating:
- Heat white chocolate in thirty-second bursts, stirring between each until you have a silky, pourable consistency
- Dip and decorate:
- Submerge each cake shape in chocolate, tap off the excess, and immediately add your bunny features before the coating sets
 Save to Pinterest
 My sister-in-law admitted she had never made anything festive for Easter before, and seeing how proud she was serving these at her own table made my entire weekend. Sometimes the simplest treats become the ones people talk about for years.
Making Ahead
You can shape and chill the cake centers up to two days in advance, wrapped tightly in the refrigerator. The morning of your event just melt, dip, and decorate.
Coating Secrets
Holding the dipped cakesicle over the bowl and giving it a gentle wrist shake helps excess chocolate drip off evenly. The tapping sound becomes oddly satisfying once you find your rhythm.
Decoration Ideas
Pink candy melts make the cutest floppy ears when piped onto parchment paper and attached while the white coating is still wet. I have found that less is more with the faces--two dots for eyes and a tiny triangle nose often look sweeter than elaborate designs.
- Keep leftover melted white chocolate in a sealed container for quick touch-ups
- Crush extra cake crumbs and sprinkle them on top before the coating sets for texture
- Store finished cakesicles between layers of parchment paper so they do not stick together
 Save to Pinterest
 These bunny cakesicles have become one of those recipes I pull out whenever I need to add a little extra joy to spring gatherings. Happy Easter baking, my friend.
Recipe FAQs
- → What are cakesicles?
-
Cakesicles are cake pops shaped like popsicles, featuring moist cake mixed with binder ingredients, formed on a stick, and coated in chocolate or candy melts. They offer all the appeal of cake pops with a fun, festive shape perfect for celebrations.
- → Can I make these ahead of time?
-
Yes! Store completed cakesicles in an airtight container in the refrigerator for up to 3 days. The coating protects the moist interior, and they'll stay fresh and ready to serve. For longer storage, freeze undecorated cakesicles for up to 1 month.
- → What's the best way to melt white chocolate?
-
Melt white chocolate in a microwave-safe bowl using 30-second intervals at 50% power, stirring between each burst. This gentle heating prevents seizing and ensures smooth, pourable consistency. Alternatively, use a double boiler on the stove.
- → Do I need a special mold for bunny shapes?
-
While bunny-shaped cakesicle molds create uniform results, they're not essential. You can hand-shape the dough into flattened ovals and use fondant or candy to create bunny features. The stick placement and coating give them their characteristic appearance regardless of shaping method.
- → Can I customize the cake flavor?
-
Absolutely! Use chocolate, lemon, red velvet, or any favorite cake flavor for the crumbs. Different cake flavors create unique combinations with the white chocolate coating—chocolate cake with white coating creates striking contrast, while lemon adds bright citrus notes.
- → Why did my white chocolate seize while melting?
-
White chocolate seizes when exposed to moisture or excessive heat. Ensure all utensils are completely dry, melt at low power, and avoid overheating. If seizing occurs, add a teaspoon of vegetable oil and stir vigorously to smooth the texture.
