 Save to Pinterest
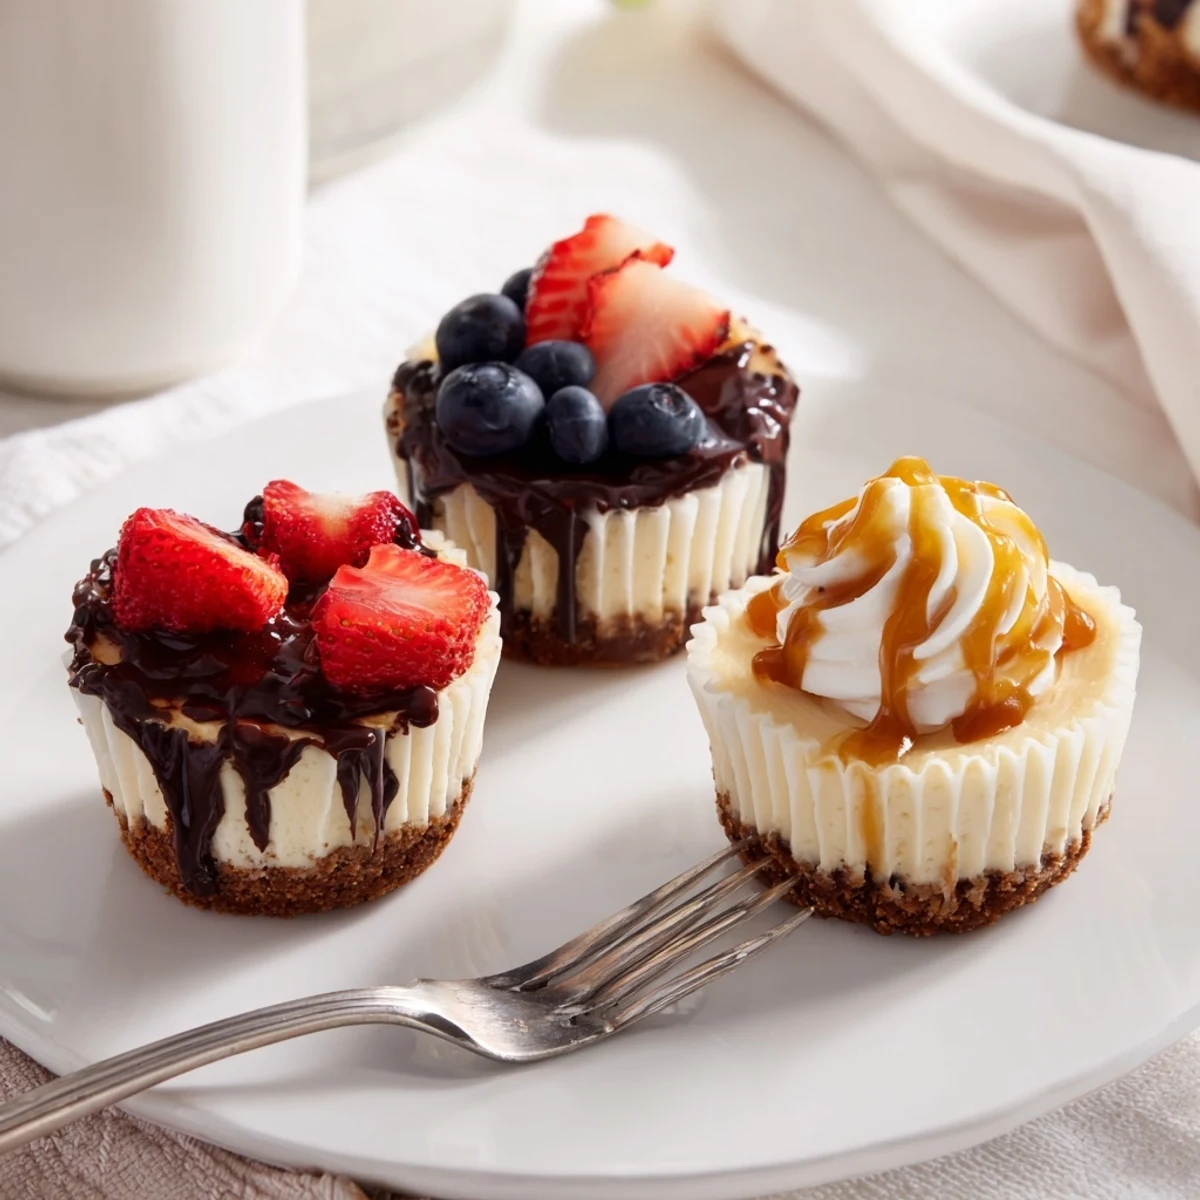
 These mini cheesecakes feature a buttery graham cracker crust filled with smooth, creamy cream cheese batter. Each one is individually portioned in a muffin tin, making them perfect for parties, potlucks, or everyday indulgence.
The beauty lies in their versatility—top them with fresh berries, chocolate ganache, caramel drizzle, whipped cream, or crushed nuts. With just 20 minutes of prep and 20 minutes in the oven, you'll have a dozen irresistible bite-sized desserts ready to chill and serve.
The summer my neighbor brought over a plate of mini cheesecakes after a backyard barbecue, I stood in the kitchen eating three of them before anyone else got a chance. Something about that individual portion, the way the crust held together perfectly, the cool creaminess against a hot July evening, made them absolutely irresistible. I begged her for the method and spent the next week tweaking it until my freezer was full of tiny cheesecakes in various stages of decoration. Now they are the only dessert I trust for any gathering where I want to look impressive without losing my mind.
I made a double batch for my daughters birthday last year and set out little bowls of berries, caramel, and crushed cookies so each kid could build their own creation. The kitchen turned into chaos, there was whipped cream on the ceiling, and one child stacked five different toppings on a single cheesecake before declaring it the best day of her life. That moment sealed these mini cheesecakes as a permanent fixture in my recipe rotation.
Ingredients
- Graham cracker crumbs: The backbone of a classic crust, and fresh crumbs pulse beautifully in a food processor for the best texture.
- Unsalted butter, melted: Binds the crumbs together and adds a richness that salted butter can sometimes overpower.
- Sugar (for crust): Just enough to sweeten the base without competing with the filling.
- Cream cheese, softened: The star of the show, and letting it come to room temperature is nonnegotiable for a smooth, lump free filling.
- Granulated sugar: Sweetens the filling while letting the tangy cream cheese flavor shine through.
- Large egg: Provides structure and that signature silky set when baked gently.
- Vanilla extract: A good quality vanilla elevates the entire flavor profile from flat to bakery worthy.
- Sour cream: Adds moisture and a subtle tang that keeps each bite interesting.
- Toppings of choice: Fresh berries, chocolate ganache, caramel sauce, whipped cream, or crushed nuts let you personalize every single serving.
Instructions
- Prepare the oven and pan:
- Preheat your oven to 160C (325F) and line a standard muffin tin with 12 paper liners, pressing each one flat against the sides so your cheesecakes look tidy.
- Build the crust:
- Combine the graham cracker crumbs, melted butter, and sugar in a bowl, mixing until the texture resembles wet sand that holds together when pinched.
- Press into the cups:
- Spoon about one tablespoon of the crumb mixture into each liner and press it down firmly with the back of a spoon or a small flat glass to create an even, compact base.
- Make the filling:
- Beat the softened cream cheese in a large bowl until completely smooth and creamy, then add the sugar and beat until fully incorporated with no grainy patches remaining.
- Add the remaining wet ingredients:
- Mix in the egg, vanilla extract, and sour cream, stirring gently until just blended and being careful not to overwork the batter or incorporate too much air.
- Fill the cups:
- Spoon or pipe the cheesecake mixture evenly among the prepared crusts, filling each liner about three quarters full to leave room for a slight rise without overflow.
- Bake gently:
- Bake for 18 to 20 minutes until the centers are almost set but still have a slight jiggle, because they will continue to firm up as they cool and chill.
- Cool and chill:
- Let the cheesecakes rest in the pan for 10 minutes, then transfer to a wire rack until completely cool before refrigerating for at least one hour to achieve that perfect dense, creamy texture.
- Decorate and serve:
- Top each chilled mini cheesecake with your favorite toppings just before serving so everything looks fresh and nothing gets soggy.
 Save to Pinterest
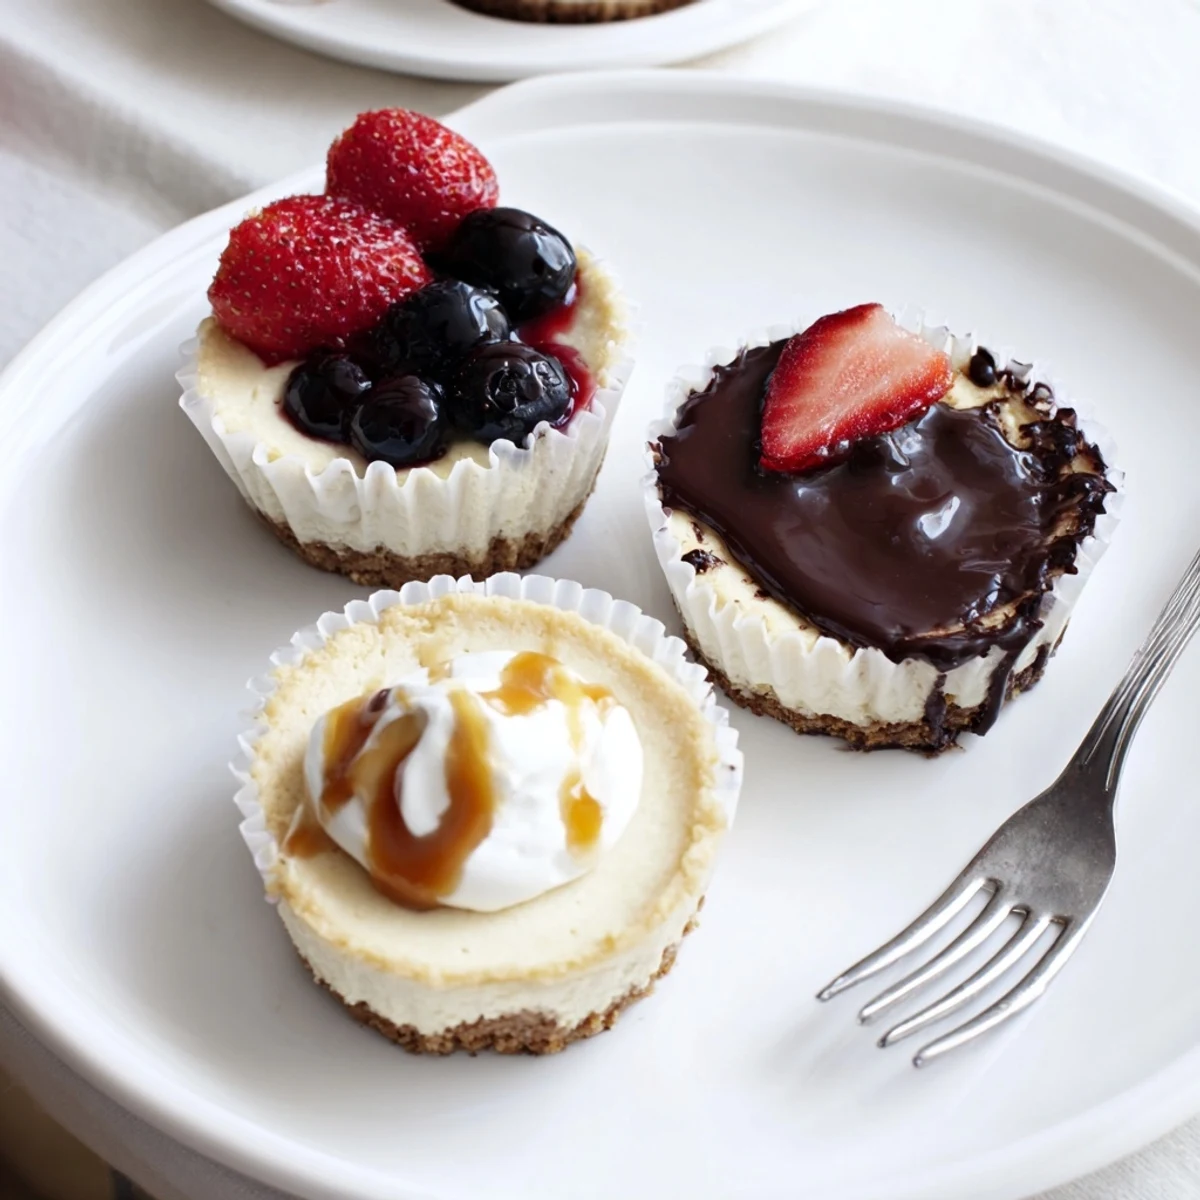
 There is something deeply satisfying about pulling a muffin tin of perfectly portioned cheesecakes from the oven, each one a tiny personal masterpiece waiting to be adorned.
Crust Variations Worth Trying
Swap the graham crackers for crushed Oreos, digestive biscuits, or gingersnaps to completely transform the flavor foundation of these little desserts. Each cookie brings its own personality, and once you start experimenting you will have a hard time going back to just one option.
Flavor Twists for the Filling
Fold lemon zest into the batter for brightness, stir in mini chocolate chips for texture, or add a half teaspoon of espresso powder for a mocha inspired version that pairs beautifully with coffee after dinner.
Pairings and Serving Suggestions
These mini cheesecakes are lovely alongside a glass of Moscato dAsti or a strong cup of coffee for a simple but elegant dessert moment.
- Serve them straight from the fridge for the cleanest slices and most refreshing bite.
- Set up a topping bar if you are entertaining, because watching guests customize their own is half the fun.
- Store leftovers in an airtight container in the refrigerator for up to three days, though they rarely last that long.
 Save to Pinterest
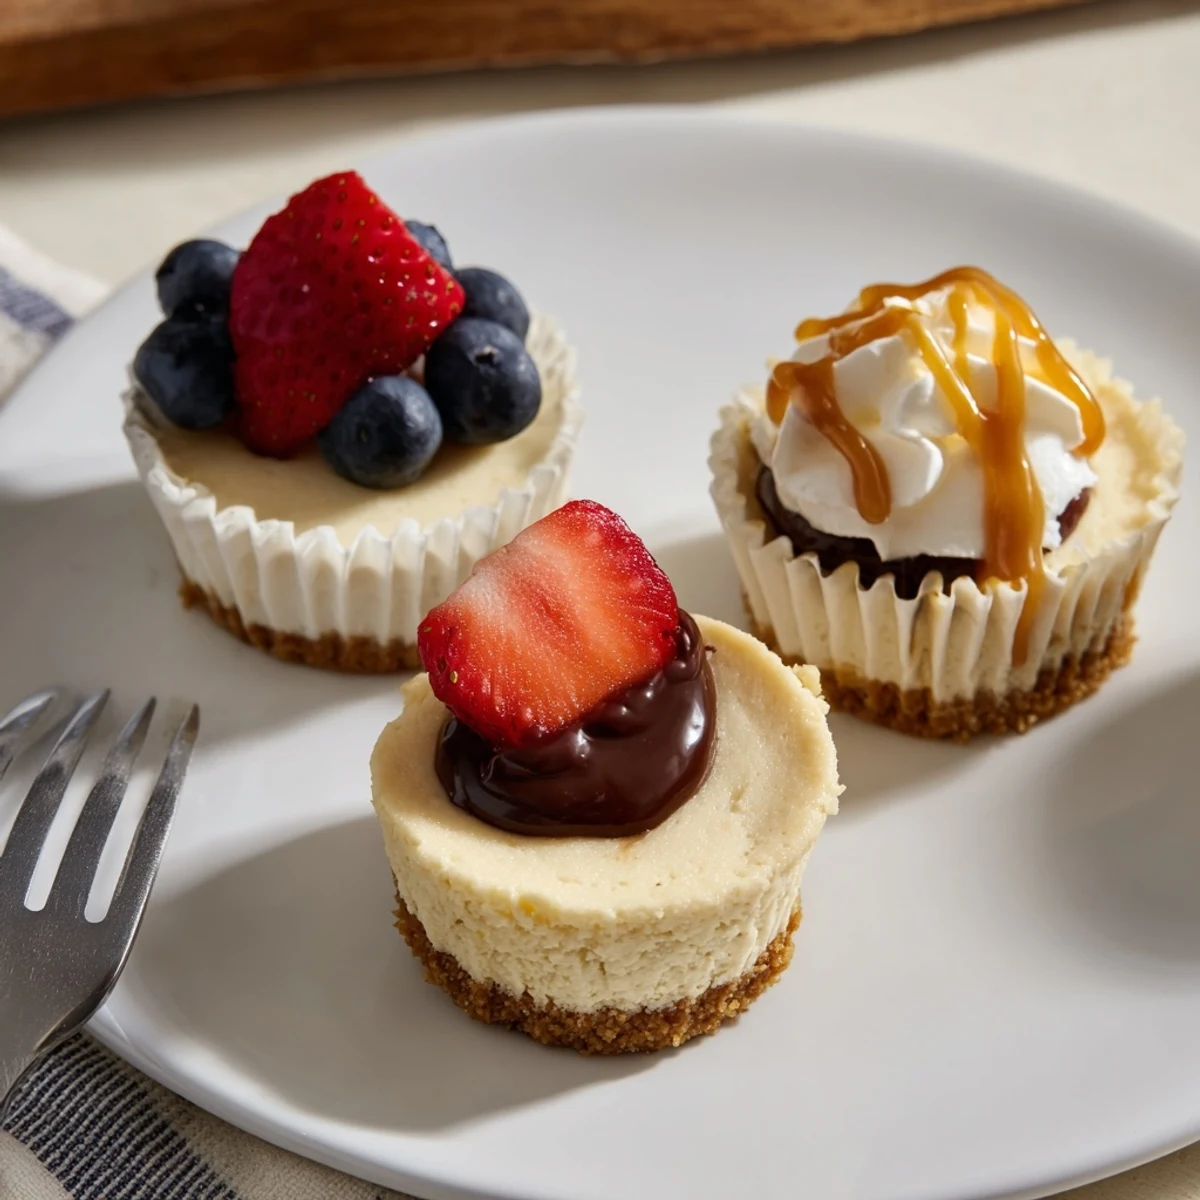
 Keep these mini cheesecakes in your back pocket for potlucks, holidays, or random Tuesday nights when you deserve something sweet and wonderful. They never disappoint, and people always ask for the recipe.
Recipe FAQs
- → Can I make mini cheesecakes ahead of time?
-
Yes, they actually taste better when made ahead. Store them in an airtight container in the refrigerator for up to 3 days. Add toppings just before serving to keep everything fresh.
- → Do I need a water bath for mini cheesecakes?
-
No water bath is needed. Their small size helps them bake evenly without cracking. Just be careful not to overbake—the centers should still have a slight jiggle when you remove them from the oven.
- → Can I freeze mini cheesecakes?
-
Absolutely. Freeze them without toppings on a parchment-lined tray until solid, then transfer to a freezer bag. They keep well for up to 2 months. Thaw overnight in the refrigerator before serving.
- → What can I use instead of graham crackers for the crust?
-
Crushed Oreos, digestive biscuits, gingersnaps, or vanilla wafers all work beautifully. Each brings a different flavor profile, so feel free to experiment based on your toppings.
- → How do I get clean edges when removing the paper liners?
-
Make sure the cheesecakes are fully chilled—at least 1 hour in the refrigerator. Gently peel the liner away from the sides, working your way around. Cold cheesecakes hold their shape much better during unmolding.
- → Can I double the batch for a larger crowd?
-
Yes, the ingredients scale easily. Simply double everything and bake in two muffin tins. If you only have one tin, refrigerate the remaining batter while the first batch bakes and chills.
