 Save to Pinterest
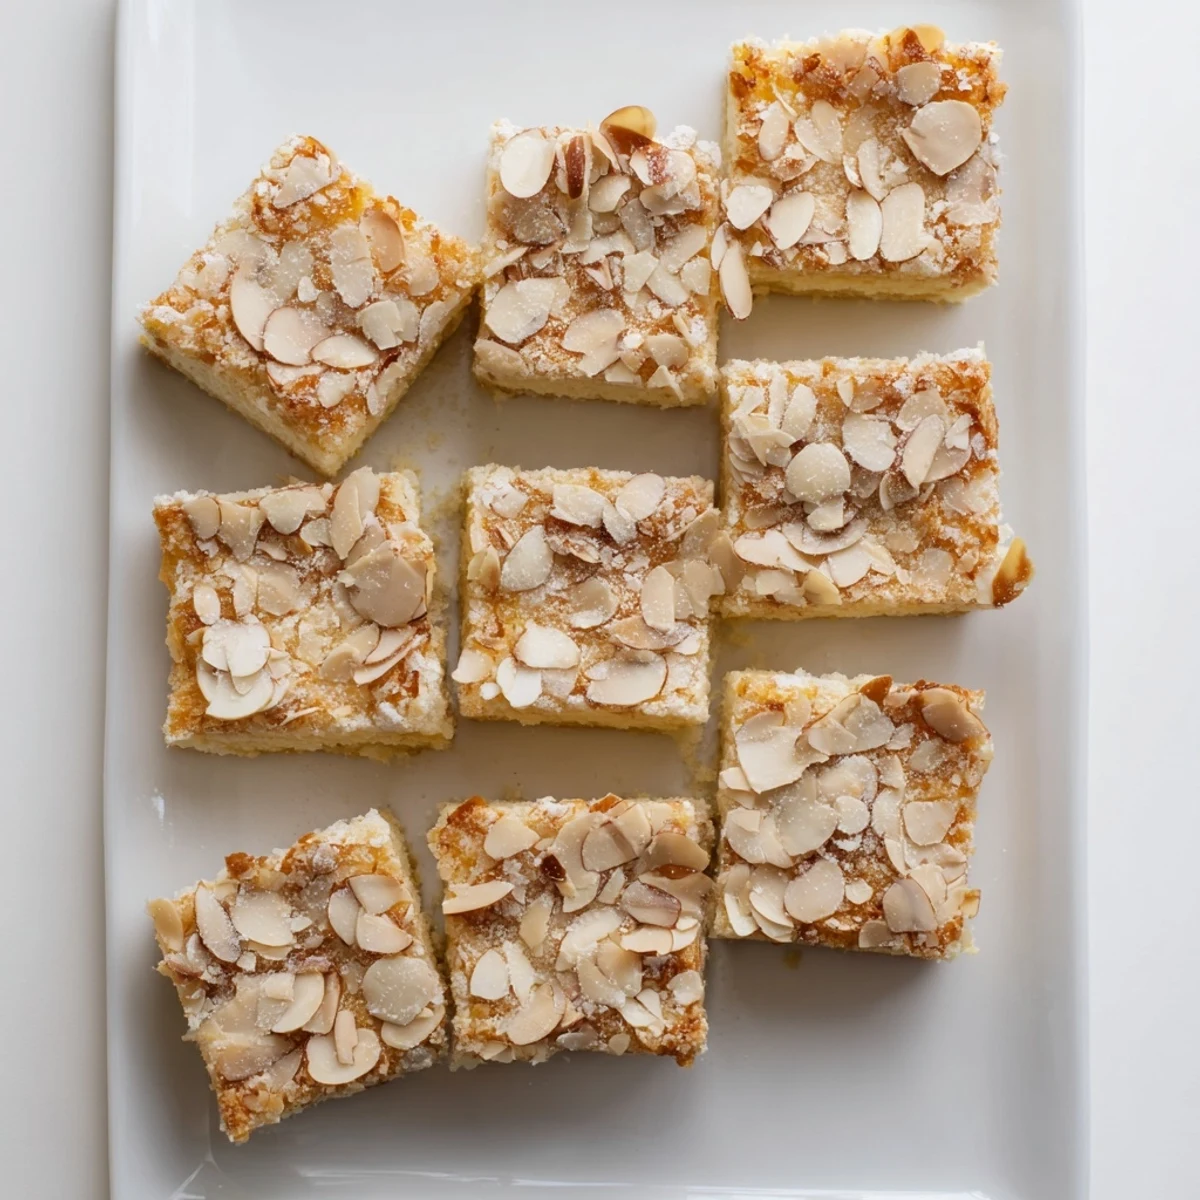
 These delicate ricotta squares feature a wonderfully light and airy texture, thanks to the creamy ricotta base that bakes up beautifully. The topping adds the perfect contrast—sweet, buttery almonds with a hint of cinnamon create a satisfying crunch against the tender interior. What makes these squares special is their versatility: they're elegant enough for entertaining yet simple enough for everyday treating. The 50-minute timeline includes just 15 minutes of prep work, making them surprisingly achievable for a homemade dessert.
The American-European fusion approach balances the Italian tradition of ricotta desserts with American baking techniques, resulting in squares that feel familiar yet distinctive. Each square delivers a harmonious blend of creamy richness and nutty sweetness that appeals to both classic and contemporary palates.
I stumbled across these cloud squares during one of those midnight baking experiments where nothing seems to go right until suddenly everything does. The ricotta made the texture impossibly light, and that almond topping turned into something between a streusel and caramelized magic. My roommate wandered into the kitchen at 2 AM, tasted one warm from the pan, and immediately declared them breakfast appropriate.
Last summer I brought these to a picnic where everyone was too full from dinner to consider dessert. Within ten minutes, the platter was empty and three different people had texted me for the recipe. Something about the ricotta makes them feel lighter than your typical bar, so people keep reaching for just one more.
Ingredients
- Whole milk ricotta cheese: This is the heart of the recipe and worth seeking out the good stuff. I have used part skim and the texture just is not the same.
- Granulated sugar: Divided between the base and topping, it creates structure and that irresistible crispiness on top.
- Large eggs: Room temperature eggs incorporate more easily into the ricotta mixture.
- Whole milk: Keeps the base tender. I have not tested this with non dairy alternatives.
- Vegetable oil: Unlike butter, oil keeps these squares moist for days without affecting the delicate texture.
- Pure vanilla extract: Do not skimp here. Real vanilla makes the ricotta taste intentional, not just accidental.
- All purpose flour: Provides just enough structure to hold the clouds together. Cake flour makes them too delicate.
- Baking powder: Gives them that slight lift while baking so they are not dense.
- Fine sea salt: Balances the sweetness and makes all the flavors pop.
- Sliced almonds: Get fresh ones from the bulk bins. Stale almonds make a sad topping.
- Unsalted butter melted: Helps the almond topping clump into those crispy bits everyone fights over.
- Ground cinnamon: Optional but highly recommended. It makes the kitchen smell like a European pastry shop.
Instructions
- Get your oven ready:
- Preheat to 350°F with a rack in the center position. Line your baking pan with parchment, letting the paper hang over two opposite sides like a sling. This makes lifting them out later completely effortless.
- Make the creamy base:
- Whisk the ricotta, sugar, eggs, milk, oil, and vanilla until the mixture is completely smooth. I use a stand mixer but a whisk and some patience work too. It should look like thick cake batter.
- Combine the dry ingredients:
- Sift the flour, baking powder, and salt into a separate bowl. This might feel fussy but it prevents lumps in the final squares.
- Gentle folding:
- Fold the dry ingredients into the ricotta mixture just until you no longer see streaks of flour. Overmixing makes them tough instead of cloud like. The batter will be thick.
- Spread the love:
- Pour the batter into your prepared pan and use an offset spatula or the back of a spoon to level it. Work quickly since the baking powder starts acting immediately.
- Prepare the crunch:
- Toss the sliced almonds, sugar, melted butter, and cinnamon in a small bowl until every almond piece is coated. The sugar should look like wet sand clinging to the nuts.
- Add the topping:
- Sprinkle the almond mixture evenly over the batter. Press down very lightly so it adheres, but do not bury the almonds into the batter.
- Bake until golden:
- Bake for 30 to 35 minutes. The top should be deep golden brown and a toothpick in the center should come out clean or with just a few moist crumbs.
- The hardest part:
- Cool completely in the pan before slicing. This takes serious restraint but cutting them warm makes them fall apart. Use the parchment overhang to lift the whole slab out, then cut into 12 squares.
 Save to Pinterest
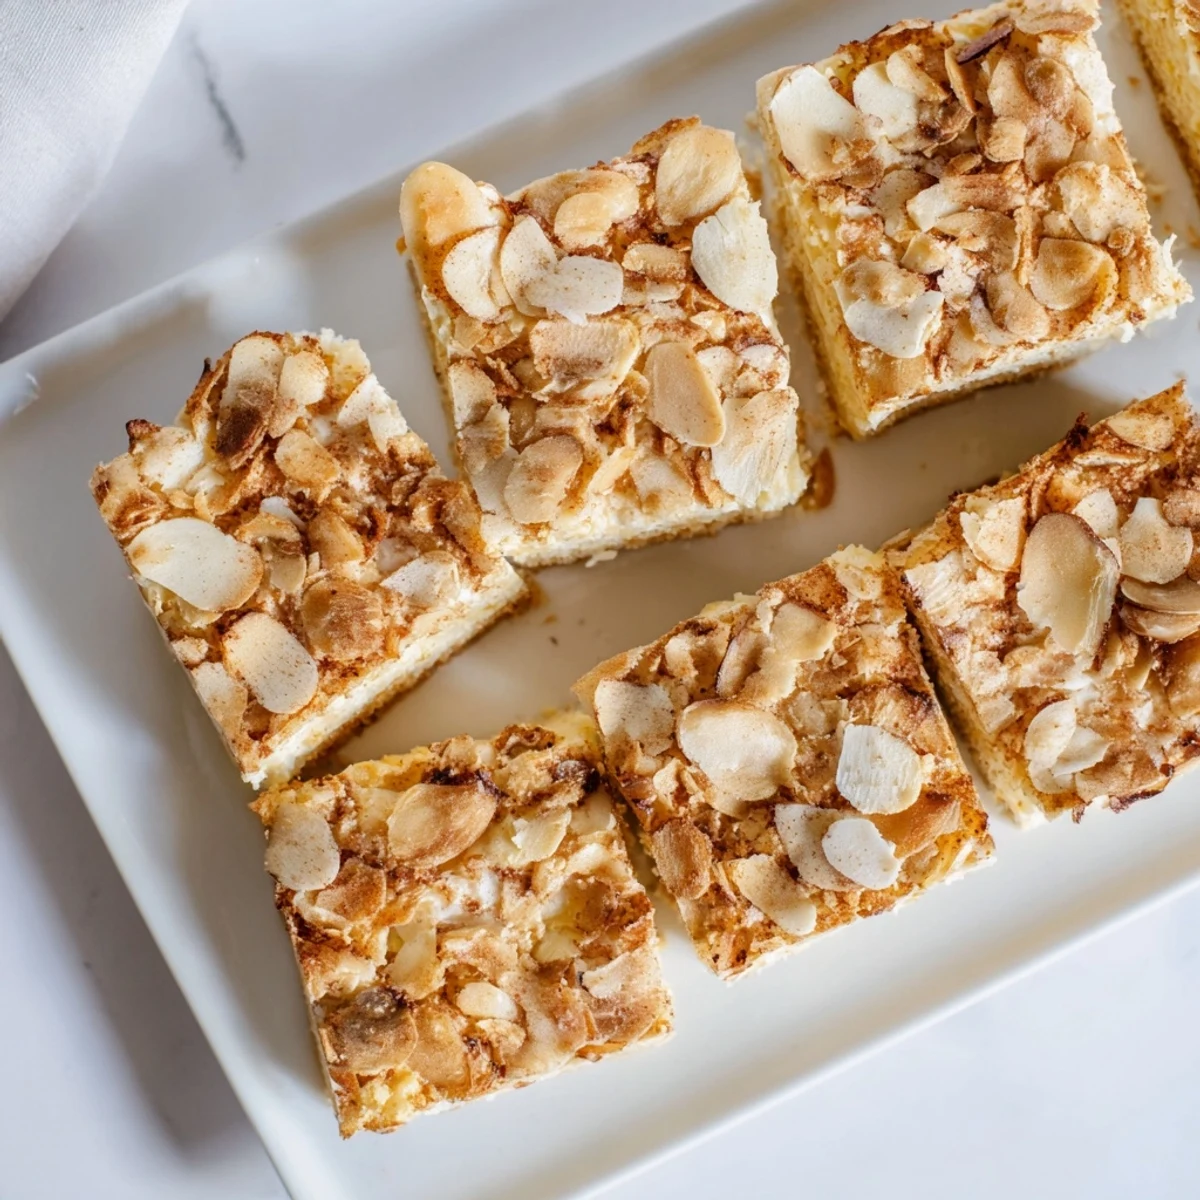
 My grandmother asked for the recipe after trying them at Easter, claiming they reminded her of something her mother used to make in the old country. That felt like the ultimate compliment. Now they appear at every family gathering, and the aluminum foil disappears from the dessert table before anything else.
Making Them Your Own
Lemon zest is my go to addition, but orange zest works beautifully too and gives them a marmalade vibe. I have also added a teaspoon of almond extract to the base when I want to amplify the nutty flavor. Just be careful since almond extract can easily overpower everything else in the recipe.
Serving Suggestions
These squares are perfectly lovely on their own, but a dollop of crème fraîche or Greek yogurt adds a nice tangy contrast. Fresh berries scattered around the platter make them feel fancy with almost no extra work. For coffee hour, I warm them slightly for 30 seconds and serve alongside something bitter to cut the sweetness.
Storage and Make Ahead Tips
The squares keep well in an airtight container for up to three days, though the almond topping gradually softens. You can freeze them wrapped individually for up to a month. Thaw at room temperature still wrapped so condensation does not make them soggy.
- Press the almond topping gently into the batter so it does not all slide off during slicing
- Use a sharp knife wiped clean between cuts for the cleanest edges
- These transport beautifully stacked with parchment between layers
 Save to Pinterest
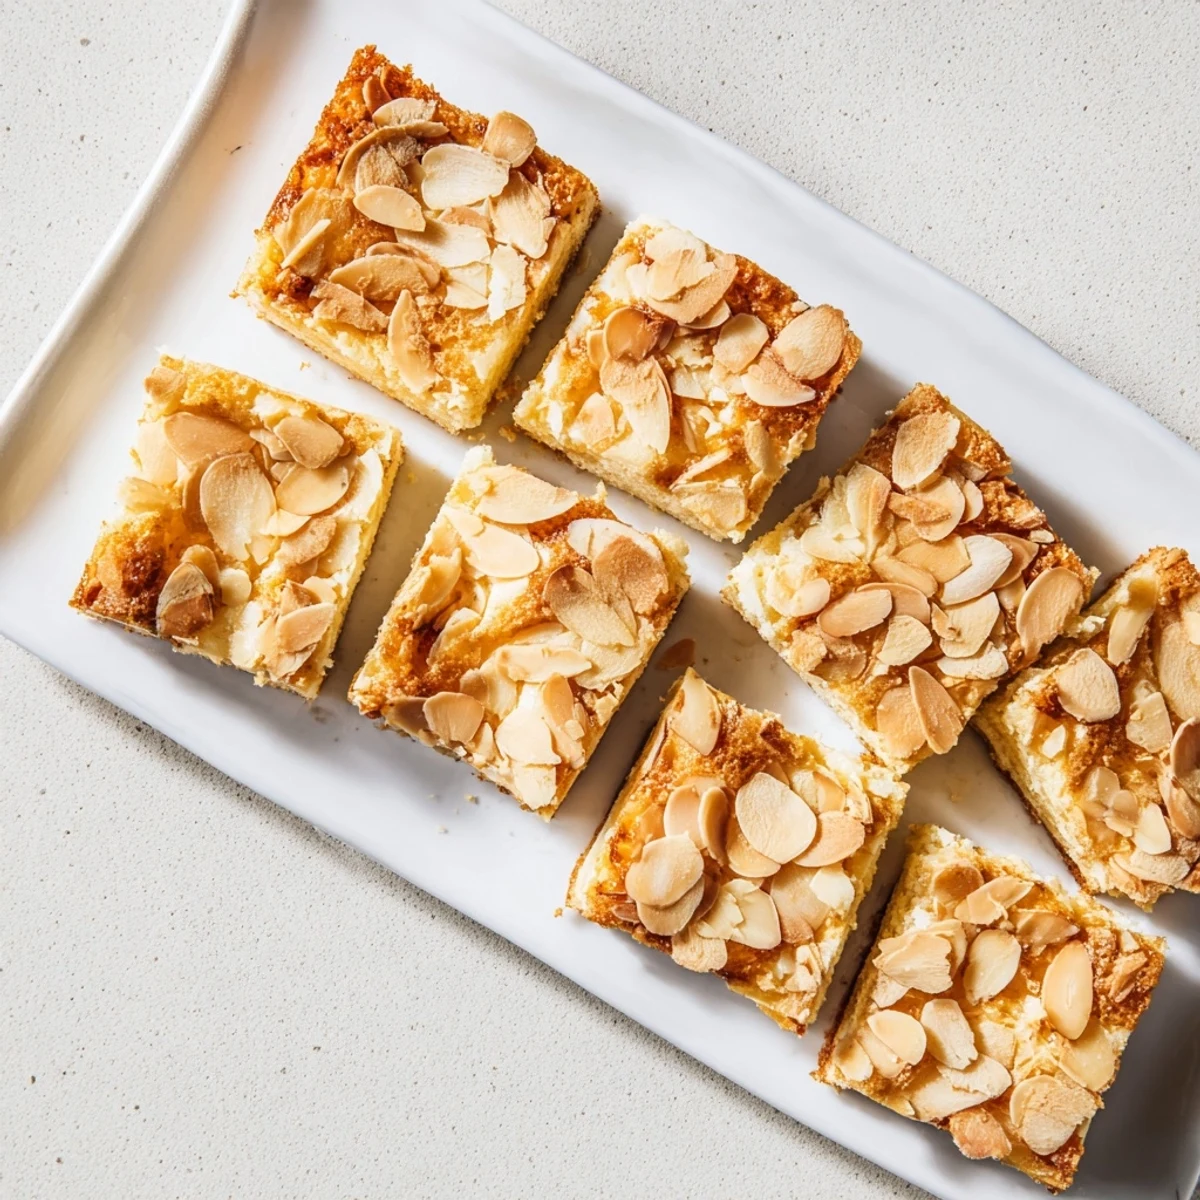
 There is something deeply satisfying about a dessert that looks like it took serious skill but actually just requires patience and good ingredients. These squares have that magical quality of making people feel taken care of.
Recipe FAQs
- → What makes these squares so light and fluffy?
-
The combination of ricotta cheese, eggs, and careful mixing creates an exceptionally tender crumb. The key is not overmixing the batter—just combine until the dry ingredients are incorporated to maintain that signature cloud-like texture.
- → Can I make these ahead of time?
-
Absolutely. These squares actually taste better after resting for a few hours or even overnight. Store them in an airtight container at room temperature for up to 2 days, or refrigerate for up to 5 days. Bring to room temperature before serving for the best texture.
- → What's the best way to achieve even slices?
-
Let the squares cool completely in the pan before attempting to cut. Use a sharp knife and wipe it clean between cuts. For perfect portions, you can briefly chill the pan in the refrigerator for 30 minutes to firm up the texture before slicing.
- → Can I substitute the almonds?
-
You can use chopped walnuts, pecans, or hazelnuts instead of almonds. For a nut-free version, try crushed cornflakes, additional cinnamon-sugar, or even coconut flakes. Keep the quantities the same for similar results.
- → Why did my squares sink in the middle?
-
This usually happens when they're removed from the oven before being fully set. Always test with a toothpick in the center—it should come out clean or with just a few moist crumbs. Also ensure your oven is properly calibrated to 350°F before baking.
- → Can I freeze these squares?
-
Yes, they freeze beautifully. Wrap individual squares tightly in plastic wrap, then place in a freezer-safe container for up to 3 months. Thaw overnight in the refrigerator or at room temperature for 2-3 hours before serving.
