 Save to Pinterest
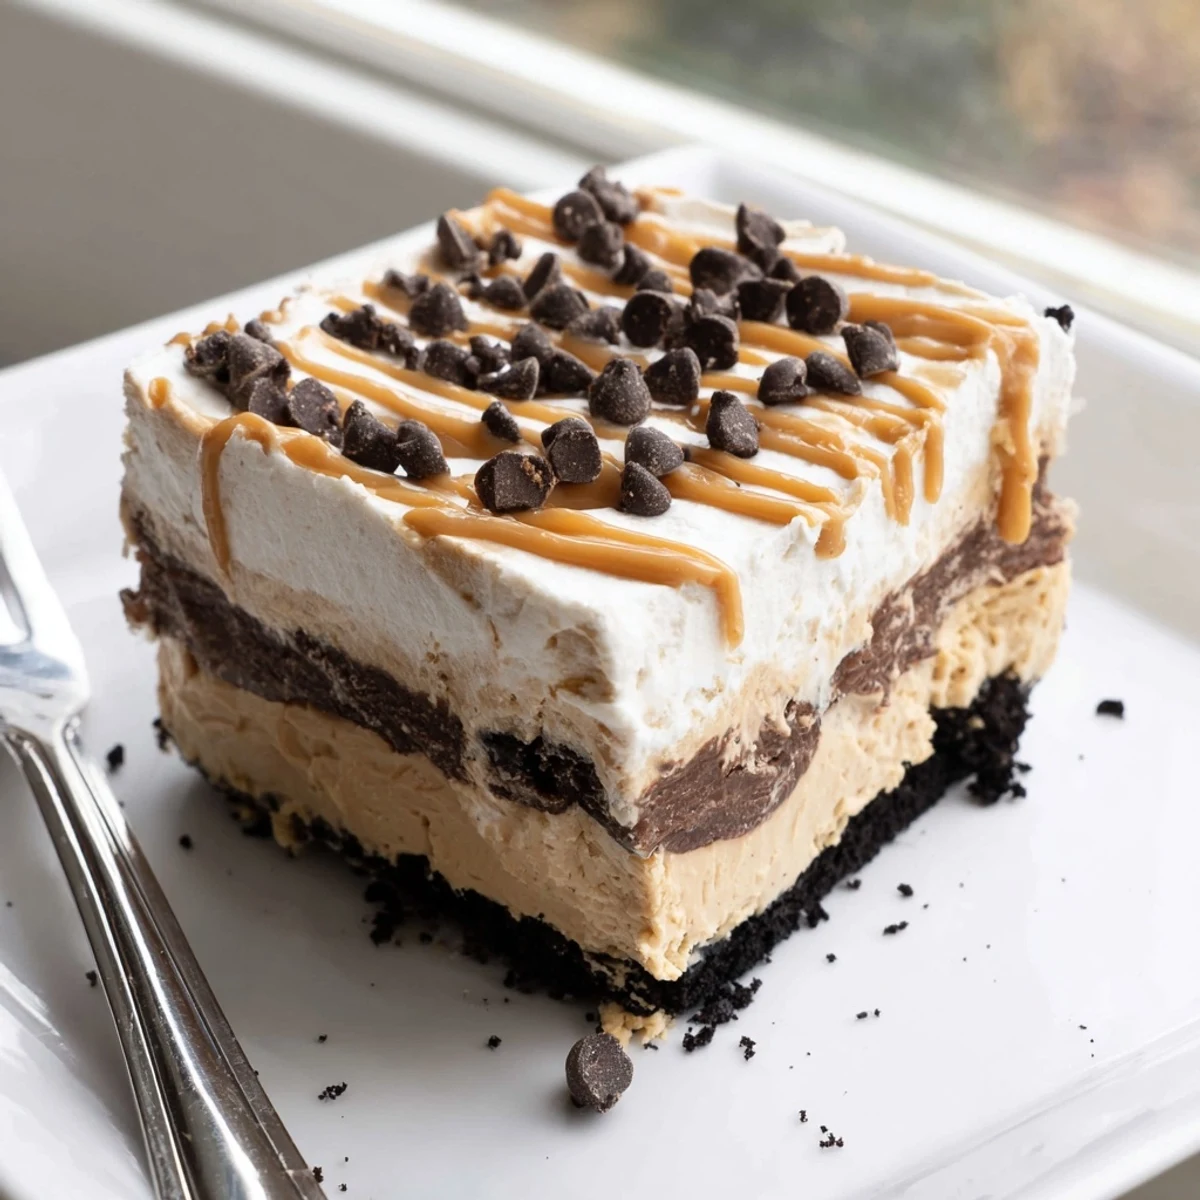
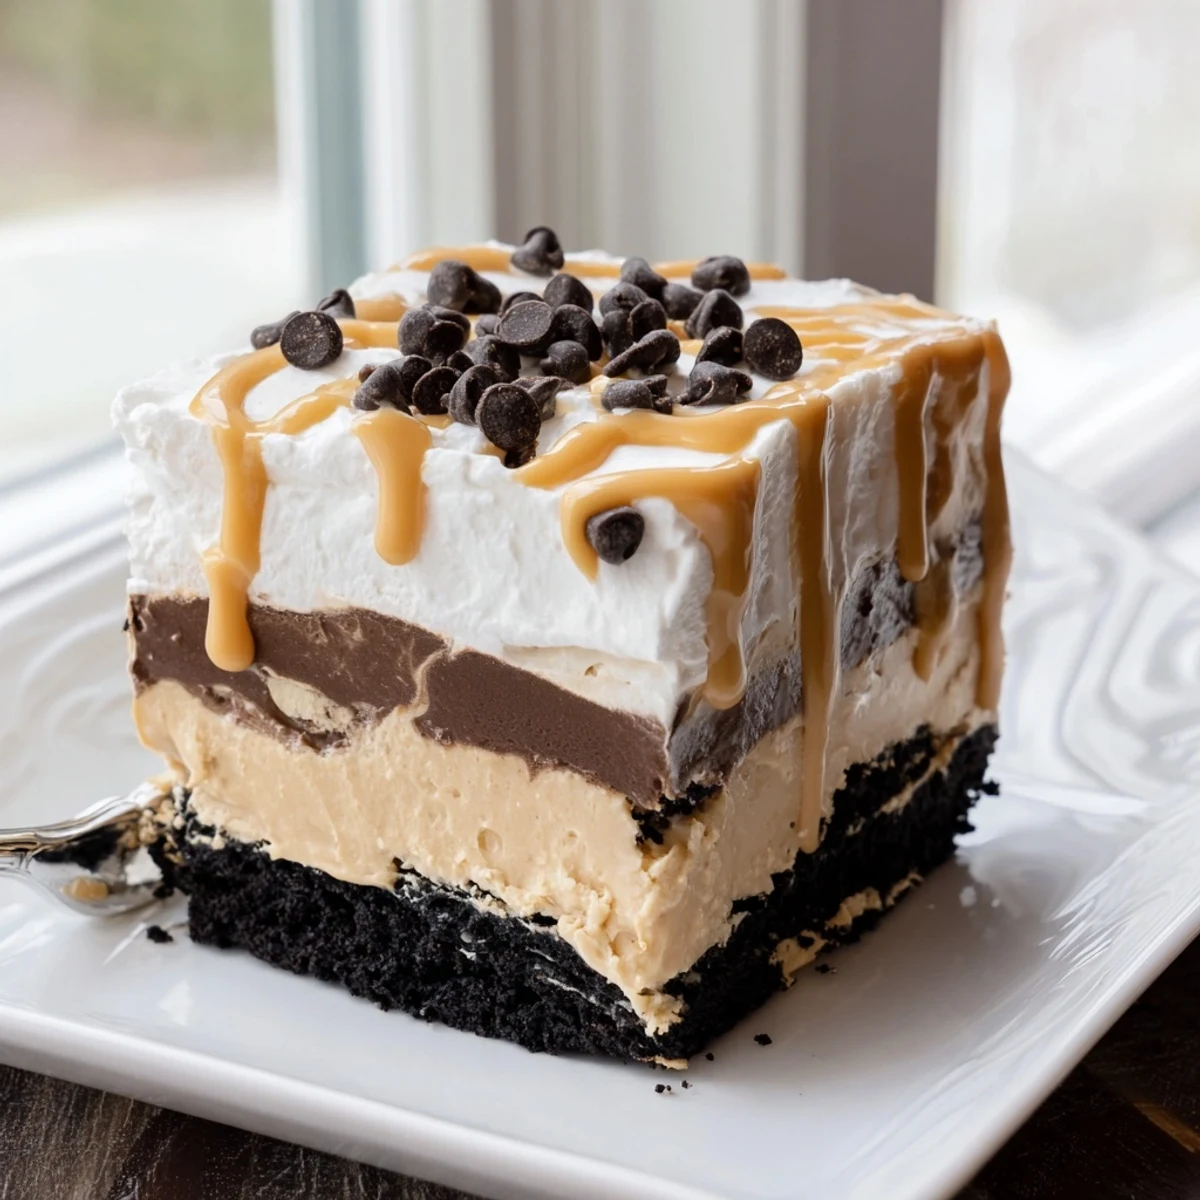
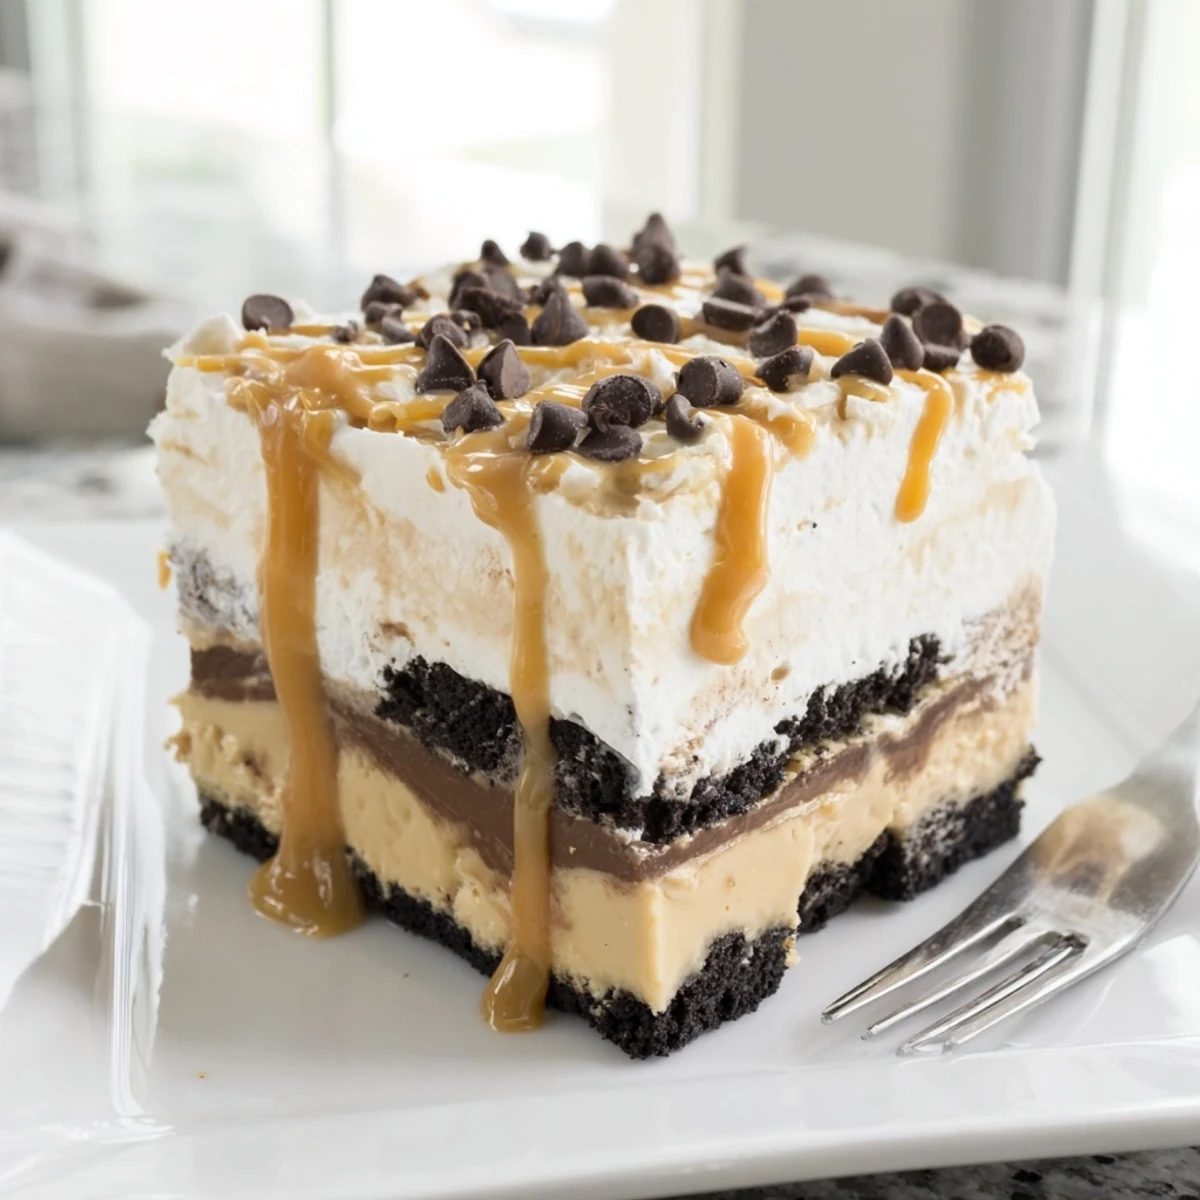
 This no-bake peanut butter layered delight brings together everything you love about peanut butter and chocolate in one pan. A buttery chocolate cookie crust forms the base, topped with a fluffy cream cheese and peanut butter mousse, followed by a rich chocolate pudding layer and billowy whipped topping.
With just 25 minutes of hands-on prep and a few hours of chilling, you'll have a showstopping dessert that feeds eight. It's an ideal make-ahead option for potlucks, holidays, or any occasion that calls for something sweet and satisfying.
The smell of peanut butter and chocolate together has always been my weakness, and this layered delight is the proof that some cravings deserve a whole dessert dedicated to them. I threw it together one summer evening when friends were coming over and I had zero desire to turn on the oven. Three hours later, we were all standing around the kitchen island with forks, barely waiting for it to fully set before digging in. It has been on rotation ever since.
I once brought this to a potluck where a friend who claims she does not like peanut butter went back for seconds before admitting defeat. That moment alone was worth every minute of layering.
Ingredients
- Chocolate sandwich cookies (200 g, crushed): Oreos are the classic choice here, and you want them finely crushed for a crust that holds together without crumbling into chaos.
- Unsalted butter (75 g, melted): This binds the crust and a little salt from the butter balances the sweetness perfectly.
- Cream cheese (225 g, softened): Leave it out for about thirty minutes before starting so it blends without lumps.
- Creamy peanut butter (120 g): Use a standard commercial peanut butter like Jif or Skippy because natural styles can separate and make the layer greasy.
- Powdered sugar (100 g): Sweetens the peanut butter layer without adding any grainy texture.
- Whipped topping (480 ml total, thawed): Divided between the peanut butter layer and the final topping, Cool Whip gives that cloud like finish.
- Instant chocolate pudding mix (100 g): Make sure it is instant, not cook and serve, or the layer will not set properly.
- Cold milk (375 ml): Whole milk gives the richest pudding, but any milk works in a pinch.
- Melted peanut butter and chocolate shavings (optional): For drizzling and garnishing on top, because more is more here.
Instructions
- Build the crust foundation:
- Crush the cookies into fine crumbs either in a zip top bag with a rolling pin or a quick pulse in a food processor. Mix them with melted butter until the mixture feels like wet sand, then press it firmly and evenly into the bottom of your baking dish. Pop it in the fridge to firm up while you move on.
- Whip up the peanut butter mousse:
- Beat the softened cream cheese, peanut butter, and powdered sugar together until completely smooth with no streaks. Gently fold in 240 ml of the whipped topping using a spatula, keeping as much air in the mixture as you can. Spread this over the chilled crust and try to make it as even as possible.
- Create the chocolate pudding layer:
- Whisk the pudding mix and cold milk together for about two minutes until it thickens noticeably. Pour it over the peanut butter layer and spread gently so you do not disturb what is underneath.
- Finish with the cloud top:
- Spread the remaining whipped topping over the pudding in smooth swoops. If you are feeling indulgent, drizzle melted peanut butter across the top and scatter chocolate shavings or mini chips over everything.
- Chill until set:
- Cover the dish loosely and refrigerate for at least three hours. Overnight is even better if you can wait that long.
 Save to Pinterest
 There is something deeply satisfying about pulling a perfect square of this dessert from the dish and watching those clean layers show on every side. It became my birthday request two years running, which says everything.
Serving and Pairing Ideas
A cold glass of milk is the obvious companion here, but a sweet dessert wine like a tawny port turns this into something surprisingly elegant for a dinner party. I have also served tiny squares alongside coffee after a heavy meal, and guests always appreciate that the richness comes in a small, manageable portion.
Swaps and Variations
Gluten free chocolate sandwich cookies work seamlessly for the crust if you need to accommodate that dietary restriction. Chopped roasted peanuts tucked between the peanut butter layer and the pudding layer add a welcome crunch that cuts through all that creaminess. Homemade whipped cream can replace the whipped topping if you prefer a more natural flavor, though the texture will be slightly softer.
Storage and Make Ahead Notes
This dessert actually improves after a night in the fridge because the layers settle and the flavors meld together beautifully. Cover it tightly with plastic wrap and it will keep for up to four days, though it never lasts that long in my house.
- Use a sharp knife dipped in hot water for the cleanest slices.
- Freeze individual squares on a parchment lined tray for a frozen summer treat.
- Always double check ingredient labels if you are serving anyone with allergies since pudding mixes and cookies can hide unexpected allergens.
 Save to Pinterest
 This is the kind of dessert that makes people think you spent all day in the kitchen when really you just layered a few simple things and let the fridge do the work. Share it generously, and watch the peanut butter skeptics come around.
Recipe FAQs
- → Can I make this peanut butter delight ahead of time?
-
Absolutely. In fact, this dessert benefits from being made ahead. You can prepare it up to 24 hours in advance and keep it covered in the refrigerator. The layers set beautifully and the flavors meld together overnight.
- → Can I use natural peanut butter instead of creamy commercial peanut butter?
-
Commercial creamy peanut butter works best here because it blends smoothly with the cream cheese and powdered sugar. Natural peanut butter tends to separate and can make the layer less creamy. If you do use natural, stir it very well before measuring.
- → How do I get clean slices when cutting this dessert?
-
Use a sharp knife and wipe it clean between each cut. Running the knife under hot water, then drying it before each slice, helps achieve neat squares. Chilling the dessert for the full three hours also ensures the layers are firm enough to cut cleanly.
- → What can I substitute for whipped topping?
-
Homemade whipped cream is a great alternative. Whip 240 ml of heavy cream with a tablespoon of powdered sugar until stiff peaks form. Keep in mind that homemade whipped cream is slightly less stable than commercial whipped topping, so serve within a few hours of assembling.
- → How should I store leftovers?
-
Cover the baking dish tightly with plastic wrap or transfer individual portions to an airtight container. Store in the refrigerator for up to 3 days. The cookie crust may soften slightly over time, but the dessert will still taste delicious.
- → Can I freeze this layered dessert?
-
Freezing is not recommended. The whipped topping and pudding layers can become watery and lose their creamy texture when thawed. For the best results, enjoy it fresh from the refrigerator within a couple of days of making it.
