 Save to Pinterest
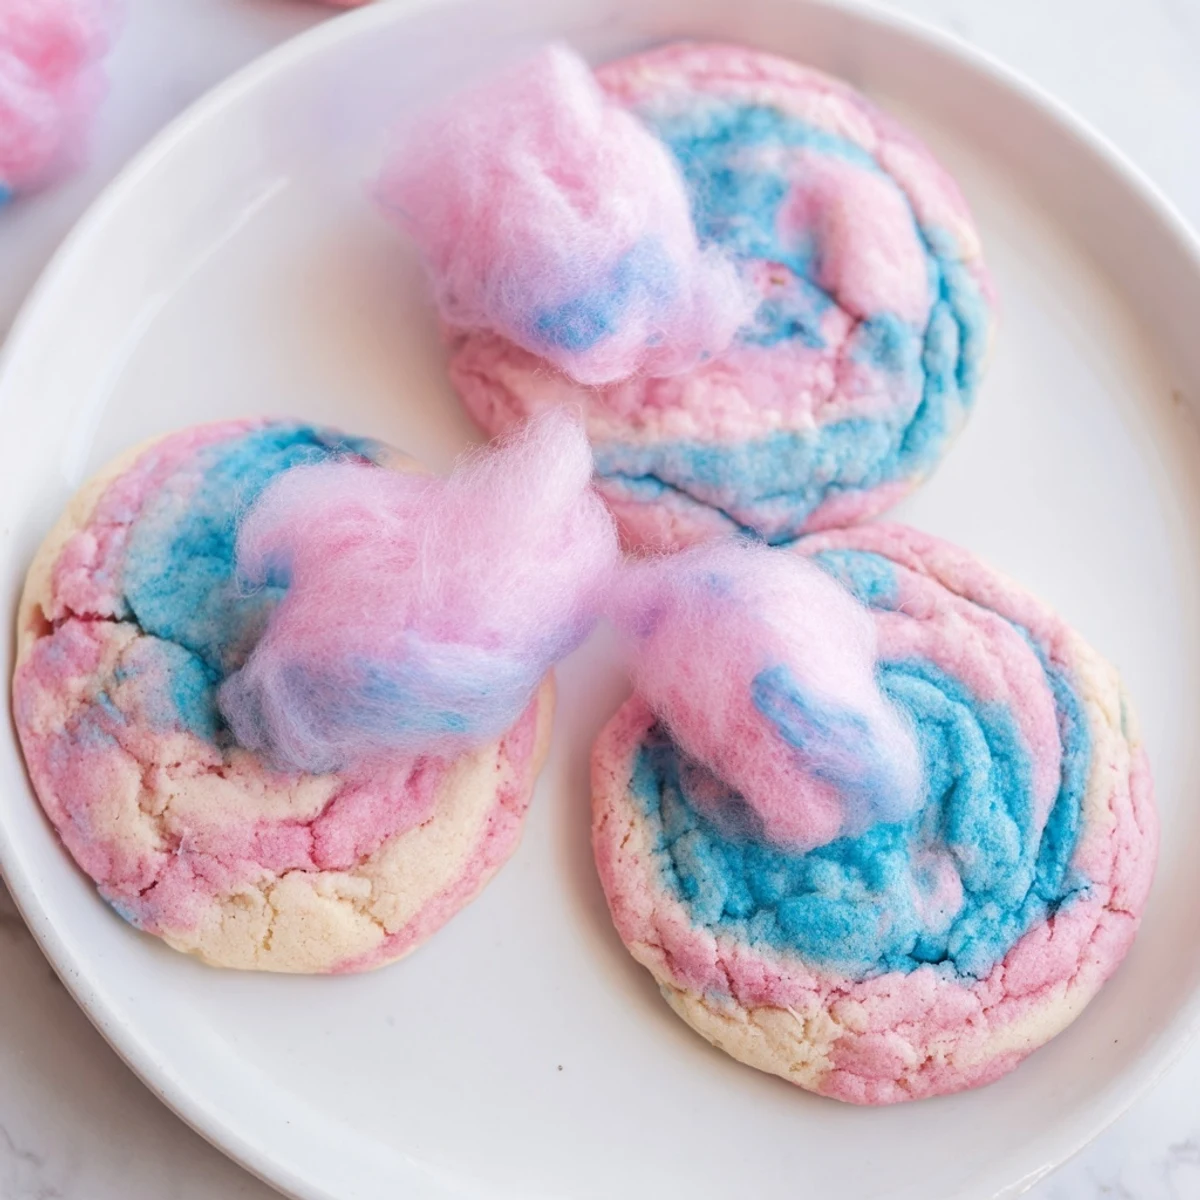
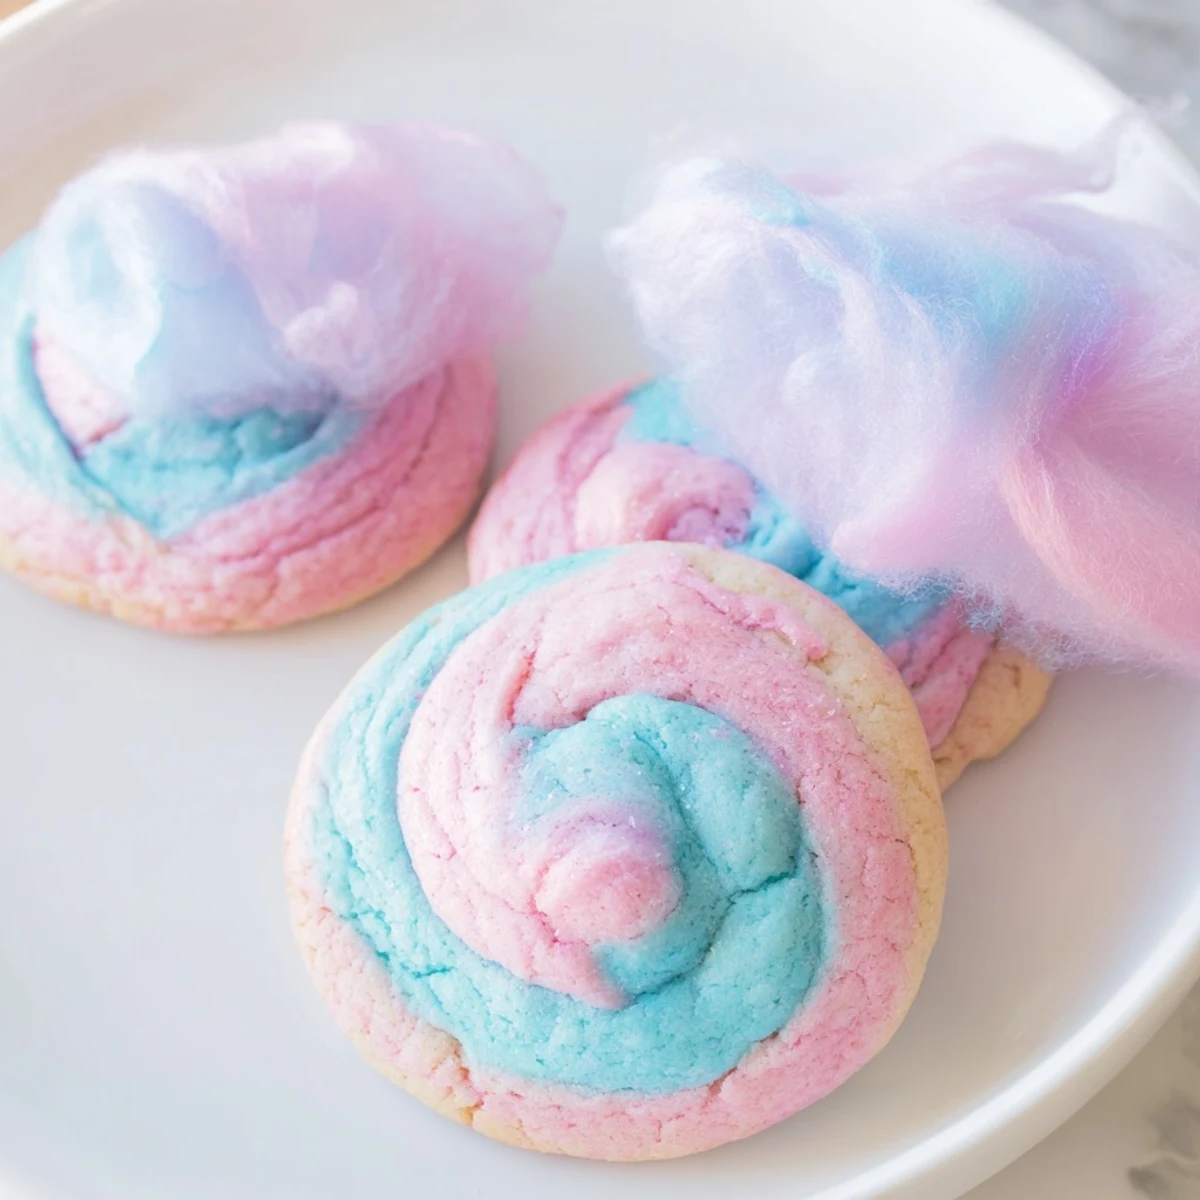
 These cotton candy cookies are soft, chewy, and bursting with whimsical pastel charm. Half the dough is tinted pink and the other half blue, then gently swirled together to create a beautiful marbled effect that looks stunning on any dessert table.
With cotton candy flavoring blended into the buttery vanilla dough, each bite delivers a subtle sweetness that kids and adults alike will adore. They come together in just 30 minutes and bake in under 11 minutes.
Top them with a fluffy tuft of real cotton candy just before serving for an extra magical touch that makes them irresistible at birthdays, bake sales, or any festive gathering.
My niece stood on a step stool at the kitchen counter, eyes wide as I squeezed a drop of pink gel into cookie dough, and she whispered that it looked like a cloud was dissolving into the bowl. That tiny moment of wonder is exactly what cotton candy cookies are all about. They taste like a carnival folded into something you can hold in one hand. I have made them for birthday parties, rainy afternoons, and once at midnight when a friend needed cheering up.
I brought a batch of these to a neighborhood potluck last summer and watched a line form before the main dishes were even touched. My neighbor Deb pulled me aside and asked if I had ordered them from a bakery. That felt like the highest compliment possible, especially since my kitchen had looked like a flour tornado had passed through it.
Ingredients
- All purpose flour (2 1/2 cups, 315 g): The backbone of the cookie, giving it that soft, cakey crumb that holds up to the gel coloring without turning gummy.
- Baking powder (1 tsp) and baking soda (1/2 tsp): Together they give the cookies a gentle lift so they stay pillowy rather than flat and crisp.
- Salt (1/2 tsp): Balances the sweetness and makes the cotton candy flavor pop instead of tasting one dimensional.
- Unsalted butter, softened (3/4 cup, 170 g): Room temperature butter creams properly with sugar, which is the secret to that light texture.
- Granulated sugar (1 cup, 200 g): Provides clean sweetness and helps the edges get just slightly golden.
- Light brown sugar, packed (1/2 cup, 100 g): Adds a hint of caramel depth that makes these more interesting than a plain sugar cookie.
- Large eggs (2): Bind everything together and contribute to the soft, tender interior.
- Pure vanilla extract (2 tsp): Rounds out the cotton candy flavoring so it does not taste artificial.
- Cotton candy flavoring (1/2 tsp): The star ingredient, a little goes a long way toward that whimsical, fairground taste.
- Pink and blue gel food coloring: Gel is essential because liquid coloring will thin the dough and muddy the pastel shades.
- Cotton candy for garnish (1/2 cup, 60 g, optional): Adds a playful topper but must go on at the last second since it melts on contact with moisture.
Instructions
- Get the oven ready:
- Preheat to 350F (175C) and line two baking sheets with parchment paper so the cookies lift off cleanly without sticking.
- Whisk the dry ingredients:
- In a medium bowl, whisk the flour, baking powder, baking soda, and salt until evenly distributed.
- Cream the butter and sugars:
- Beat the softened butter, granulated sugar, and brown sugar in a large bowl until the mixture looks pale, fluffy, and lighter than when you started.
- Add the wet ingredients:
- Drop in the eggs, vanilla extract, and cotton candy flavoring, then beat until everything is smooth and fragrant.
- Bring it all together:
- Gradually add the dry ingredients to the wet mixture, mixing on low until a soft dough just comes together without overworking it.
- Split and color the dough:
- Divide the dough evenly into two bowls, add a few drops of pink gel to one and blue to the other, then mix each until the color is uniform and vivid.
- Shape the marbled cookies:
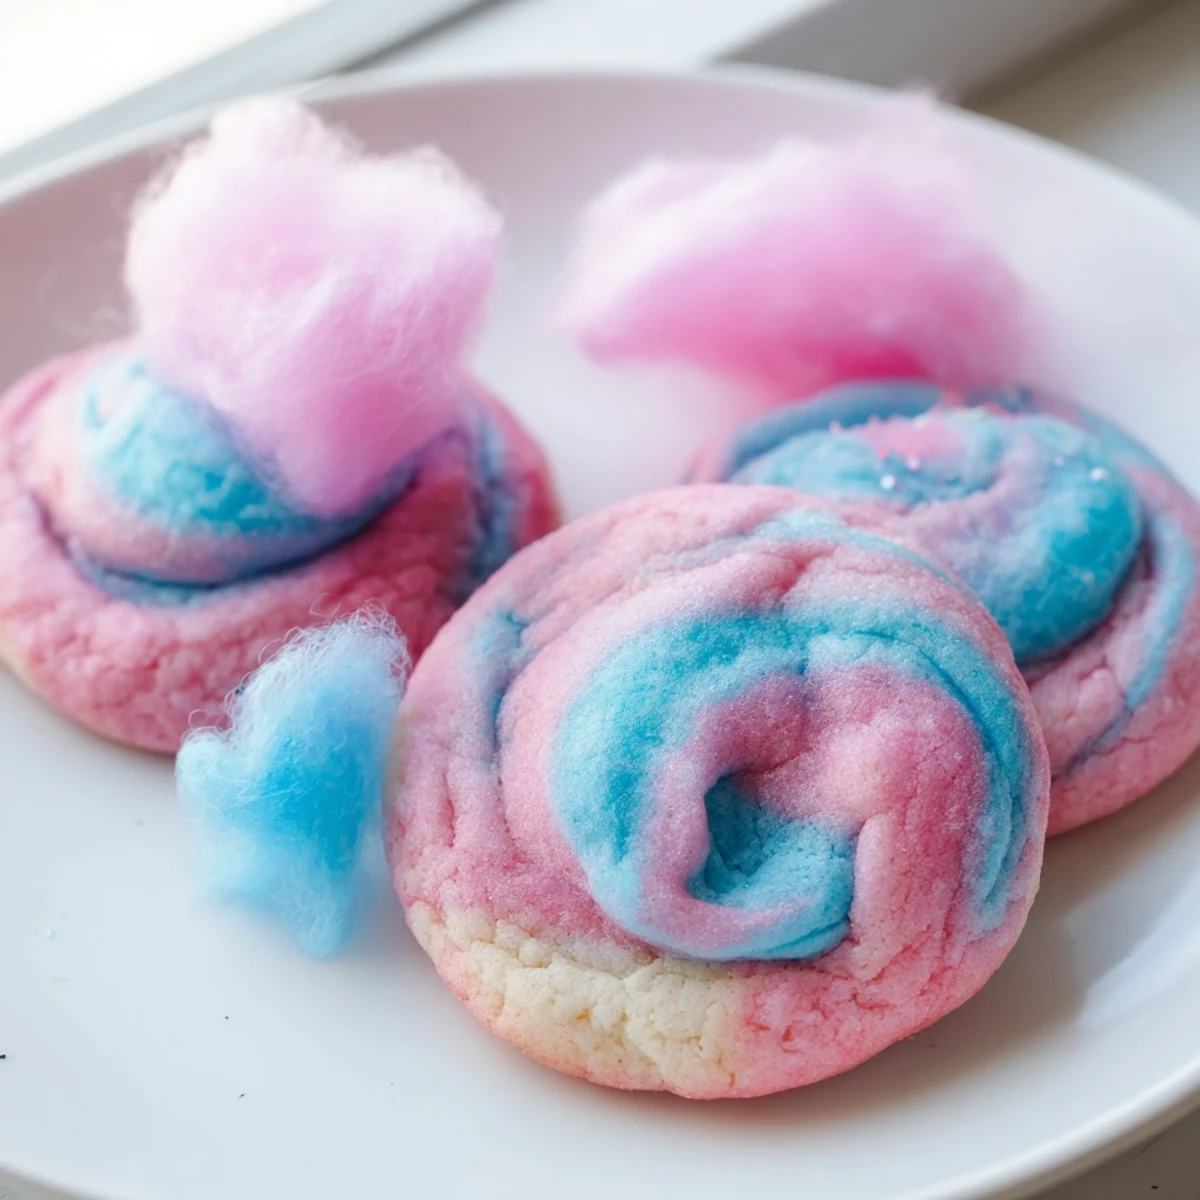
- Pinch a small amount from each colored dough, gently roll them together in your palms into a 1.5 inch ball with a swirled look, and place on the baking sheets 2 inches apart.
- Bake until just set:
- Bake for 9 to 11 minutes until the edges are barely firm but the centers still look soft and a little underdone.
- Cool properly:
- Let the cookies rest on the baking sheet for 5 minutes, then move them to a wire rack to cool completely so the bottoms do not steam and become soggy.
- Add the cotton candy crowns:
- If using, tear off small tufts of cotton candy and gently press onto each cooled cookie right before serving for a whimsical finish.
 Save to Pinterest
 The afternoon I let my daughter and her friend color the dough, their hands were stained pink and blue for a full day, and they could not stop laughing about it. Those cookies were misshapen and slightly overbaked on one tray, but those two ate every single one with zero complaints.
Storing Your Cotton Candy Cookies
Keep baked cookies in an airtight container at room temperature for up to five days, placing a piece of bread in the container to maintain softness if your kitchen runs dry. Never store them with the cotton candy garnish already attached, as the humidity from the cookies will shrink it into nothing. If you want to freeze the unbaked dough balls, freeze them on a tray first, then transfer to a freezer bag for up to three months and bake straight from frozen, adding one extra minute.
Picking the Right Flavoring
Not all cotton candy flavorings are created equal, and some taste closer to straight vanilla or bubblegum. I learned to read reviews and test a drop in warm milk before committing a whole batch of cookies to a brand I had never tried. Clear vanilla extract also helps keep the dough pale so the gel colors stay true and bright rather than turning muddy.
Making Them Your Own
Once you master the basic marble technique, you can play with the colors to match any holiday or party theme.
- Try purple and yellow for a spring baby shower.
- Skip the swirl and make solid colored cookies with sprinkles pressed into the tops.
- Always remember that the cotton candy garnish is the detail people photograph, so add it right before guests arrive.
 Save to Pinterest
 Every time I make these, someone asks for the recipe, and I always say the same thing: let the dough be messy, let the colors be wild, and let the cotton candy melt however it wants. That is what makes them feel like a celebration instead of just a cookie.
Recipe FAQs
- → Can I make cotton candy cookies without cotton candy flavoring?
-
Yes, you can omit the cotton candy flavoring and rely on vanilla extract alone. The cookies will still have the beautiful pastel swirl appearance but will taste like classic butter sugar cookies with a vanilla profile.
- → How do I store leftover cotton candy cookies?
-
Store baked cookies in an airtight container at room temperature for up to 5 days. If you plan to add cotton candy garnish, only do so right before serving since cotton candy dissolves quickly when exposed to moisture.
- → Why use gel food coloring instead of liquid?
-
Gel food coloring provides much more vibrant, concentrated color without adding extra liquid to the dough. Liquid food coloring can alter the dough consistency and result in paler, less striking colors after baking.
- → Can I freeze the cookie dough for later use?
-
Absolutely. Form the swirled dough balls and freeze them on a baking sheet until solid, then transfer to a freezer bag. Bake directly from frozen, adding 1 to 2 extra minutes to the baking time for perfectly soft results.
- → How do I achieve the best marbled swirl effect?
-
Take a small portion of pink dough and a small portion of blue dough, then gently roll them together in your palms. Avoid overmixing the two colors, as the swirl pattern looks best when distinct streaks of each color remain visible throughout the cookie.
