 Save to Pinterest
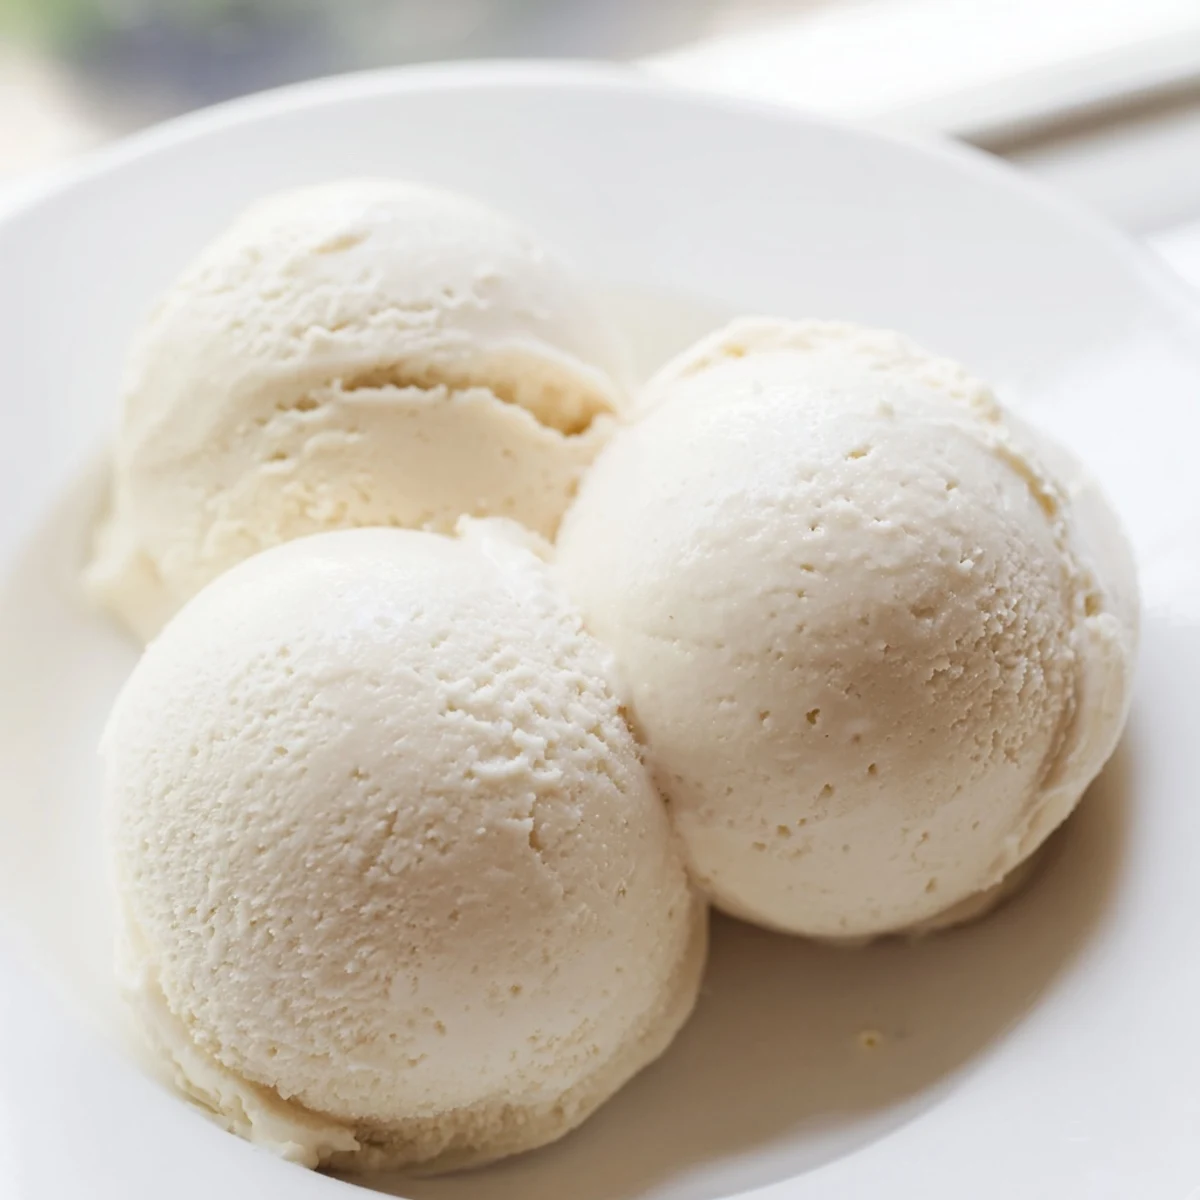
 Master the art of creating rich, creamy vanilla ice cream from scratch. This classic frozen dessert features a smooth custard base made with heavy cream, whole milk, and egg yolks, infused with pure vanilla extract.
The process involves tempering egg yolks into hot cream mixture, cooking until thickened, then chilling and churning to perfection. The result is a velvety smooth treat that's far superior to store-bought versions.
Customize your creation by adding chocolate chips, fresh fruit, or swirls of caramel and fudge. For those avoiding dairy, coconut milk makes an excellent substitute while maintaining that luxurious texture.
The summer my air conditioner broke was the summer I learned to make ice cream from scratch. I stood over a saucepan of warming cream, sweat dripping down my temples, wondering why anyone would voluntarily stand near heat in July. One taste of that freshly churned vanilla changed everything. Now I make it every year, broken AC or not.
My niece declared this the best ice cream in the universe after I served it at her birthday party, and she is an extremely tough critic with very strong opinions about dessert. She now requests it every single year without fail. I have tried to sneak in other flavors but she will not budge.
Ingredients
- Heavy cream (2 cups): This is the backbone of richness, so do not skimp on fat content here.
- Whole milk (1 cup): Balances the cream so the texture stays luscious rather than greasy.
- Granulated sugar (3/4 cup): Dissolves into the base during heating and keeps the frozen texture scoopable.
- Salt (pinch): A tiny amount makes the vanilla flavor pop in ways that will surprise you.
- Pure vanilla extract (1 tablespoon): Splurge on the real stuff because imitation vanilla cannot carry this recipe.
- Large egg yolks (5): These create the custard structure that separates homemade from ordinary.
Instructions
- Warm the base:
- Combine cream, milk, sugar, and salt in a saucepan over medium heat, stirring gently until the sugar dissolves and you see tiny bubbles forming at the edges, but never let it boil.
- Prepare the yolks:
- Whisk the egg yolks lightly in a bowl until they loosen up and lose their gelatinous look.
- Temper carefully:
- Slowly stream about one cup of the hot cream into the yolks while whisking like your life depends on it, then pour the whole mixture back into the saucepan.
- Cook the custard:
- Stir continuously over medium low heat until the mixture thickens enough to coat the back of a spoon, leaving a clean trail when you run your finger through it.
- Add vanilla:
- Pull the pan off the heat and stir in the vanilla extract, letting the warmth bloom the fragrance through the entire batch.
- Strain and chill:
- Pour the custard through a fine mesh sieve into a clean bowl, cool it to room temperature, then cover and refrigerate for at least four hours or overnight if you can wait.
- Churn it up:
- Process the chilled base in your ice cream maker following the manufacturer directions until it looks thick, fluffy, and roughly the texture of soft serve.
- Finish in the freezer:
- Transfer the churned ice cream to a freezer safe container, press a piece of parchment against the surface, cover tightly, and freeze for at least two hours before scooping.
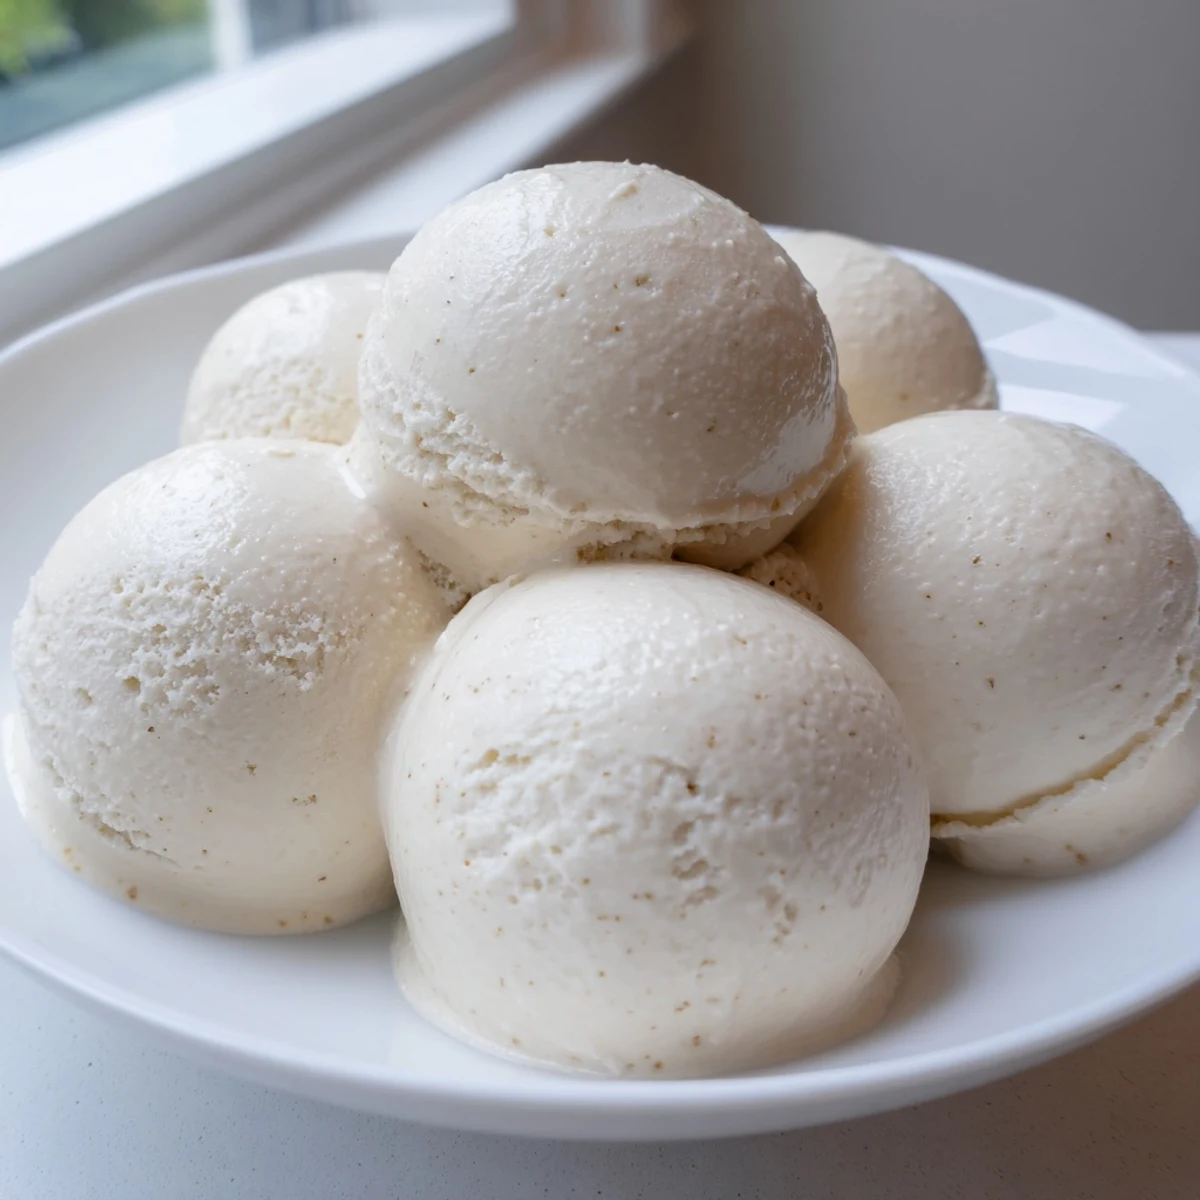 Save to Pinterest
 There is something deeply satisfying about pulling a container of your own ice cream from the freezer when guests drop by unexpectedly. It turns a casual weeknight into a tiny celebration without any effort at all.
Getting Creative With Mix Ins
Fold in chocolate chips, chopped fruit, or swirl caramel through the ice cream right after churning for endless variation. My personal favorite is a ribbon of warm fudge that hardens into chewy pockets throughout the batch.
Dairy Free Adaptation
Swap the cream and milk for full fat coconut milk and the result is surprisingly luxurious with a gentle tropical undertone. The egg yolks still work beautifully in this version, creating the same silky custard structure.
Storage and Serving Wisdom
Homemade ice cream is best eaten within a week because it lacks the commercial stabilizers that keep factory brands smooth for months. Let it sit at room temperature for five minutes before scooping to save your wrist and your spoon.
- Press parchment paper directly against the surface before sealing to prevent ice crystals from forming on top.
- A shallow wide container freezes more evenly than a tall deep one.
- Always label the container with the date so you know when it is at peak deliciousness.
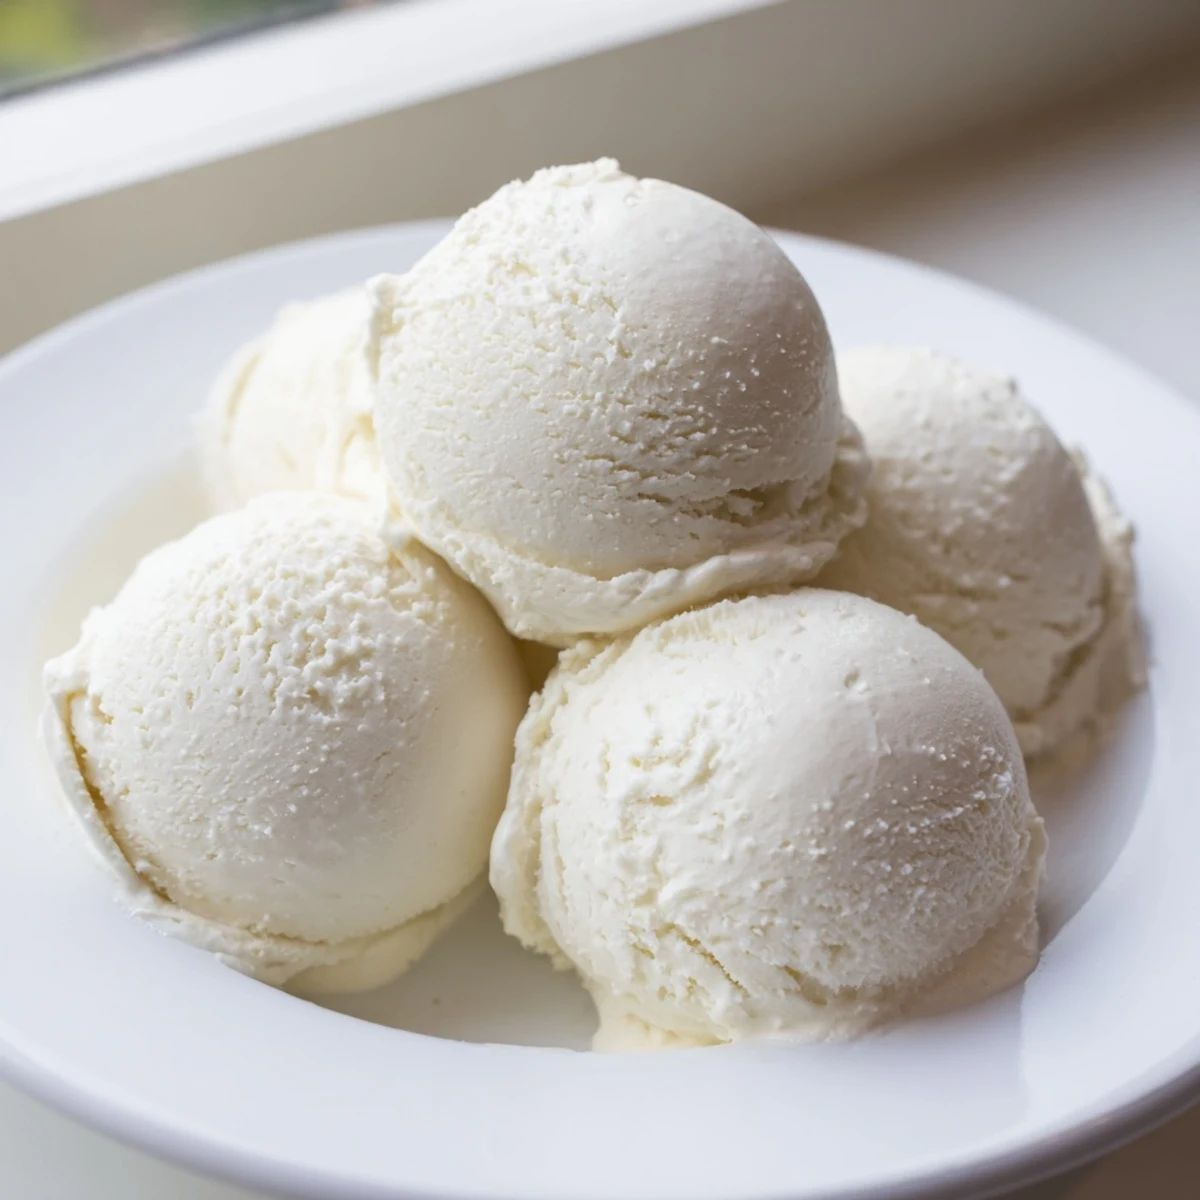 Save to Pinterest
 Once you master this vanilla base, every flavor under the sun opens up to you and you will never look at the freezer aisle the same way again. Your only regret will be not having made a double batch.
Recipe FAQs
- → How long does it take to make this frozen dessert?
-
The active preparation takes about 30 minutes, but you'll need to plan ahead. The custard base requires at least 4 hours to chill thoroughly before churning, and the final product needs 2 hours in the freezer to reach the perfect consistency. Total time including freezing is approximately 6 hours.
- → Can I make this without an ice cream maker?
-
While an ice cream maker creates the smoothest texture, you can still make this without one. After chilling the custard, place it in a freezer-safe container and freeze. Every 30 minutes for the first 3 hours, remove and whisk vigorously to break up ice crystals. The texture will be slightly denser but still delicious.
- → Why do I need to temper the egg yolks?
-
Tempering prevents the eggs from scrambling when added to the hot cream mixture. By slowly introducing warm liquid while whisking constantly, you gradually raise the egg temperature. This creates a smooth, silky custard base that's essential for that professional-quality texture.
- → How do I know when the custard is thick enough?
-
The custard is ready when it coats the back of a wooden spoon and you can run a finger through it without the mixture running back together. This typically happens at 170-175°F (76-80°C). Don't exceed this temperature or the eggs may scramble.
- → How long can I store this in the freezer?
-
Properly stored in an airtight container, your homemade treat will keep well for up to 2 weeks. For best flavor and texture, consume within the first week. Place a piece of parchment paper directly on the surface before sealing to prevent ice crystals from forming.
- → What other flavors can I add?
-
The vanilla base is incredibly versatile. Try adding melted chocolate for chocolate chip, swirl in fruit preserves or fresh berries, or fold in crushed cookies and candy pieces. For adult variations, a splash of liqueur adds wonderful flavor and helps keep the texture softer.
