 Save to Pinterest
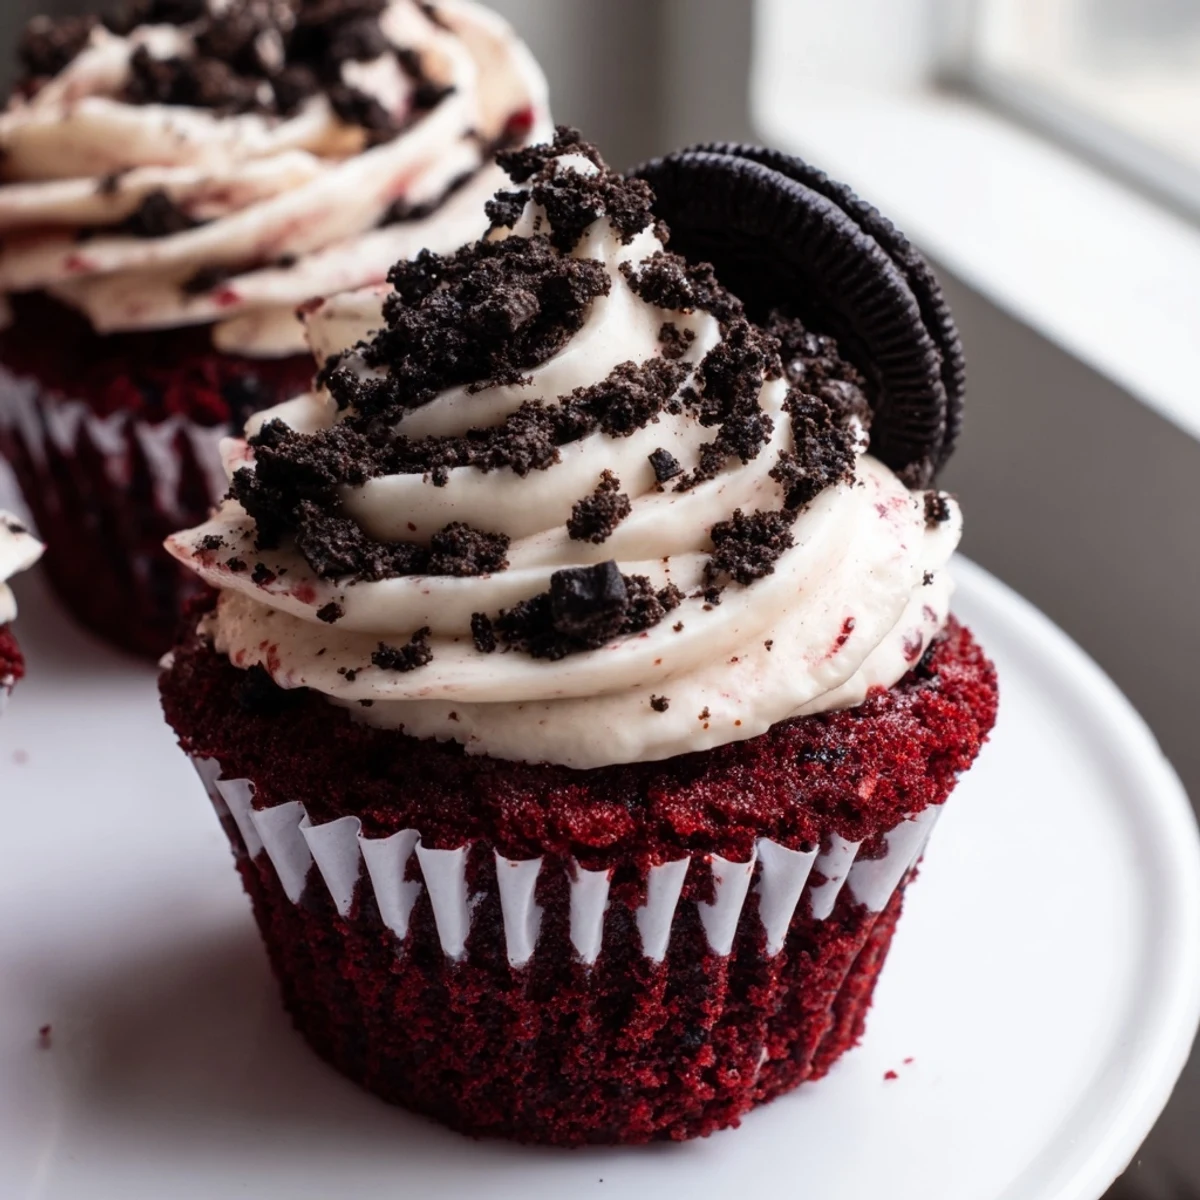
 These red velvet Oreo cupcakes bring together the best of two beloved treats in one indulgent bite. Each cupcake features a whole Oreo cookie tucked at the bottom, a moist and tender red velvet crumb, and a generous swirl of cream cheese frosting studded with crushed Oreo pieces.
The cocoa powder in the batter adds just enough chocolate depth without overpowering the classic red velvet flavor, while the buttermilk keeps every bite incredibly soft. The cream cheese frosting is whipped until light and fluffy, then gently folded with crushed Oreos for added texture and cookies-and-cream flavor throughout.
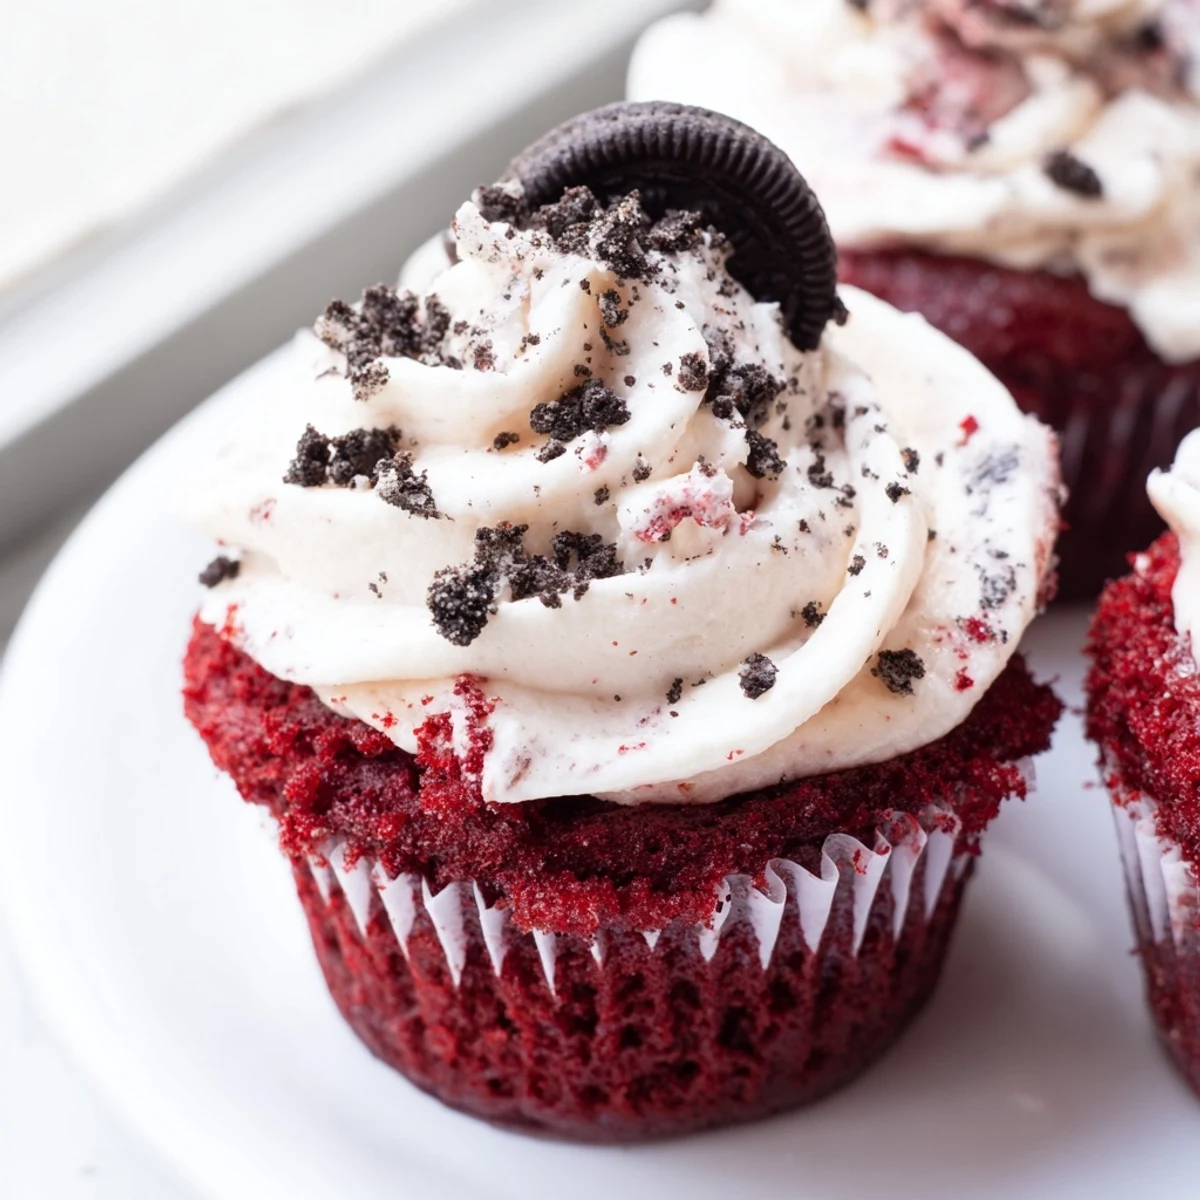
Ready in just 40 minutes, these cupcakes are perfect for parties, bake sales, or anytime you want something special. Garnish with mini Oreos or cookie crumbs for an extra touch that makes them as beautiful as they are delicious.
The oven timer had just gone off when my neighbor knocked on the door holding a sleeve of Oreos and a look of desperation. Her daughter's birthday was in three hours and the bakery had lost the order. I grabbed red food coloring without thinking and decided to mash two classics together, and those desperate cupcakes became the most requested dessert in our building for the next two years.
My kitchen looked like a crime scene that first attempt, red batter splattered across the counter, the mixer, and somehow the ceiling fan. I learned to go slow with the food coloring and to respect the power of gel over liquid. Now I make these every Valentine's Day and every random Tuesday that calls for something a little theatrical.
Ingredients
- 1 cup all-purpose flour: The structure of the cupcake, measured by spooning into the cup and leveling off with a knife for accuracy.
- 2 tbsp unsweetened cocoa powder: Just enough to give red velvet its signature subtle chocolate flavor without turning it into a full chocolate cake.
- 1/2 tsp baking soda and 1/4 tsp salt: The soda lifts the batter gently while salt sharpens every flavor underneath the sweetness.
- 1/2 cup unsalted butter, softened: Leave it out for an hour before starting, cold butter will leave you with lumpy batter and regret.
- 1 cup granulated sugar: Creamed with butter, this creates the tiny air pockets that keep the crumb tender.
- 2 large eggs, room temperature: Room temp eggs blend into the batter smoothly and help it rise evenly.
- 1/2 cup buttermilk, room temperature: This is what makes red velvet soft and slightly tangy, never skip it and never substitute regular milk.
- 1 tsp vanilla extract: A quiet background note that ties the chocolate and tang together.
- 1 tbsp red food coloring: Gel gives you a deeper crimson with less liquid, which means a better textured cupcake.
- 12 Oreo cookies plus extras: Whole cookies go at the base of each liner, and the extras become garnish and frosting magic.
- 8 oz cream cheese, softened: The soul of the frosting, let it warm up fully or you will chase lumps forever.
- 1/2 cup unsalted butter, softened: Combined with cream cheese, it makes the frosting pipeable and silky.
- 2 cups powdered sugar, sifted: Always sift it, hidden clumps will ruin the smooth finish you worked for.
- 4 crushed Oreo cookies for frosting: Folded in at the end for creamy little crunches throughout every bite of frosting.
Instructions
- Preheat and prepare:
- Set your oven to 350 degrees F and line a 12 cup muffin tin with paper liners. This is also the moment to make sure your butter and eggs are actually at room temperature.
- Plant the treasure:
- Nestle one whole Oreo cookie into the bottom of each liner. It will soften during baking into a chewy, fudgy base that catches everyone off guard in the best way.
- Whisk the dry team:
- In a medium bowl, combine the flour, cocoa powder, baking soda, and salt with a whisk. This step distributes everything evenly so you never get a pocket of baking soda in one bite.
- Cream butter and sugar:
- Beat the softened butter and sugar together in a large bowl until the mixture turns pale and looks almost fluffy, about three full minutes. Add the eggs one at a time, letting each disappear into the batter before adding the next.
- Bring in the red:
- Pour in the buttermilk, vanilla extract, and red food coloring and mix until the batter is a uniform, glorious crimson. Scrape down the sides of the bowl because red batter hides nothing.
- Combine wet and dry:
- Add the dry ingredients to the wet mixture in two or three additions, mixing just until each batch disappears. Stop mixing the moment everything is incorporated or you will build tough little cupcakes.
- Fill and bake:
- Divide the batter evenly over the Oreo cookies, filling each liner about three quarters full. Bake for 18 to 20 minutes, testing with a toothpick poked into the cake part, not the cookie, and let them cool completely.
- Make the frosting:
- Beat the cream cheese and butter together until perfectly smooth, then add the sifted powdered sugar and vanilla and whip until fluffy. Gently fold in the crushed Oreos with a spatula so the pieces stay chunky and proud.
- Finish with flair:
- Pipe or spread the frosting generously onto each cooled cupcake. Top with extra Oreo crumbs or mini cookies if you want them to look as dramatic as they taste.
 Save to Pinterest
 The birthday girl arrived home from school that afternoon, saw the tower of red cupcakes on the counter, and immediately hugged her mother without even tasting one. That hug told me these cupcakes were never really about the recipe.
Storing Your Leftovers
Because of the cream cheese frosting, these cupcakes need to live in the refrigerator after the first few hours at room temperature. I arrange them in a single layer inside an airtight container and they stay fresh for up to three days, though they rarely last that long in my house. Always let them sit out for about twenty minutes before eating so the frosting softens back to its proper texture.
Making Them Your Own
A pinch of espresso powder in the dry ingredients wakes up the chocolate flavor in a way that makes people ask what your secret is. You can swap the Oreos for golden Oreos if you want a lighter look, or use mint Oreos during the holidays for a version that tastes like a winter treat. I once pressed white chocolate shavings on top instead of cookie crumbs and the contrast against the red was striking enough to photograph.
Tools That Actually Help
You do not need fancy equipment for these but a few things make the process smoother and less messy.
- A piping bag gives you that bakery look but a zip top bag with the corner snipped off works just fine.
- An electric mixer saves your arm from the creaming step, which takes longer than you think by hand.
- Always taste a cooled cupcake before frosting so you know exactly what flavor base you are building on.
 Save to Pinterest
 Share these with someone who showed up at your door needing a little sweetness and they will remember the gesture longer than the recipe.
Recipe FAQs
- → Can I make these cupcakes without food coloring?
-
Yes, you can omit the red food coloring entirely. The cupcakes will have a brownish chocolate color instead of the signature red, but the flavor remains the same. If you want a natural alternative, try beetroot powder, though the color won't be as vibrant.
- → How should I store leftover cupcakes?
-
Store the cupcakes in an airtight container in the refrigerator for up to 3 days. Because of the cream cheese frosting, they should not be left at room temperature for extended periods. Let them sit out for about 15 minutes before serving to soften the frosting.
- → Can I use gel food coloring instead of liquid?
-
Absolutely. Gel food coloring actually produces a more vibrant, deeper red with less product than liquid coloring. Use about 1 teaspoon of gel and adjust until you reach your desired shade. The batter consistency won't be affected as much with gel.
- → What can I substitute for buttermilk?
-
You can make a homemade buttermilk substitute by adding 1 tablespoon of white vinegar or lemon juice to 1/2 cup of regular milk. Let it sit for 5 minutes until it slightly curdles, then use it as directed. Plain yogurt thinned with a little milk also works well.
- → Do I need to chop the Oreo at the bottom of the cupcake?
-
No, place the whole Oreo cookie directly into the liner before adding the batter. It bakes into the bottom of the cupcake and creates a delicious cookie crust layer. The cookie softens slightly during baking but retains a pleasant texture contrast.
- → Can I freeze these cupcakes?
-
Yes, you can freeze the unfrosted cupcakes for up to 2 months. Wrap them individually in plastic wrap and place in a freezer bag. Thaw at room temperature, then add the freshly made frosting before serving. Freezing already-frosted cupcakes is possible but the frosting texture may change slightly.
