 Save to Pinterest
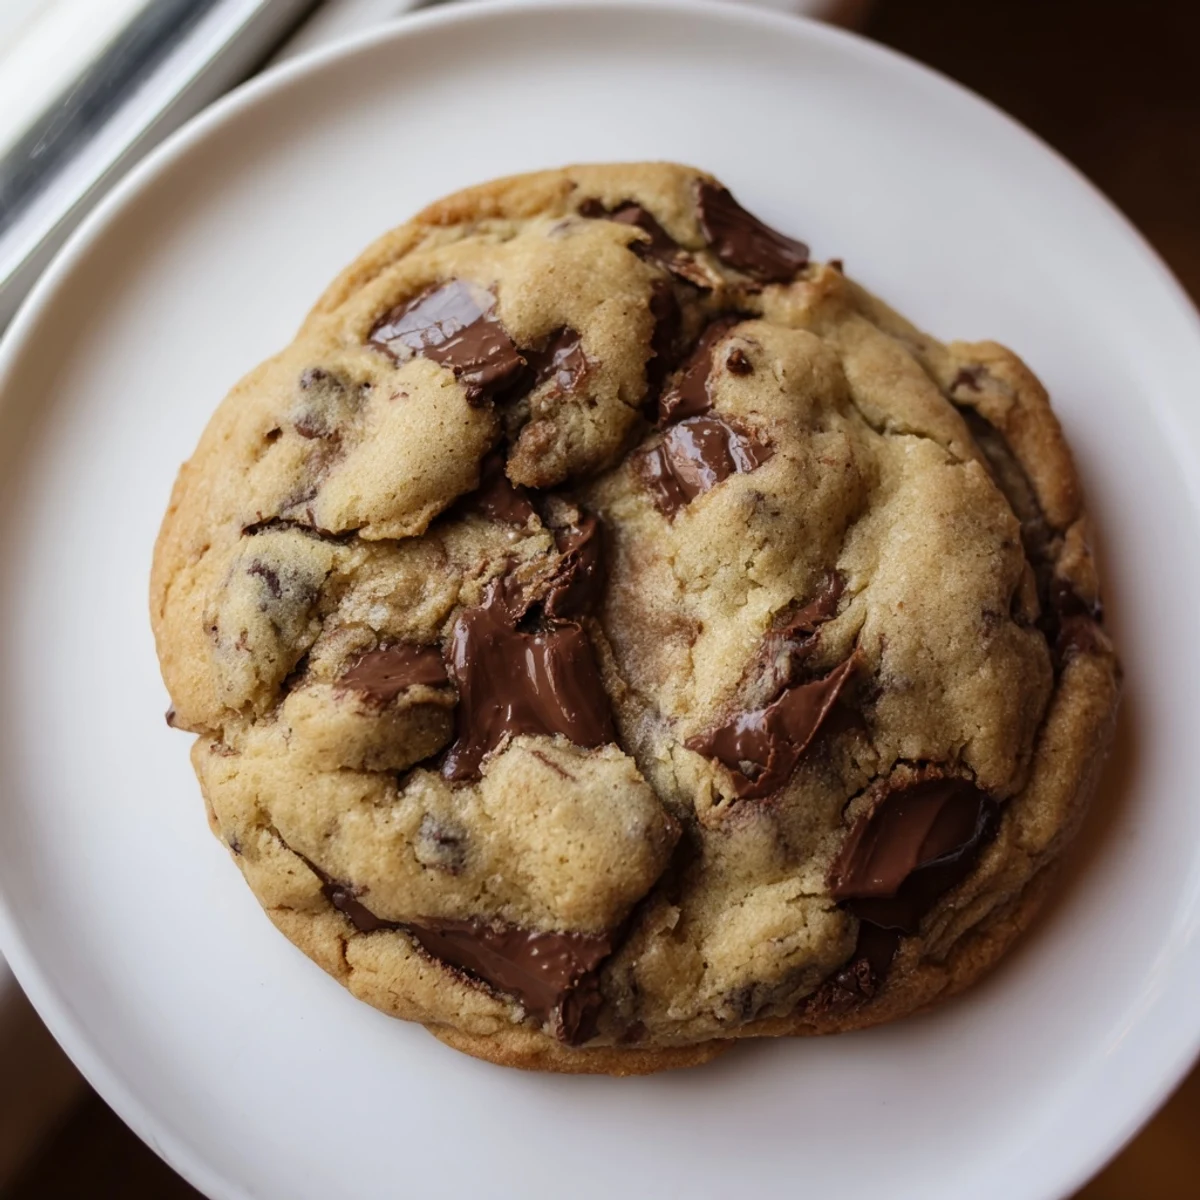
 These soft and chewy chocolate chip cookies deliver all the classic flavor you love without any nuts. The dough comes together in just 15 minutes with basic pantry staples like flour, butter, sugars, and semi-sweet chocolate chips. Bake for 9-11 minutes until edges are golden but centers remain slightly soft for that perfect chewy texture. Chill the dough for 30 minutes before baking for extra chewiness, or swap in white chocolate chips and dried fruit for variety.
My apartment building had a potluck last fall, and three different kids showed up with nut allergies. I’d been making the same chocolate chip recipe for years, but suddenly every cookie on the table became a minefield. That weekend I spent hours at the grocery store, reading labels on six different chocolate chip brands until I found one manufactured in a completely nut-free facility. The kids’ parents actually cried when they saw my cookie plate, and honestly, watching those kids finally eat dessert with everyone else changed how I think about sharing food.
Last December my sister came to visit, and she mentioned shes started dating someone with a severe tree nut allergy. I made a batch of these while we caught up, and she took one bite and immediately called him to say she found a cookie he could actually eat. They came over for dinner that weekend, and watching him casually grab seconds like it was no big deal thats the kind of kitchen moment that sticks with you.
Ingredients
- 2 1/4 cups all-purpose flour: The foundation here. Spoon and level it instead of scooping directly so you dont pack too much in.
- 1 tsp baking soda: This gives you that perfect lift and spread. I buy fresh every few months because it loses potency sitting in the pantry.
- 1/2 tsp salt: Dont skip it. Salt makes chocolate taste more chocolatey, its basically kitchen magic.
- 1 cup unsalted butter softened: Room temperature is non-negotiable. Leave it out for at least an hour or youll end up with weird pocket of unmixed butter.
- 3/4 cup granulated sugar: Creates that crisp edge everyone fights over.
- 3/4 cup light brown sugar packed: The molasses here is what keeps the centers soft and chewy.
- 2 large eggs: Cold eggs can make your butter seize, so let them sit out while the butter softens.
- 2 tsp pure vanilla extract: I know its expensive but the fake stuff tastes noticeably different in something this simple.
- 2 cups nut-free semi-sweet chocolate chips: Read the package carefully. Some brands say nut-free but are made in facilities that process nuts.
Instructions
- Get your oven ready:
- Preheat to 350°F and line two baking sheets with parchment paper. The parchment saves you from scrubbing baked-on sugar later.
- Mix the dry ingredients:
- Whisk together the flour, baking soda, and salt in a medium bowl. Set it aside so youre not scrambling mid-recipe.
- Cream your butter and sugars:
- Beat the softened butter with both sugars until the mixture looks pale and fluffy, about 2-3 minutes. This step is where you get that bakery texture.
- Add eggs and vanilla:
- Beat in the eggs one at a time, then mix in the vanilla. The dough might look slightly curdled, thats totally normal.
- Combine everything:
- Gradually mix in the dry ingredients until just combined. A few streaks of flour are better than overmixing, which makes tough cookies.
- Fold in the chocolate:
- Stir in the chocolate chips by hand with a spatula. The mixer breaks them into tiny pieces and nobody wants that.
- Scoop and space:
- Drop rounded tablespoons of dough onto the prepared sheets, leaving about 2 inches between each scoop. They spread more than you think.
- Bake until golden:
- Bake for 9-11 minutes until the edges are lightly golden and centers still look slightly underdone. They keep cooking on the hot pan.
- Cool completely:
- Let them sit on the baking sheets for 5 minutes, then move to a wire rack. This is the hardest part because they smell incredible.
 Save to Pinterest
 My niece asked if she could help me bake when she turned eight, and I realized this was the perfect recipe to teach her. We made such a mess flour everywhere, egg shells in the dough at one point but she was so proud handing out those cookies to her friends later. Now every time she visits, she asks to make the nut-free ones even though nobody in her family has allergies. Some recipes just belong to certain people, I guess.
Getting That Perfect Texture
The difference between a good cookie and a great cookie usually comes down to timing. I used to bake them until they looked completely done, but they turned hard as rocks by the next day. Pulling them out when the centers still look slightly soft feels wrong, but trust the process. They firm up beautifully during those crucial five minutes on the hot baking sheet. Underbaking by just one minute can transform your entire batch into something that lasts for days without getting stale or crunchy.
Making Them Your Own
Once I nailed the base recipe, I started playing around with variations that keep the nut-free promise intact. Nut-free white chocolate chips make these taste like a fancy bakery cookie, and dried cranberries turn them into something closer to a dessert youd serve at a dinner party. I even had success with chopped dried cherries and dark chocolate chunks. The beauty is that the dough itself is so forgiving you can pivot based on what you have in the pantry or whos coming over for dinner.
Storage And Sharing
These cookies freeze beautifully if you need to get ahead for a party or school event. I bake a double batch, let them cool completely, then layer them between wax paper in a freezer-safe container. They thaw at room temperature in about 20 minutes and taste freshly baked. The real trick is not telling anyone they were frozen at all, because suddenly youre the person who always has homemade cookies ready, even on busy weeknights.
- Freeze the dough scoops instead of baked cookies for fresh-from-the-oven cookies anytime
- Label anything nut-free prominently if youre bringing them to share
- Keep the baking sheets for your first batch while shaping the next batch of dough balls
 Save to Pinterest
 Theres something incredibly grounding about a recipe that makes everyone feel included at the table. These cookies have become my go-to for potlucks, school events, and just keeping in the cookie jar. Watching someone finally relax and grab dessert without asking a dozen questions first thats why I keep making them.
Recipe FAQs
- → Why chill the dough before baking?
-
Chilling the dough for 30 minutes helps prevent excessive spreading in the oven and creates a denser, chewier texture. The cold dough also enhances flavor development as the flour hydrates and the sugars dissolve more thoroughly.
- → How do I know when they're done baking?
-
The cookies are ready when the edges are golden brown but the centers still look slightly soft and underbaked. They will continue cooking on the hot baking sheet during the 5-minute cooling period, resulting in perfectly chewy centers.
- → Can I use salted butter instead?
-
Yes, simply reduce the added salt from 1/2 teaspoon to 1/4 teaspoon to account for the salt already present in the butter. The overall flavor and texture will remain consistent.
- → What makes these nut-free?
-
These cookies contain no nuts or nut-derived ingredients. The key is verifying that your chocolate chips and other packaged ingredients are certified nut-free, as cross-contamination can occur during manufacturing facilities.
- → How should I store these cookies?
-
Store completely cooled cookies in an airtight container at room temperature for up to 5 days. For longer storage, freeze the baked cookies in freezer bags for up to 3 months, or freeze the dough balls to bake fresh later.
