 Save to Pinterest
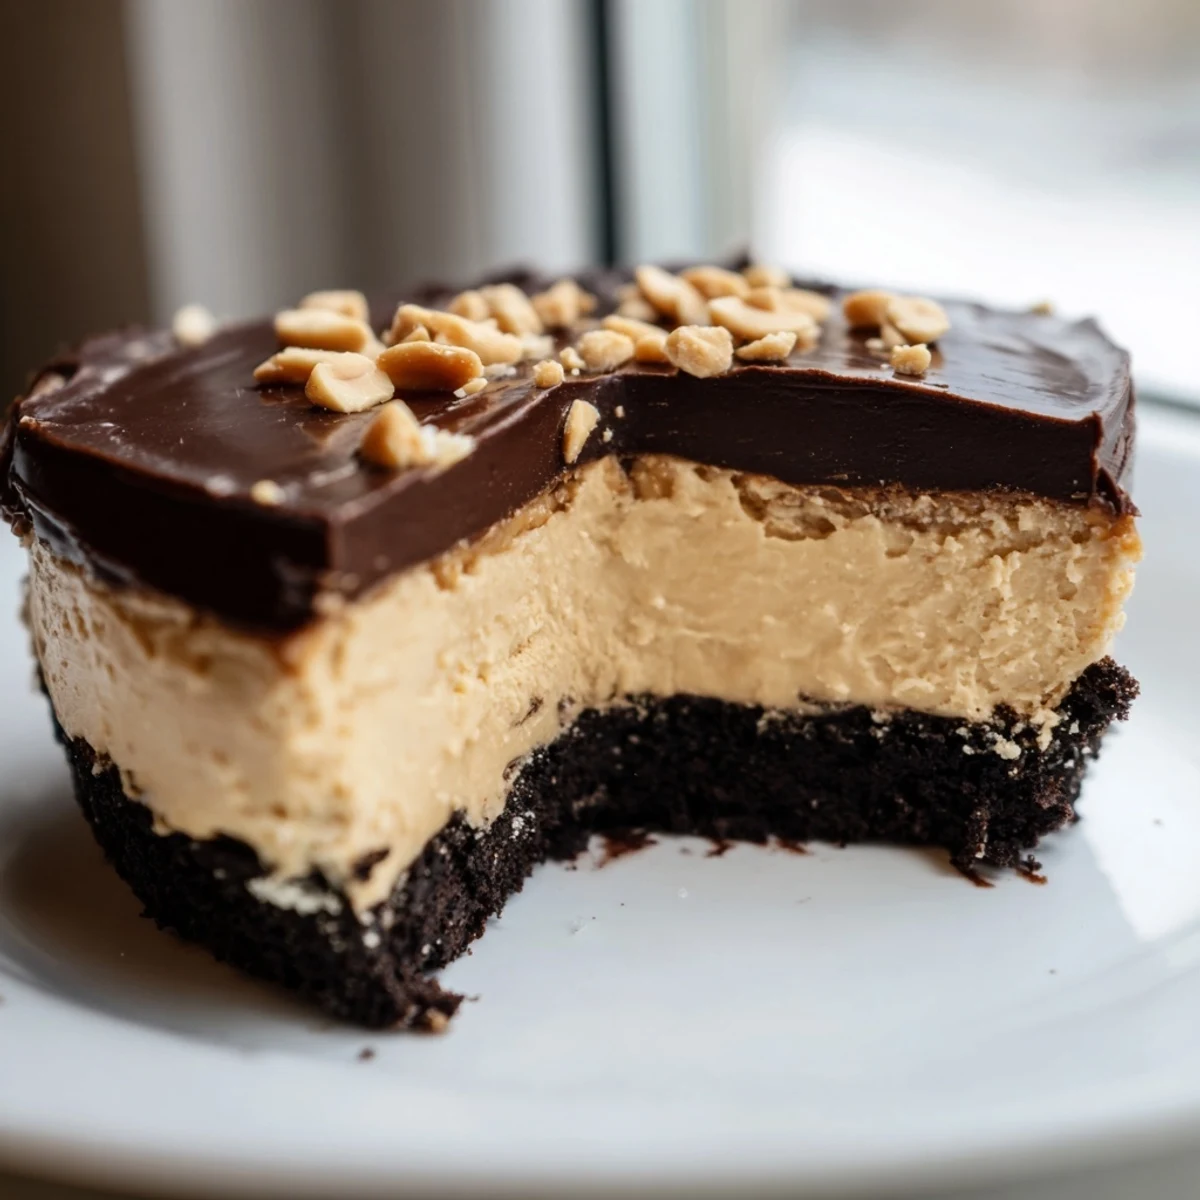
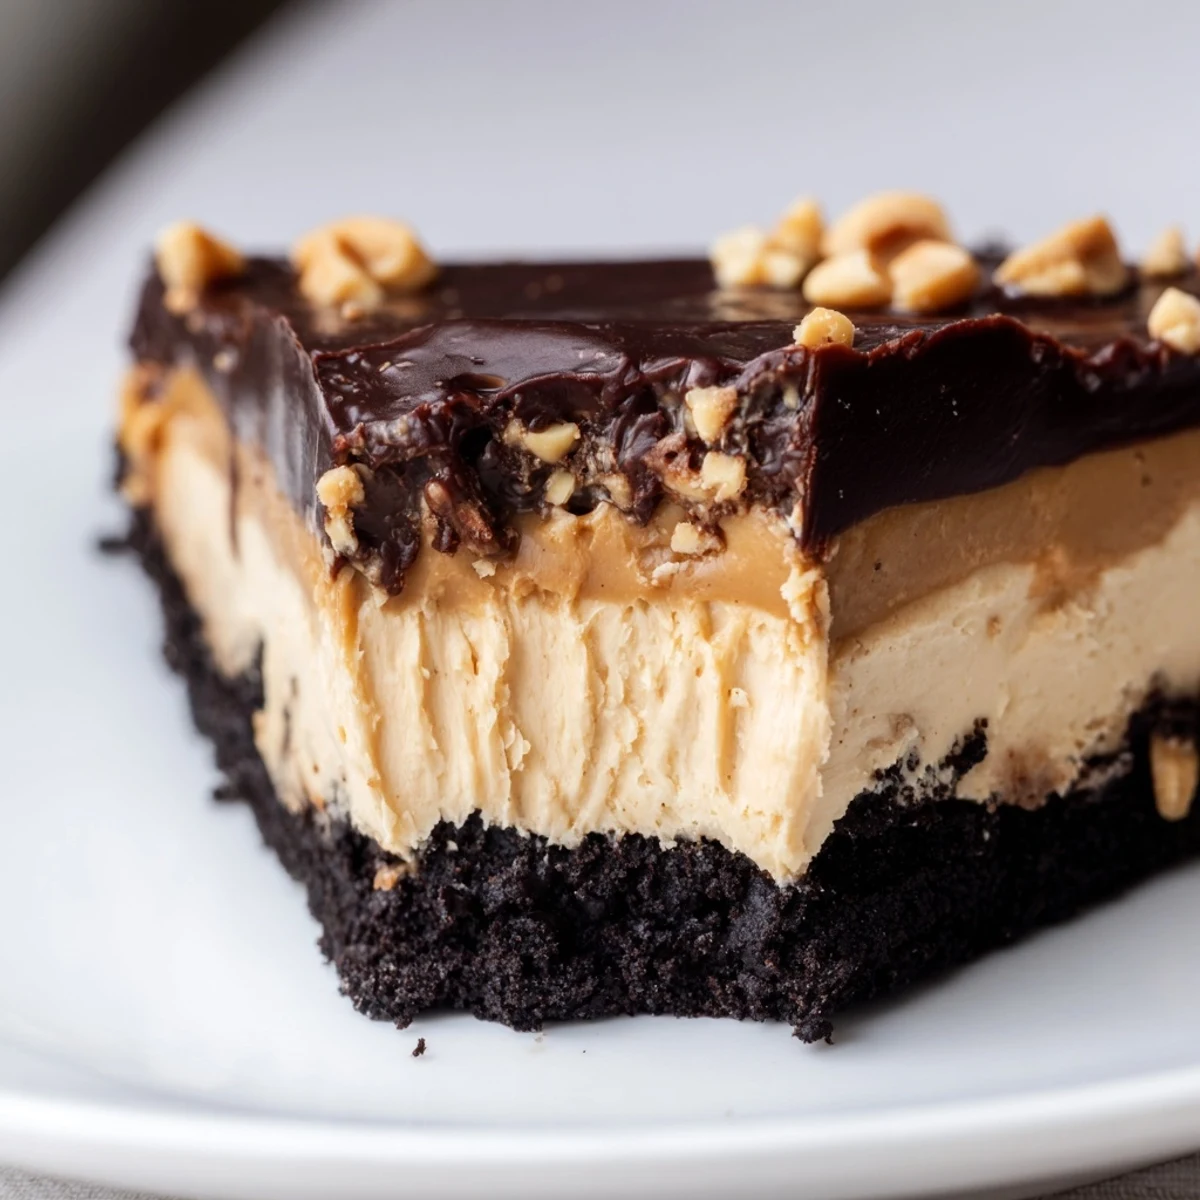
 This indulgent dessert features a velvety smooth peanut butter filling made with cream cheese, whipped cream, and powdered sugar, all nestled in a crunchy chocolate sandwich cookie crust. The entire pie comes together in just 20 minutes of active preparation time—simply press the crumb crust into your pie dish, whip up the creamy peanut butter filling, and chill until set. The optional chocolate ganache topping adds an extra layer of richness, while chopped peanuts provide a satisfying salty crunch. Perfect for make-ahead entertaining, this classic American dessert keeps beautifully in the refrigerator for several days and serves eight generously.
My sister accidentally made this for what she called her "dessert emergency" when she realized she'd forgotten to bake a birthday cake until the morning of the party. We've never looked back. There's something almost magical about a pie that tastes this indulgent but requires zero oven time.
I brought this to a potluck last summer and watched three different people ask for the recipe within ten minutes of cutting the first slice. My favorite moment was watching my usually skeptical father-in-law take a bite, his eyes go wide, and immediately ask "Is there more of that?"
Ingredients
- Chocolate sandwich cookies: The filling in these cookies actually helps bind the crust together, so don't bother scraping it out
- Unsalted butter: Melt it completely so every cookie crumb gets coated and the crust holds together when you slice
- Creamy peanut butter: Room temperature peanut butter blends much smoother, so take it out of the cupboard while you crush the cookies
- Cream cheese: Let this soften fully on the counter for at least an hour to avoid any tiny lumps in your silky filling
- Powdered sugar: Sift it if you see any clumps, though beating usually handles this
- Heavy cream: Ice-cold from the fridge whips up best and faster than you'd expect
- Pure vanilla extract: This tiny amount wakes up all the flavors without making it taste like vanilla
- Extra cream and chocolate chips: The ganache topping is optional but honestly worth every extra minute
- Chopped salted peanuts: That little hit of salt cuts through the sweetness and adds a wonderful crunch
Instructions
- Build the chocolate crust:
- blitz those cookies into fine crumbs, then stir in melted butter until everything looks like wet sand. Press the mixture firmly into your pie dish and pop it in the fridge to set while you make the filling.
- Create the creamy base:
- Beat the peanut butter, softened cream cheese and powdered sugar until completely smooth and no lumps remain.
- Whip the cream:
- In a separate bowl, whip that cold heavy cream with vanilla until you have stiff peaks that hold their shape when you lift the beaters.
- Combine the filling:
- Gently fold the whipped cream into the peanut butter mixture, taking care not to overmix. Spread this cloud-like filling into your waiting crust.
- Add the ganache topping:
- Heat the extra cream until steaming, pour over chocolate chips and wait two minutes. Stir until smooth and glossy, then spread over the peanut butter layer and sprinkle with peanuts.
- Let it set:
- Chill the pie for at least four hours until it's firm enough to cut cleanly.
 Save to Pinterest
 This pie has become my go-to for new neighbors and housewarming gifts because it travels so well and never fails to impress. Something about that first silky bite just makes people feel at home.
Making It Ahead
You can prepare this pie up to two days in advance and it actually tastes better after the flavors have had time to meld. Just cover it loosely with foil once it's fully set and store it in the coldest part of your fridge.
Get Creative
Swap the chocolate cookies for vanilla wafers if you want a lighter crust that still works beautifully. During holidays I've added crushed candy canes to the topping or drizzled with salted caramel instead of ganache.
Serving Ideas
Room temperature slices reveal the creamy texture best, so take the pie out about fifteen minutes before serving.
- Top each slice with a dollop of lightly sweetened whipped cream
- Drizzle with extra melted peanut butter for serious peanut butter lovers
- Crush a few extra cookies on top for that restaurant style finish
 Save to Pinterest
 There's something deeply satisfying about serving a dessert that looks and tastes this impressive without ever turning on the oven.
Recipe FAQs
- → How long does no-bake peanut butter pie need to chill?
-
The pie needs to chill for at least 4 hours to set properly. This allows the filling to firm up and the crust to become stable. For best results, chill overnight—the flavors deepen and the texture becomes perfectly sliceable.
- → Can I make this peanut butter pie ahead of time?
-
Absolutely. This pie actually tastes better when made a day ahead. You can prepare it up to 3 days in advance and store it covered in the refrigerator. The ganache topping should be added the same day as serving for the freshest appearance.
- → What type of peanut butter works best?
-
Creamy commercial peanut butter provides the smoothest texture. Natural peanut butter can separate and make the filling slightly grainy. If you prefer extra texture, crunchy peanut butter works wonderfully—just expect small peanut pieces throughout.
- → Can I freeze this no-bake pie?
-
Yes, freeze without the ganache topping for up to 2 months. Wrap tightly in plastic wrap and foil, then thaw overnight in the refrigerator. The texture remains remarkably creamy after freezing, though the crust may soften slightly.
- → What can I substitute for chocolate sandwich cookies?
-
Try graham crackers, vanilla wafers, or chocolate graham crackers for the crust. For a gluten-free version, use gluten-free chocolate sandwich cookies or a combination of almond flour and cocoa powder.
