 Save to Pinterest
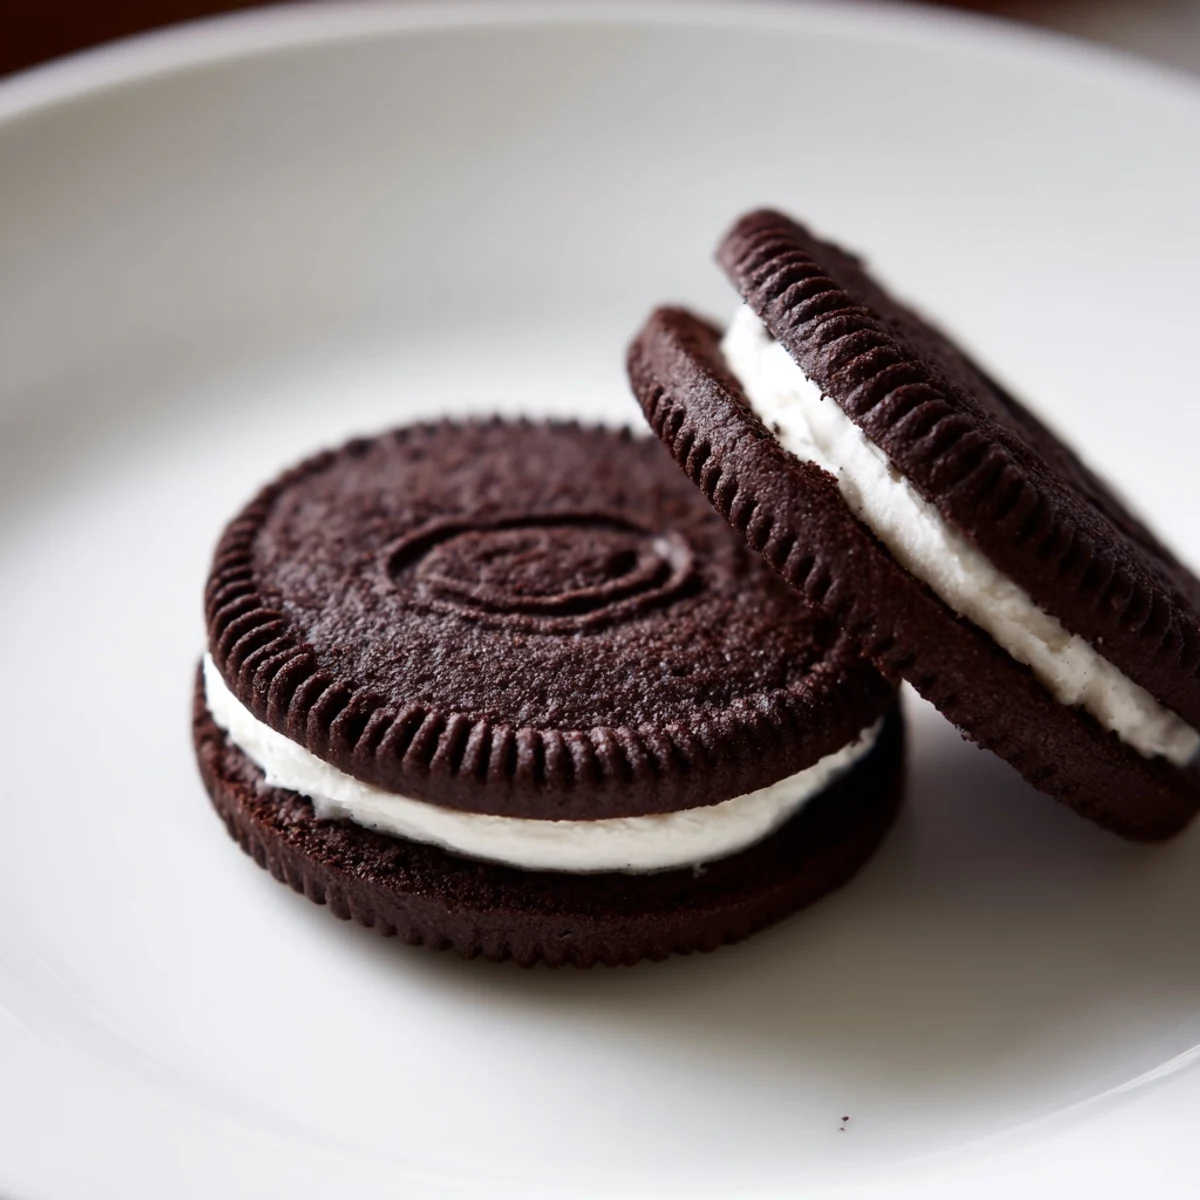
 In a straightforward process, dark cocoa dough is creamed, chilled briefly, rolled into 1-inch rounds and baked at 350°F until set. The filling blends butter, shortening and sifted powdered sugar with vanilla for a silky vanilla center. Assemble into 18 sandwiches, press gently to spread filling. Variations: add espresso powder for depth or swap shortening with extra butter. Store airtight up to 5 days.
The unmistakable scent of dark cocoa and buttercream wafting through my apartment on a rainy Saturday afternoon is what homemade Oreos will always mean to me. I had been staring at an empty cookie jar and a half used bag of cocoa powder when the craving hit hard enough to actually do something about it. Two hours later I had chocolate smudges on my forehead, flour on the cat, and eighteen sandwich cookies that vanished within forty eight hours. Store bought never stood a chance after that.
My neighbor knocked on my door the first time I made these, claiming she could smell chocolate through the hallway vents. We ended up sitting on my kitchen floor with a plate of warm cookies between us, laughing about how neither of us could stop at just one.
Ingredients
- All purpose flour (1 cup, 125 g): Provides structure without making the cookies cakey, so measure with a light hand.
- Unsweetened Dutch process cocoa powder (¾ cup, 70 g): This is the soul of the cookie and Dutch process gives that deep, nearly black color.
- Granulated sugar (1 cup, 200 g): Balances the intense cocoa bitterness and helps crisp the edges.
- Baking soda (½ tsp): Just enough lift to keep them from turning into hockey pucks.
- Salt (¼ tsp): A small pinch that makes the chocolate taste more like itself.
- Unsalted butter, softened (½ cup, 115 g): Room temperature butter creams smoothly and avoids lumps in the dough.
- Large egg (1): Binds everything into a cohesive, rollable dough.
- Vanilla extract (1 tsp): Rounds out the cocoa flavor with warm, floral notes.
- Unsalted butter for filling (¼ cup, 60 g): Softened butter gives the filling its silky base.
- Vegetable shortening (¼ cup, 55 g): Keeps the filling stable at room temperature and gives that classic creamy texture.
- Powdered sugar, sifted (1½ cups, 180 g): Sifting is nonnegotiable here unless you enjoy lumpy frosting.
- Vanilla extract for filling (1 tsp): Double down on vanilla for a filling that tastes like the real thing.
- Salt, pinch: Just a whisper of salt makes the sweetness bearable and addictive.
Instructions
- Preheat and prepare:
- Set your oven to 350°F (175°C) and line two baking sheets with parchment paper so nothing sticks.
- Sift the dry ingredients:
- Sift the flour, cocoa powder, baking soda, and salt together into a bowl, watching for any stubborn cocoa lumps.
- Cream butter and sugar:
- Beat the softened butter and granulated sugar until the mixture turns pale and looks fluffy, then add the egg and vanilla until fully combined.
- Bring the dough together:
- Gradually fold the dry mixture into the wet until a thick, stiff dough forms that pulls away cleanly from the sides of the bowl.
- Shape the cookies:
- Roll tablespoon sized portions into balls and place them two inches apart, then flatten each one gently with the bottom of a glass or your palm.
- Bake until set:
- Bake for 10 to 12 minutes until the tops look dry and feel barely firm, then let them rest on the pan for five minutes before moving to a rack.
- Whip the filling:
- Beat the butter, shortening, powdered sugar, vanilla, and salt together until the mixture turns pale, fluffy, and completely smooth.
- Assemble the sandwiches:
- Pipe or spread a generous tablespoon of filling onto the flat side of half the cookies, then press the remaining cookies on top gently until the cream reaches the edges.
- Let them set:
- Give the assembled cookies 10 to 15 minutes at room temperature so the filling firms up before serving or stacking.
 Save to Pinterest
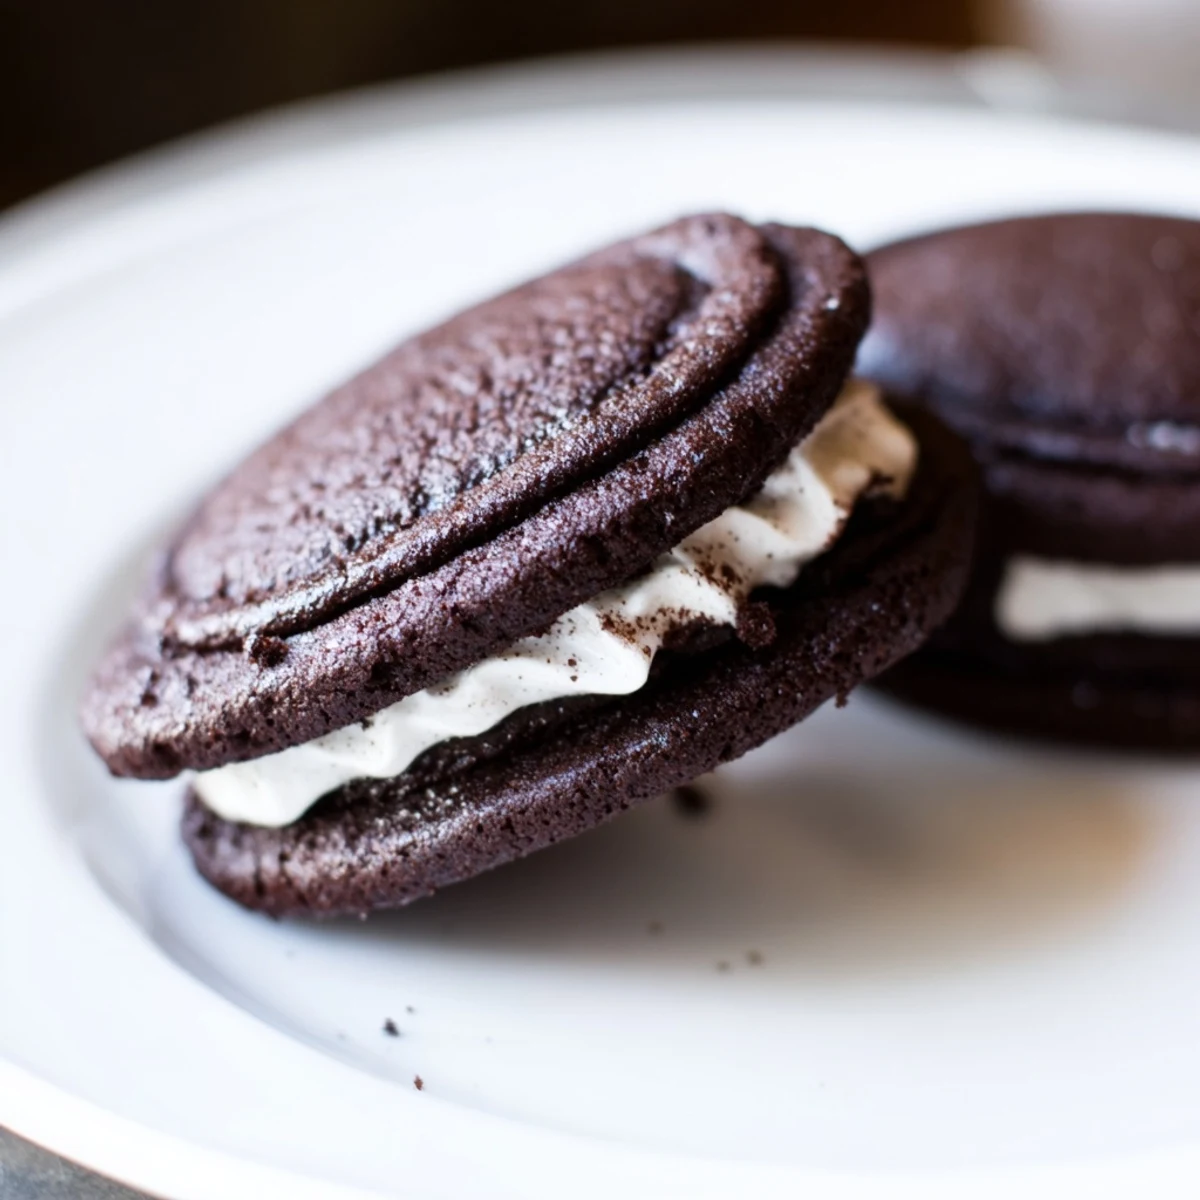
 I packed a tin of these for a road trip once and my friend ate every single cookie before we made it past the city limits. We had to stop at a gas station for real food, but neither of us regretted a thing.
Storing and Make Ahead
These cookies stay remarkably fresh in an airtight container at room temperature for up to five days, though mine rarely last that long. You can also freeze the baked cookies individually wrapped for up to a month.
Dunking and Serving Ideas
A tall glass of cold milk is the obvious companion, but I discovered that strong black coffee creates an almost mocha like experience that elevates both the cookie and the drink. Warm tea works surprisingly well too.
Tools That Make This Easier
An electric mixer saves your arm during the creaming and filling steps, though a sturdy spoon and determination will get you there eventually. Here are the things I reach for every time.
- Parchment paper is essential because these cookies will stick to bare metal.
- A piping bag makes neat, even filling blobs but a zip top bag with a corner snipped off works beautifully.
- Let your butter truly come to room temperature before starting or nothing will cream properly.
 Save to Pinterest
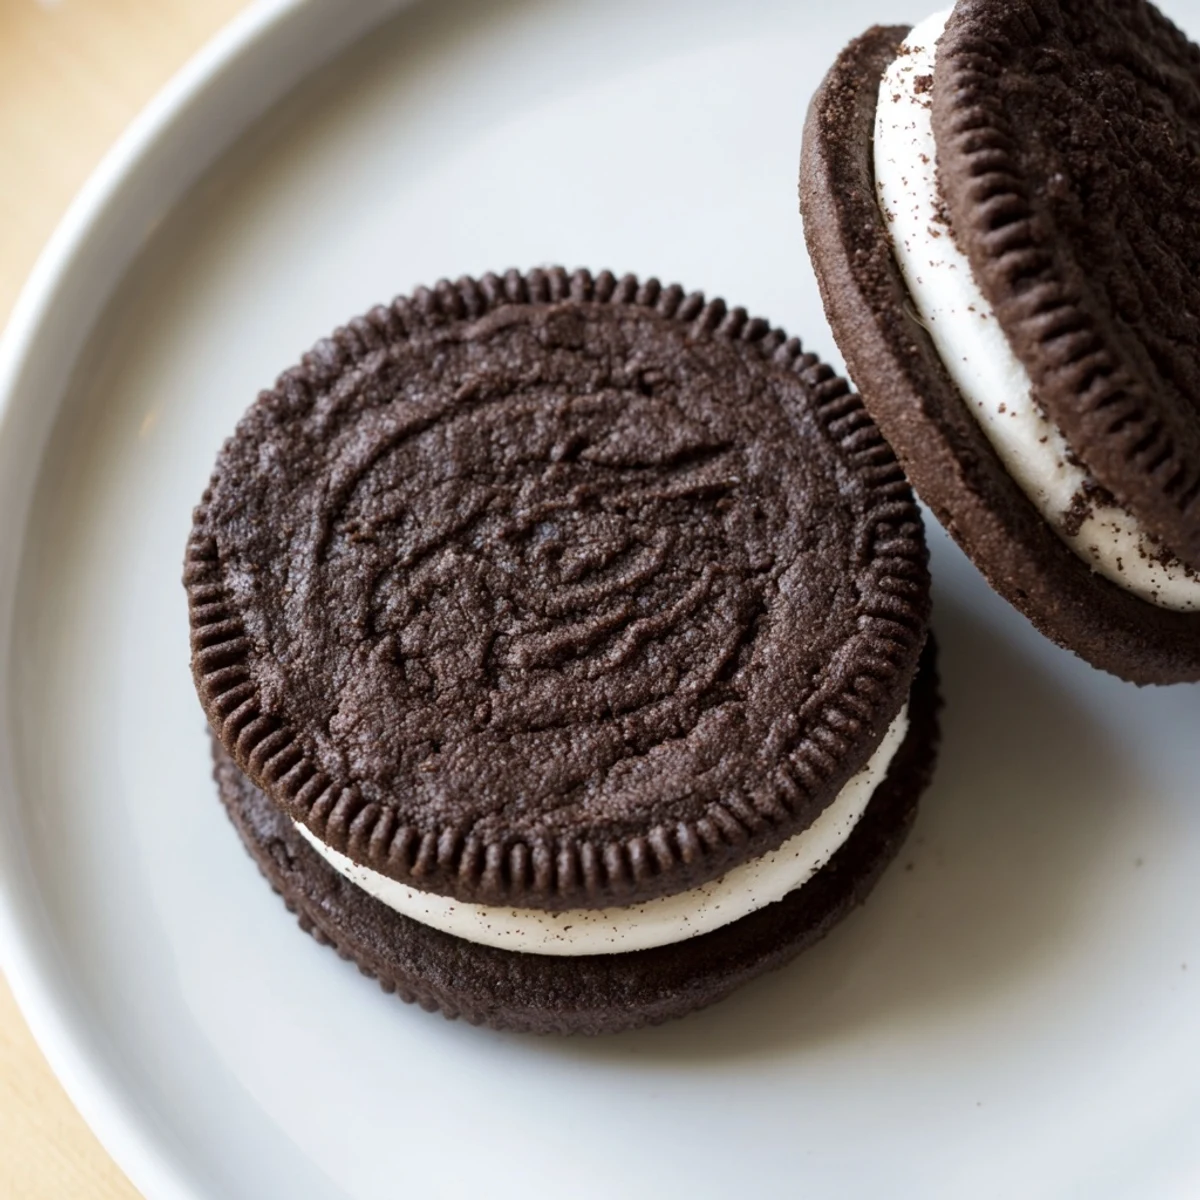
 Once you have made these from scratch, the packaged version will always feel like a compromise. Share them generously, hide a few for yourself, and enjoy every chocolate smeared moment.
Recipe FAQs
- → How do I get a tender but firm cookie texture?
-
Cream the butter and sugar until light, avoid overmixing once the flour is added, and bake just until set. Let cookies cool on the sheet for a few minutes before transferring to a rack to finish firming up.
- → Can I replace shortening in the filling?
-
Yes. Swap shortening for extra softened butter for a richer, more buttery filling. The texture will be slightly softer and less stable at warm room temperatures.
- → Will espresso powder change the taste much?
-
A teaspoon of instant espresso powder enhances the chocolate depth without adding a coffee flavor. It brightens the cocoa, especially in Dutch-process cocoa blends.
- → How should I store the assembled sandwiches?
-
Place cookies in a single layer in an airtight container at room temperature for up to 5 days. Use parchment layers if stacking to prevent sticking and maintain shape.
- → What’s the best way to pipe the filling evenly?
-
Use a piping bag fitted with a plain round tip or a zip-top bag with a corner snipped. Pipe about 1 tablespoon onto half the cookies, then top and press gently to spread to the edges.
- → How far apart should I place dough balls on the sheet?
-
Space 2 inches apart. Flatten slightly before baking so they set properly and maintain an even surface for sandwiching.
