 Save to Pinterest
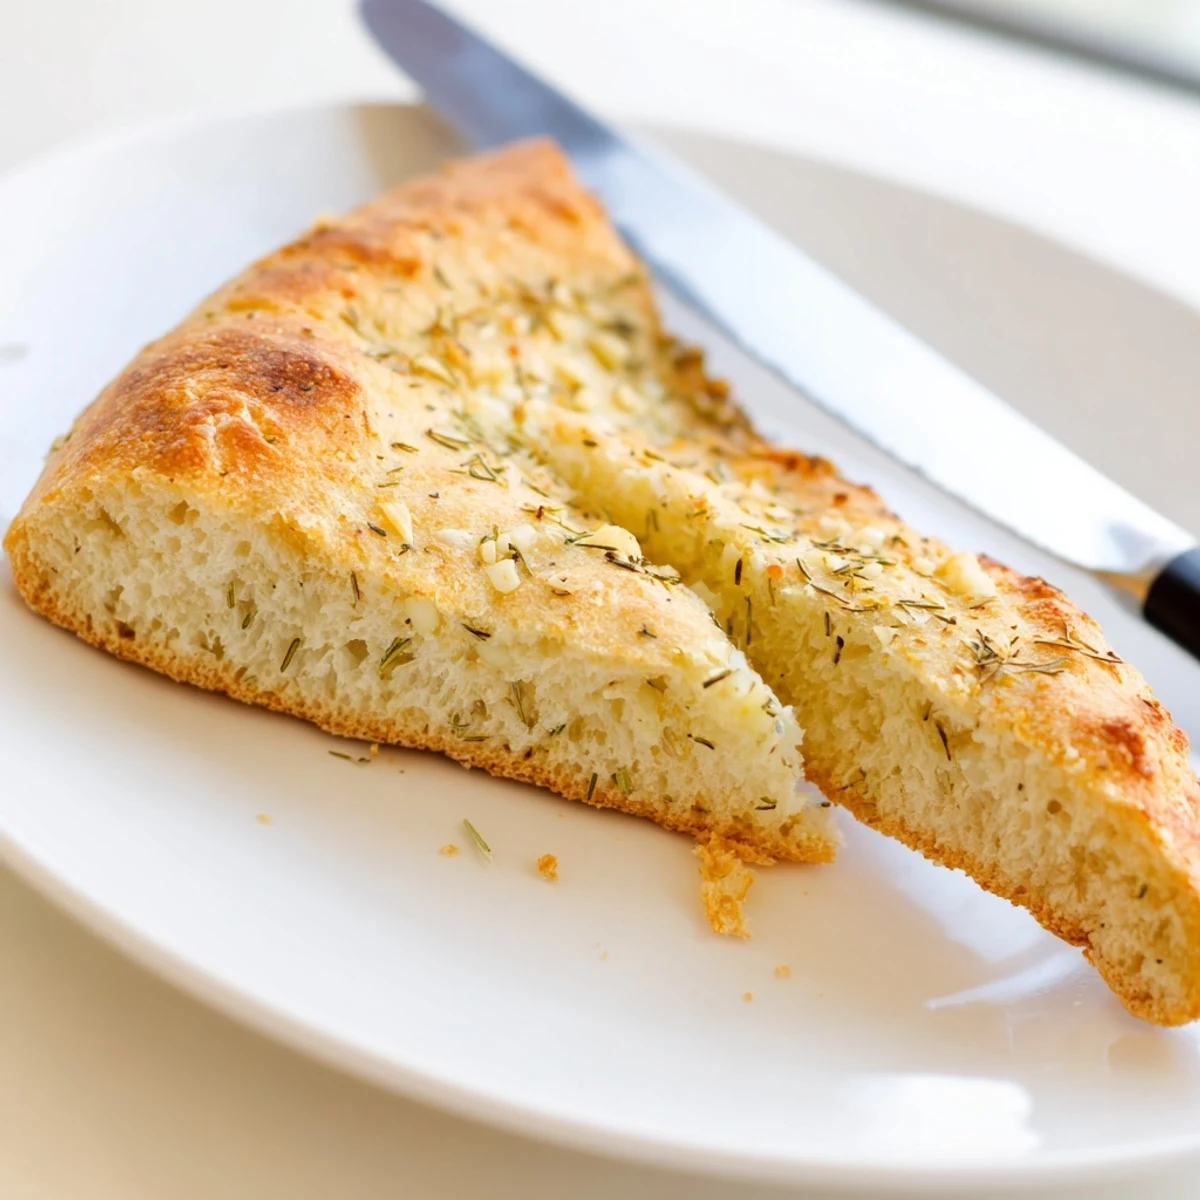
 This artisan-style loaf combines fresh garlic and aromatic rosemary in a rustic European bread that delivers professional bakery results from your home kitchen. The Dutch oven creates a steam-filled environment that produces a beautifully golden, crackly crust while maintaining a tender, flavorful interior perfect for soaking up soups or serving alongside hearty meals.
My tiny apartment kitchen smelled incredible the first time I attempted this bread. I had fresh rosemary from a failed windowsill garden and way too much garlic, so I threw them both into a simple no-knead dough. The crust that emerged from my Dutch oven was so spectacular I ate half the loaf standing right by the counter.
Last winter my sister came over during a snowstorm and we ate warm slices with salted butter while watching old movies. She kept asking what bakery I had visited and I got to feel like a kitchen wizard. Now she requests this bread every time she visits, and honestly I love having an excuse to make it.
Ingredients
- Bread flour: The higher protein content gives this bread structure and that satisfying chewy texture. All purpose works in a pinch but the texture will be slightly softer.
- Fine sea salt: Coarse salt wont distribute evenly through the dough. Fine salt ensures every bite has the right balance of flavor.
- Active dry yeast: This tiny amount works because of the long fermentation time. Instant yeast also works if thats what you have on hand.
- Lukewarm water: Think bathwater temperature. Too hot and you will kill the yeast. Too cold and the dough will take forever to rise.
- Olive oil: Adds subtle richness and helps keep the interior tender. Use your best extra virgin for a noticeable depth of flavor.
- Fresh garlic: Minced finely so it distributes throughout the crumb. Roasted garlic adds a mellow sweetness but raw gives you that punchy aromatic kick.
- Fresh rosemary: Dried rosemary can be woody and tough. Fresh needles chopped small release their oils beautifully into the dough.
Instructions
- Mix your dry base:
- Whisk the flour salt and yeast in a large bowl until thoroughly combined. This ensures the yeast and salt are evenly distributed throughout every bite of bread.
- Add the wet ingredients:
- Pour in the lukewarm water and olive oil stirring with a wooden spoon or your hands until a shaggy sticky dough forms. It will look messy and that is exactly right.
- Fold in the aromatics:
- Add the minced garlic and chopped rosemary folding them gently into the dough. You want them evenly distributed but avoid overworking the dough at this stage.
- Let the dough rise:
- Cover the bowl tightly with plastic wrap or a damp towel and set it somewhere warm for 2 to 3 hours. The dough should double in size and look puffy with bubbles on the surface.
- Shape your loaf:
- Turn the dough onto a lightly floured surface and gently fold the edges toward the center to form a ball. Handle it lightly to preserve all those beautiful air bubbles you have created.
- Prepare for baking:
- Place the dough seam side down on a piece of parchment paper and cover it loosely. Let it rest for 30 to 45 minutes while you preheat your oven.
- Preheat with authority:
- Put your Dutch oven and its lid into a cold oven then heat to 450°F. Let it get thoroughly hot for at least 30 minutes because that initial blast of heat is what creates the spectacular crust.
- Bake covered:
- Carefully lift the parchment and dough into the screaming hot Dutch oven. Cover immediately and bake for 30 minutes. The trapped steam creates the perfect crust.
- Reveal the beauty:
- Remove the lid and bake for another 12 to 15 minutes until the crust is a deep golden brown. Watch it closely in the last minutes because it can darken fast.
- Cool completely:
- Let the bread rest on a wire rack for at least 20 minutes before slicing. Cutting into hot bread will give you a gummy interior so patience really pays off here.
 Save to Pinterest
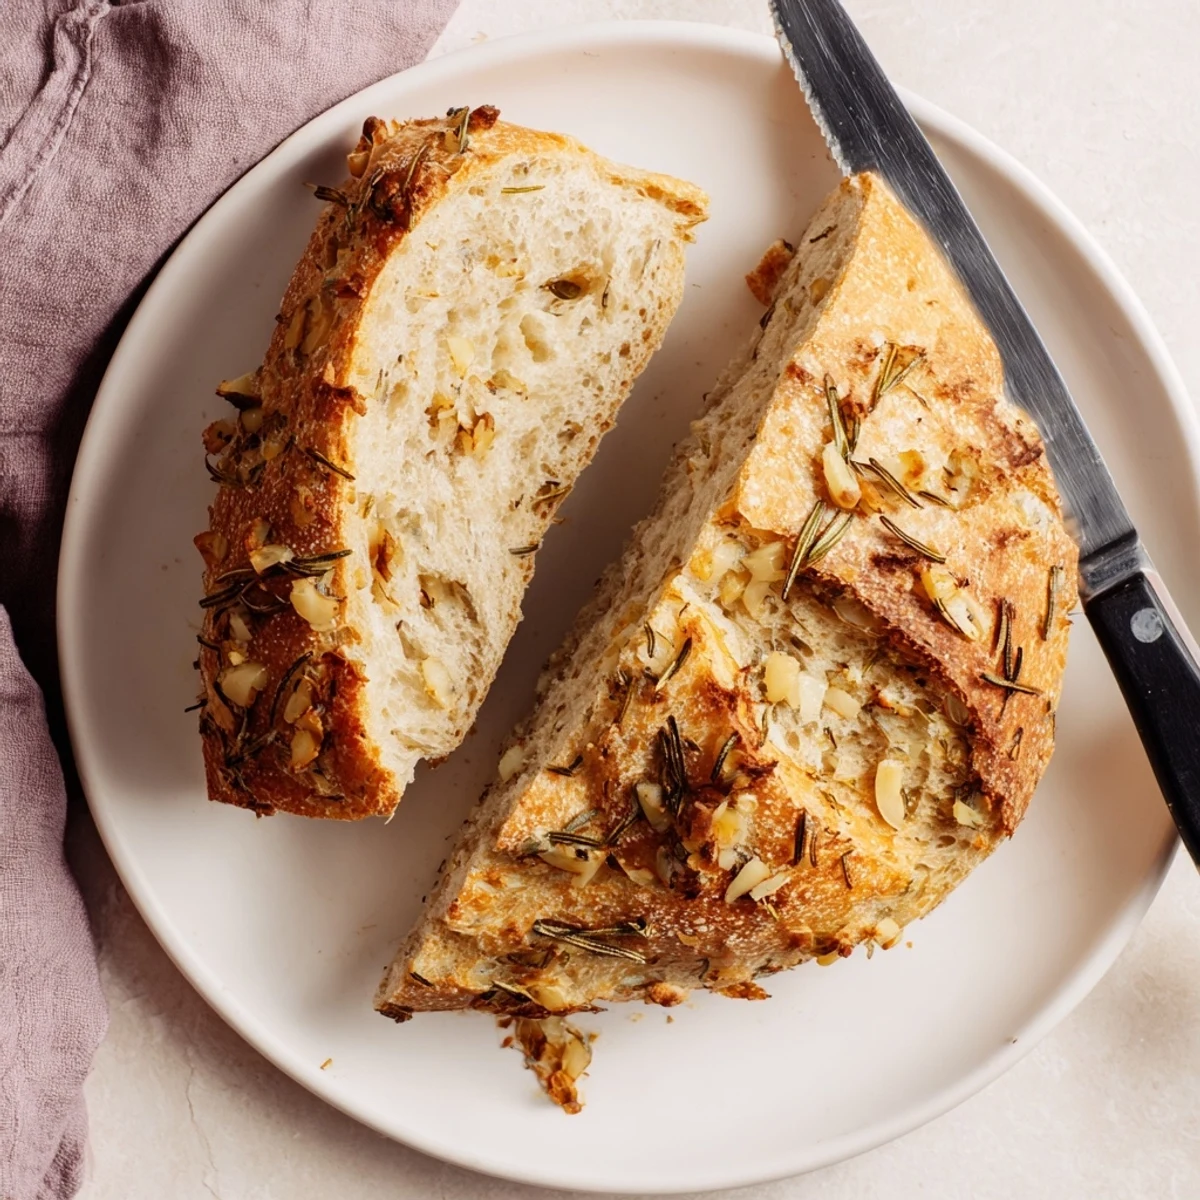
 This bread has become my go to housewarming gift and people always act like I have performed some culinary miracle. There is something deeply satisfying about pulling a perfect loaf out of a simple pot and hearing that crackle of the crust cooling on the rack.
Making It Your Own
Kalamata olives add a briny punch that balances the garlic beautifully. Sun dried tomatoes bring sweetness and chew. I once added cubed cheddar and it was dangerously good. Just keep additions to about a half cup total so you do not overwhelm the dough structure.
Timing Your Bake
The dough needs about 3 hours from mixing to baking but most of that is hands off. I often mix it before leaving for errands and bake when I get home. The long fermentation actually develops better flavor so do not rush the rise times.
Storage and Leftovers
This bread is best eaten the day it is made when the crust is at its crispest. Store any leftovers in a paper bag at room temperature never plastic which makes the crust tough. Day old bread makes exceptional toast or croutons.
- Wrap cooled bread tightly in foil and freeze for up to a month
- Revive a day old loaf in a 375°F oven for 10 minutes
- Stale slices transform into the best garlic bread you have ever had
 Save to Pinterest
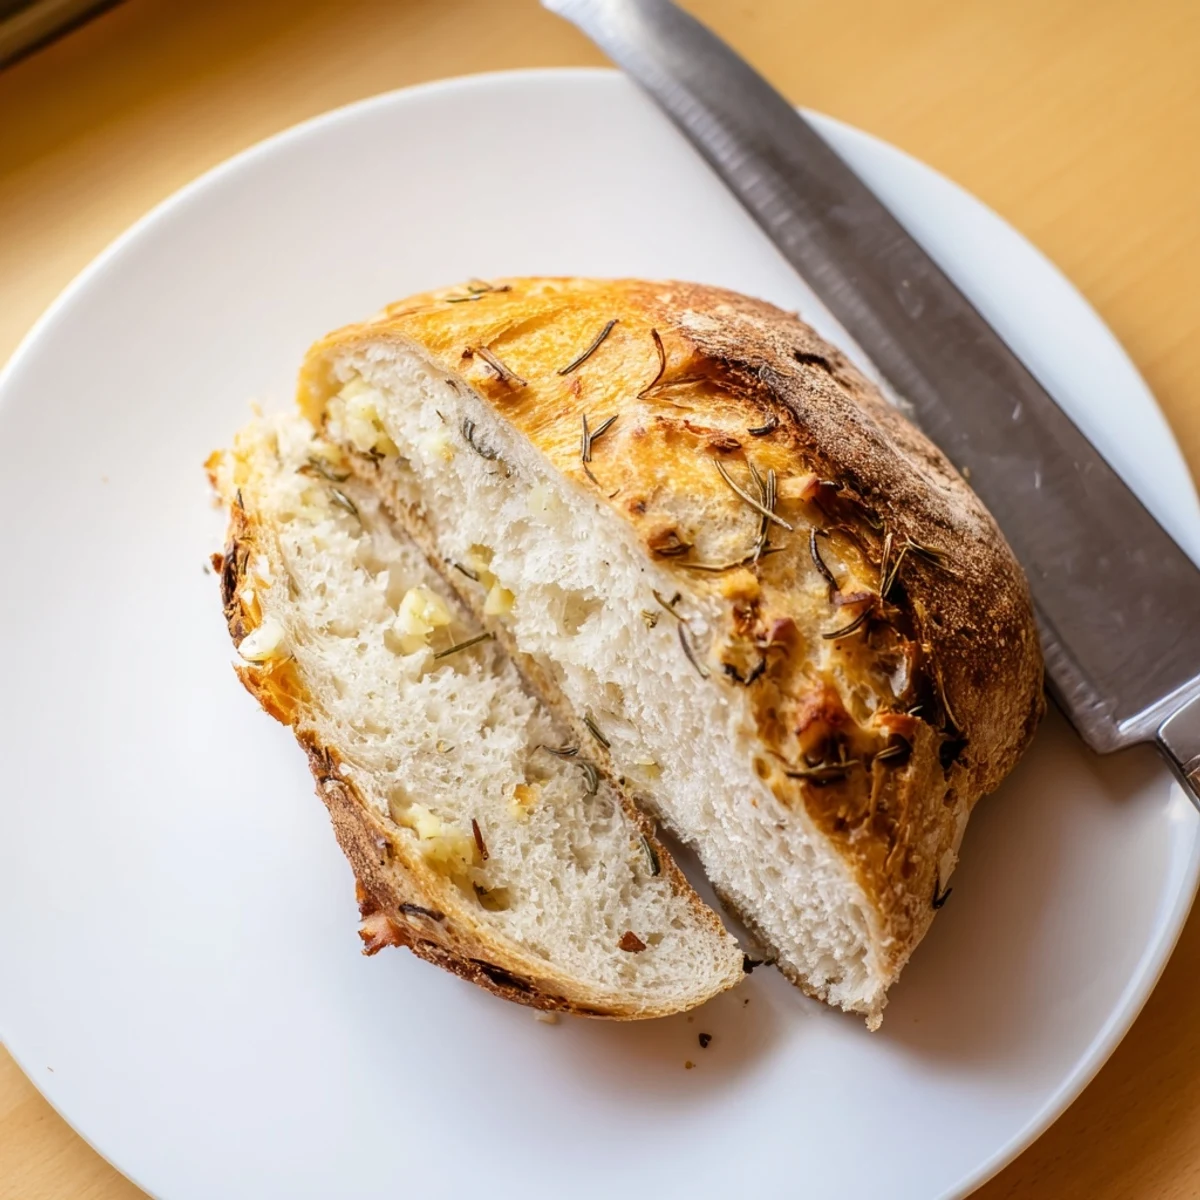
 Tear off a warm slice slather it with good butter and try not to eat the entire loaf yourself. Some things in life are just worth the carbs.
Recipe FAQs
- → Why use a Dutch oven for bread?
-
The Dutch oven traps steam during baking, creating the perfect environment for a crispy, golden crust to form while keeping the interior soft and moist. This mimics professional steam-injected deck ovens used in bakeries.
- → Can I make this without a Dutch oven?
-
You can use a heavy cast iron pot with a tight-fitting lid, or place a tray of water in the bottom of your oven to create steam. The results may vary slightly but will still yield delicious bread.
- → How do I know when the bread is done?
-
The crust should be deep golden brown and the bread should sound hollow when tapped on the bottom. An instant thermometer inserted into the center should read between 190-200°F (88-93°C).
- → Why is there so little yeast?
-
This dough uses a long fermentation method with less yeast, which develops deeper flavor and better texture. The extended rising time allows natural enzymes to break down starches, creating a more complex taste profile.
- → Can I add other ingredients?
-
This versatile base works wonderfully with kalamata olives, sun-dried tomatoes, caramelized onions, or even grated parmesan. Add these during step 3 when incorporating the garlic and rosemary.
