 Save to Pinterest
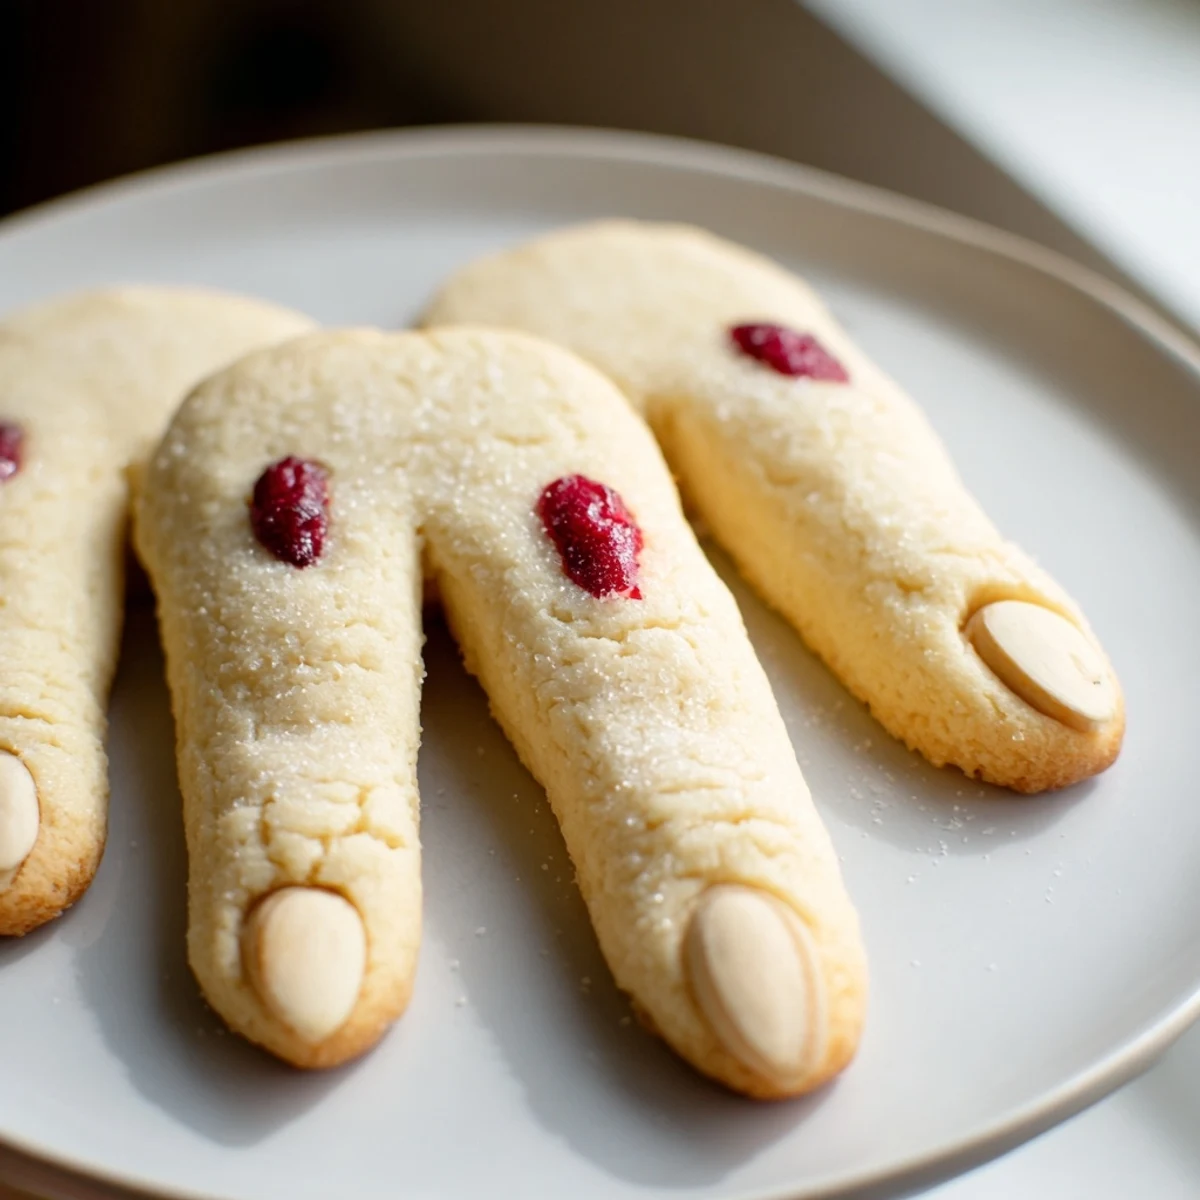
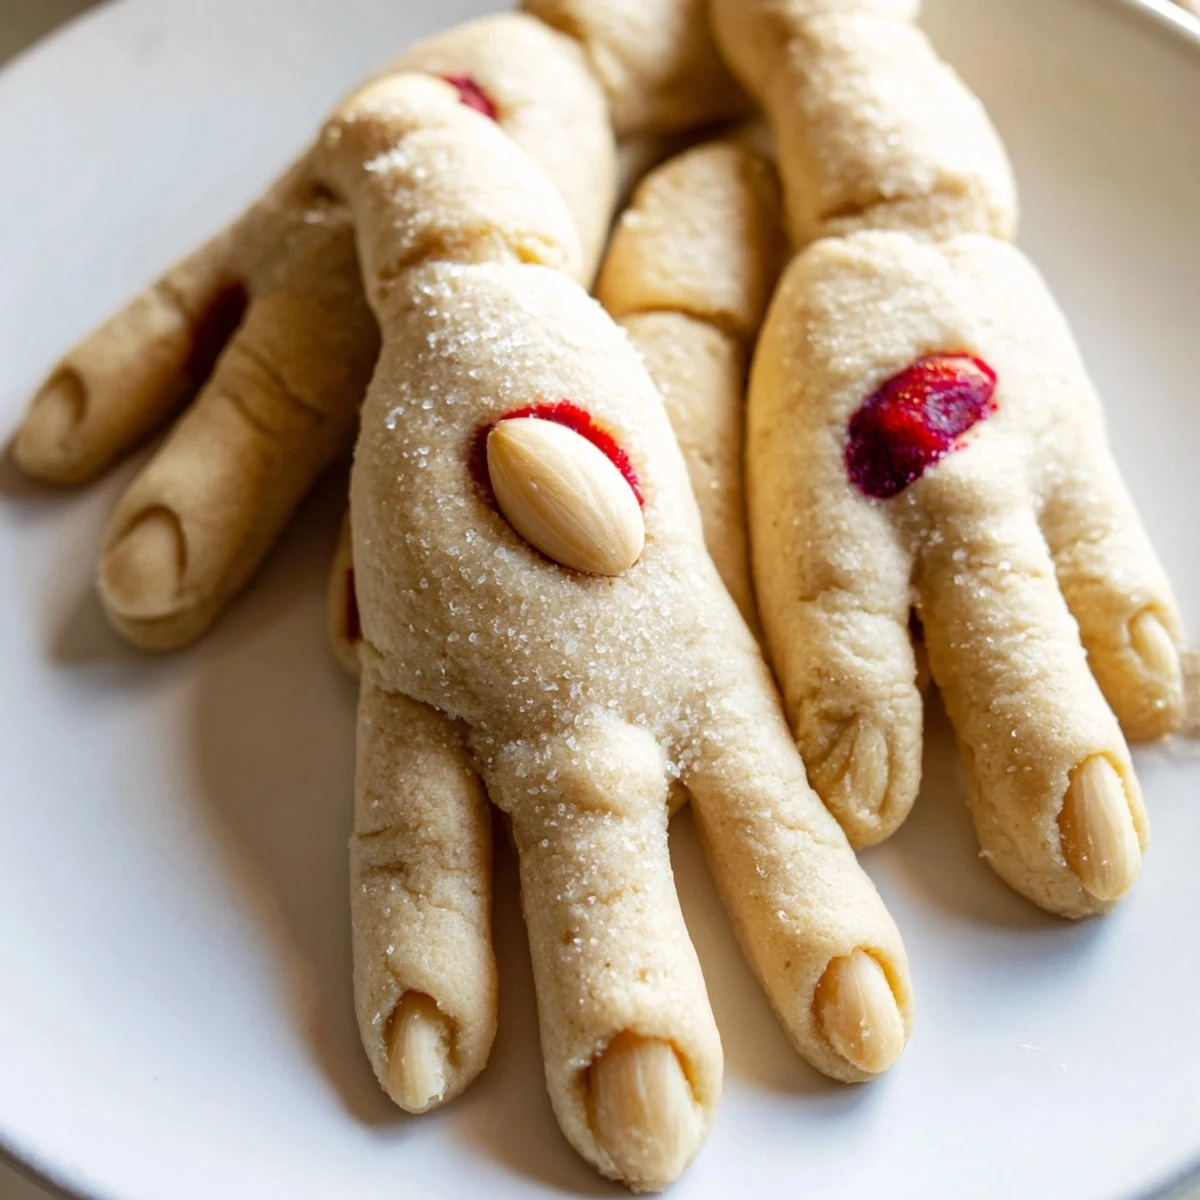
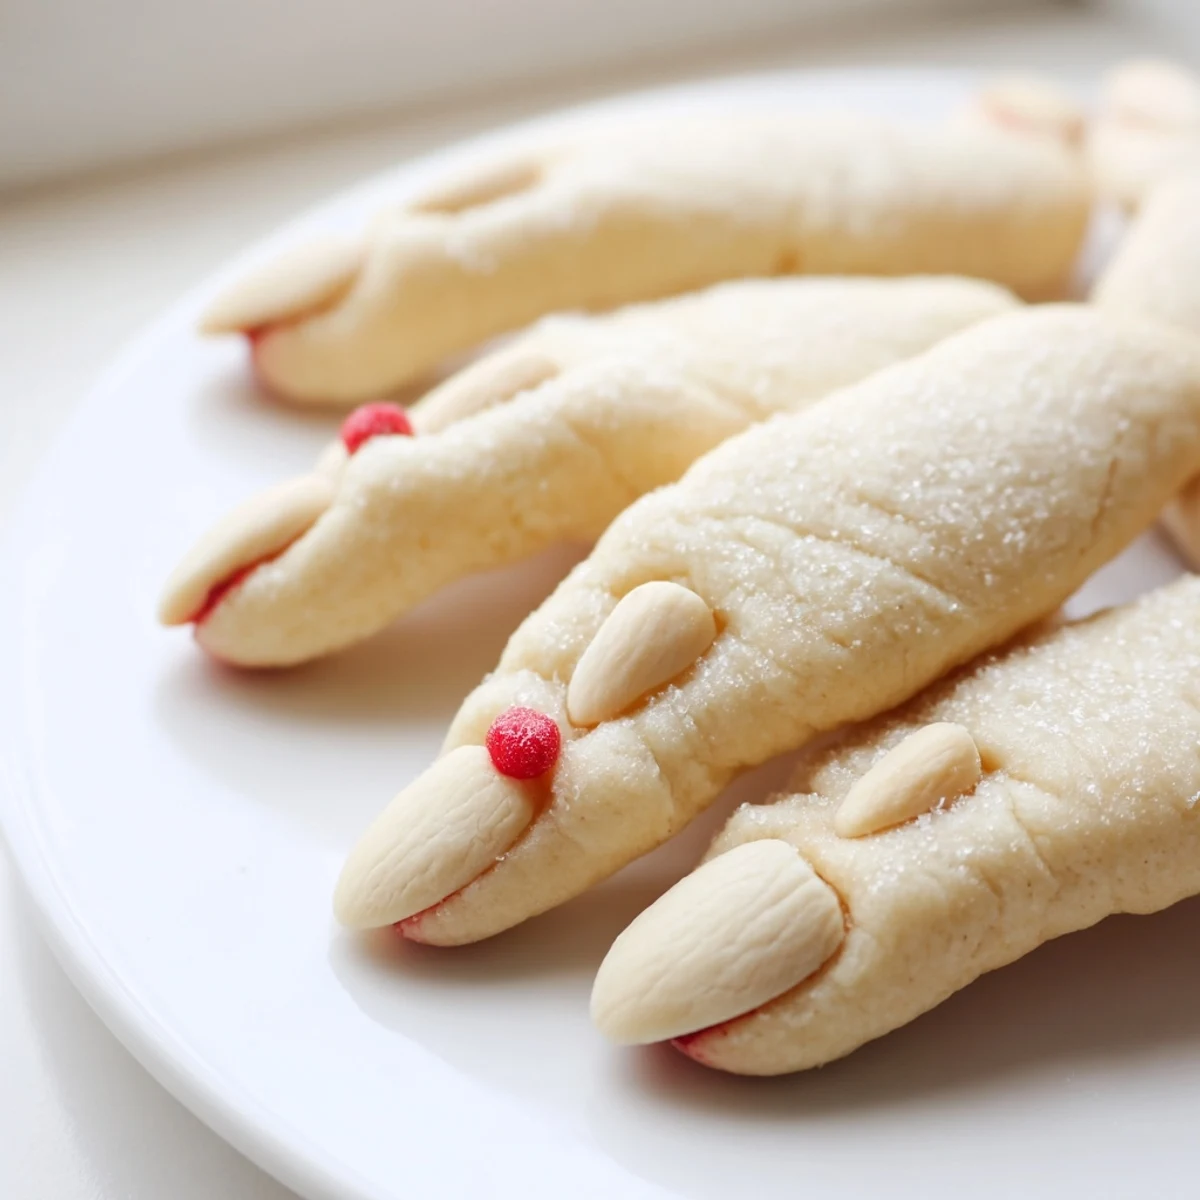
 These frightfully fun witch-shaped cookies bring spooky delight to any Halloween gathering. The almond-infused dough creates perfectly creepy finger shapes, complete with blanched almond fingernails and red jam for that gory finishing touch. Ready in just 45 minutes, these vegetarian treats are ideal for costume parties, school events, or haunted house gatherings.
The buttery vanilla-almond flavor balances the chilling presentation, making them irresistible to both brave souls and hesitant eaters. Plus, you can customize with green or gray dough for extra creepy appeal. Serve alongside hot cider or spooky cocktails for the ultimate festive presentation.
The first time I brought these to a Halloween party, someone actually hesitated before taking one. That is when you know you have nailed the spooky cookie game.
Last year my niece helped me make a batch and she insisted on making some bent at weird angles like they had been broken. We laughed until our sides hurt arranging them on the platter.
Ingredients
- Unsalted butter: Softened properly makes the dough come together smoothly without overworking
- Granulated sugar: Cream this thoroughly with the butter for that melt in your mouth texture
- Pure vanilla extract: Do not skip this even though almond is the star flavor
- Almond extract: This gives the cookies their signature nutty sweetness that pairs perfectly with the buttery base
- All purpose flour: Measure by weight if you can for consistent results every time
- Baking powder: Just enough to give the fingers a slight lift without losing their shape
- Salt: Balances the sweetness and enhances the almond flavor
- Whole blanched almonds: These create the most realistic fingernails you will find
- Red gel food coloring or jam: The bloody detail takes these from cute to genuinely creepy
Instructions
- Get your oven ready:
- Preheat to 325°F and line two baking sheets with parchment paper so you are not scrambling later
- Cream the butter and sugar:
- Beat them together until the mixture looks pale and fluffy which takes about three minutes of patience
- Add the wet ingredients:
- Pour in the egg along with both extracts and mix until everything is fully incorporated
- Whisk the dry ingredients:
- Combine the flour baking powder and salt in a separate bowl so they distribute evenly
- Bring the dough together:
- Gradually add the flour mixture to the butter mixture mixing just until a dough forms
- Shape the fingers:
- Scoop about one tablespoon of dough and roll it between your palms into a three to four inch cylinder
- Add the creepy details:
- Use a knife to gently score knuckle lines and press an almond firmly into one end for the nail
- Bake until golden:
- Arrange them two inches apart on the baking sheets and bake for eighteen to twenty minutes
- Create the bloody effect:
- Carefully remove each almond add a drop of red coloring or jam to the nail bed and press the almond back in place
 Save to Pinterest
 My friend served these at her annual horror movie marathon and people were still talking about them at Thanksgiving. Sometimes the simplest ideas leave the biggest impression.
Making Them Extra Spooky
You can tint portions of the dough with green or gray food coloring for zombie or dead finger variations. Mix the color in thoroughly before shaping and bake them alongside the regular ones for a graveyard assortment that looks unsettlingly realistic.
Serving Suggestions
These cookies shine when arranged artfully on a dark platter or wooden board. I like to group them as if they are reaching out from the center and sometimes place a plastic skeleton hand nearby for full effect.
Storage And Make Ahead Tips
The dough keeps beautifully in the refrigerator for up to three days or freezes for a month. Bake the shaped fingers straight from frozen adding two minutes to the baking time. Once baked store them in an airtight container with parchment between layers and they stay fresh for four days.
- Apply the bloody detail right before serving so the jam does not soften the almond
- Wrap the finished cookies individually in clear bags for party favors
- Make extra because these disappear faster than you expect
 Save to Pinterest
 Hope your Halloween is properly creepy and absolutely delicious.
Recipe FAQs
- → How long do witch finger cookies stay fresh?
-
Store in an airtight container at room temperature for up to 5 days. The almond fingernails stay crunchy and the jam remains gooey. For longer storage, freeze undecorated fingers up to 3 months and add jam before serving.
- → Can I make these without almond extract?
-
Yes! Replace with lemon extract for bright citrus notes or extra vanilla for classic flavor. The cookies will still shape perfectly and hold their spooky appearance regardless of extract choice.
- → What's the best jam for the bloody effect?
-
Strawberry or raspberry jam works beautifully—their deep red color creates realistic gory details. Warm slightly before brushing for easier application. Red gel coloring is another option for a more intense, polished look.
- → How do I prevent the almond fingernails from falling off?
-
Press the blanched almond gently into the dough before baking. After baking, apply a small amount of jam as glue before reattaching. The sticky surface helps secure the nail while adding that creepy bloody effect.
- → Can I double this batch for large parties?
-
Absolutely! The dough scales perfectly. Roll all fingers first, then bake in batches. This ensures consistent sizing and baking time. Decorate all cooled fingers assembly-style for efficient preparation.
- → What if I don't have blanched almonds?
-
Sliced almonds work for smaller fingers, or use pumpkin seeds for a gnarly witch look. Even without nuts, you can create knuckle details and press small indentations for a fingernail effect using a toothpick.
