 Save to Pinterest
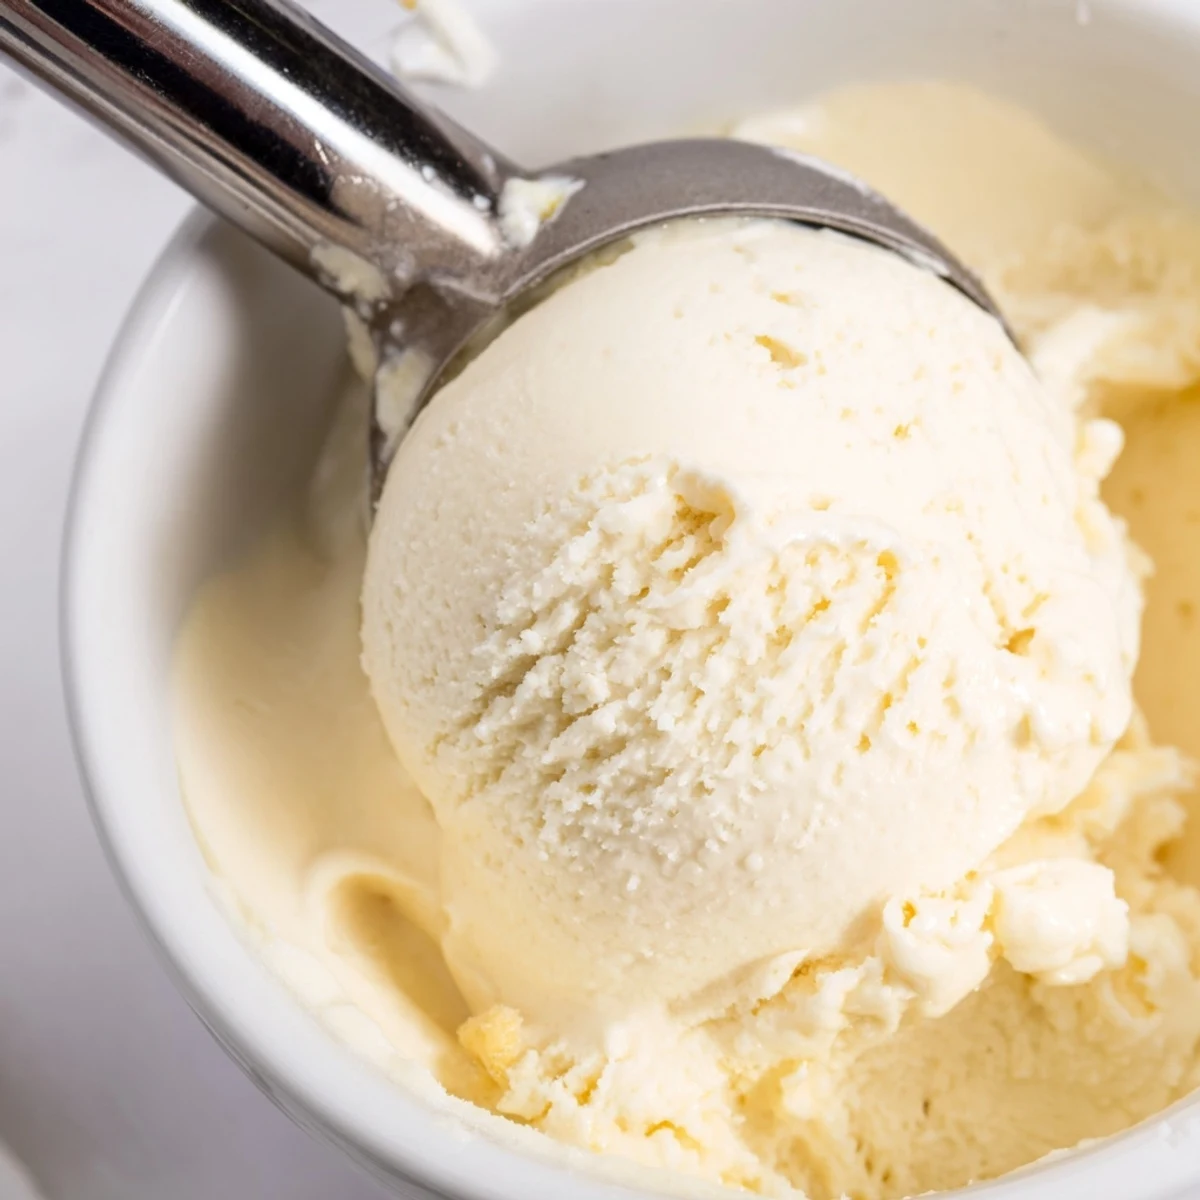
 This classic frozen dessert starts with a silky custard base made from heavy cream, whole milk, and fresh egg yolks. The mixture is gently heated to create a luxuriously smooth texture, then infused with pure vanilla extract. After chilling for several hours to develop flavors, the custard churns into thick, creamy perfection. The result is an endlessly versatile treat—enjoy plain, fold in chopped chocolate or toasted nuts, or top with fresh berries and sauces. Each serving delivers rich, luscious satisfaction perfect for any sweet craving.
The sound of the ice cream maker churning on my back porch is permanently wired to summer in my brain. That low, rhythmic hum meant something magical was happening inside that canister, and my kids would orbit it like planets around a sun. Homemade vanilla ice cream was never something I planned ahead for until a sweltering July afternoon convinced me that the store bought pint, half melted by the time I reached the car, was no longer acceptable. Making it yourself changes the whole experience from a quick sugar fix to an event worth waiting for.
A friend once watched me temper egg yolks for the first time and jokingly called it a culinary trust fall. She was right, that moment of pouring hot cream into fragile yolks and hoping they do not scramble is oddly thrilling, and the payoff is a custard so velvety you will want to eat it warm before it ever sees the freezer.
Ingredients
- Heavy cream (2 cups): The fat content here is everything, it is what makes ice cream feel luxurious rather than icy, so do not even think about substituting half and half.
- Whole milk (1 cup): Balances the cream so the final texture is rich but not heavy, and whole milk matters because skim simply will not emulsify the same way.
- Granulated sugar (3/4 cup): Sugar does more than sweeten, it lowers the freezing point and keeps the texture scoopable straight from the freezer.
- Large egg yolks (5): These are the backbone of a proper custard, lending structure and that unmistakable golden color that tells you this is the real deal.
- Pure vanilla extract (1 tablespoon): Spend a little extra on pure extract or even scrape a real bean, because vanilla is the star here and imitation will announce itself immediately.
- Salt (1/4 teaspoon): Just a pinch makes every other flavor pop louder, and without it the ice cream tastes oddly flat.
Instructions
- Heat the dairy gently:
- Combine the cream, milk, and half the sugar in a medium saucepan over medium heat until you see steam rising and small bubbles forming at the edges, but never let it boil.
- Whisk the yolks smooth:
- In a separate bowl, whisk the egg yolks with the remaining sugar and salt until the mixture looks pale yellow and falls in thick ribbons from the whisk.
- Temper with confidence:
- Slowly pour the hot cream into the yolk mixture in a thin stream while whisking constantly, then return everything to the saucepan over low heat.
- Cook until it coats:
- Stir constantly with a wooden spoon, dragging your finger through the coating on the back of it, and when the line holds clean the custard is ready.
- Add the vanilla:
- Take the pan off the heat and stir in the vanilla extract, letting the warm aroma bloom right there in your kitchen.
- Strain and chill:
- Pour the custard through a fine mesh sieve into a clean bowl to catch any accidental cooked bits, then cool it to room temperature before covering and refrigerating for at least four hours or overnight.
- Churn to creamy perfection:
- Pour the thoroughly chilled custard into your ice cream maker and churn following the manufacturer directions until it looks like soft serve and clings to the dasher.
- Freeze until firm:
- Transfer the churned ice cream to a lidded freezer safe container, press plastic wrap directly against the surface to prevent ice crystals, and freeze for at least two hours.
 Save to Pinterest
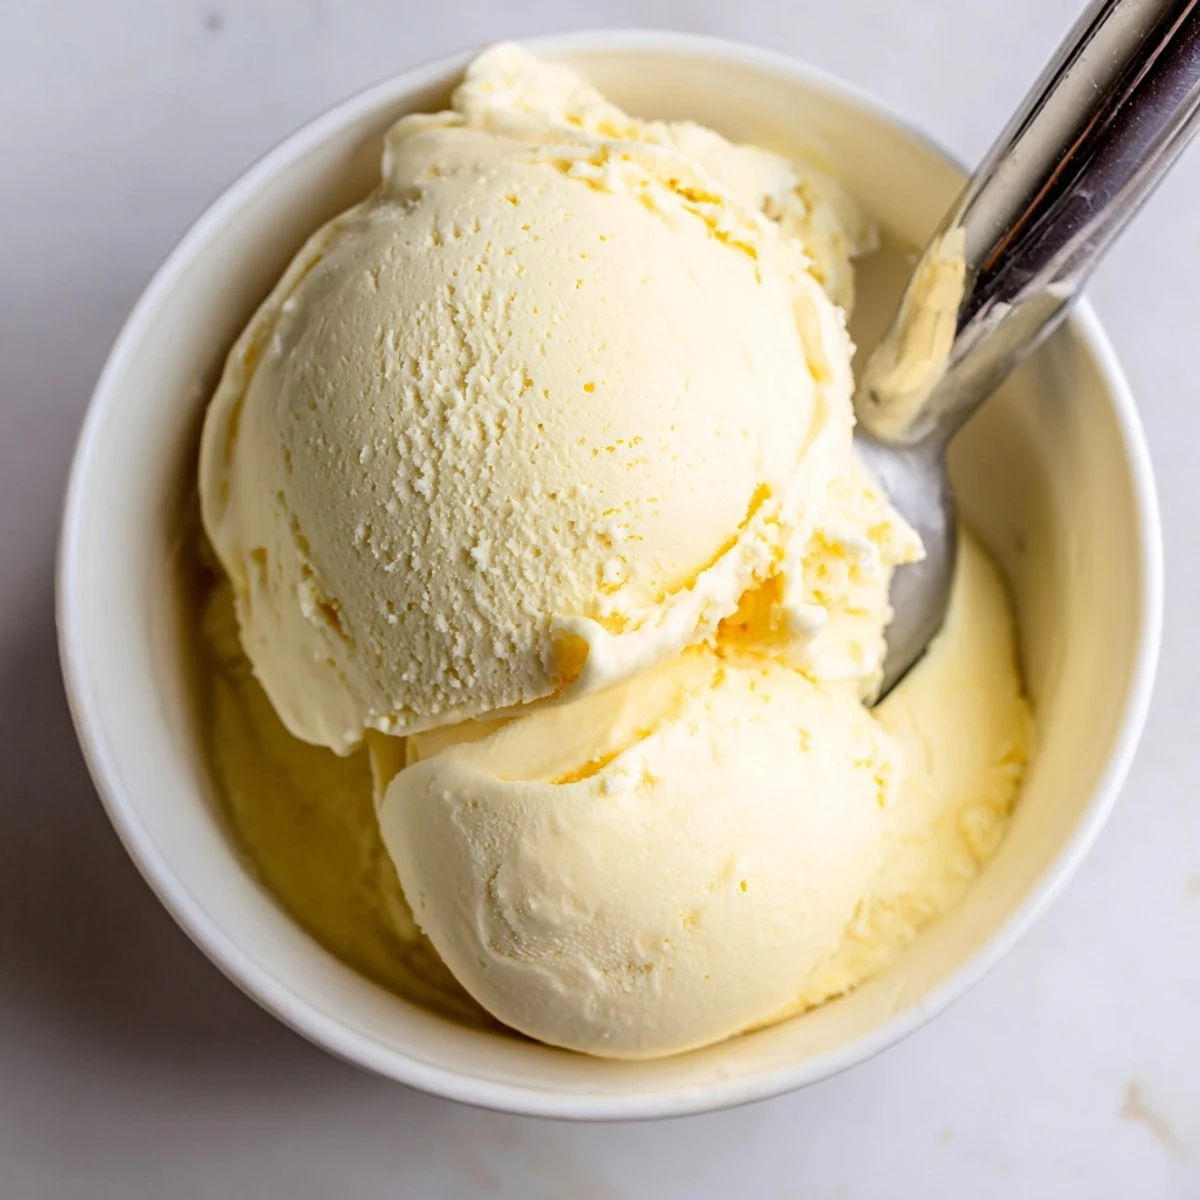
 My daughter still talks about the night we ate an entire batch sitting on the garage floor because the freezer was not ready yet and we could not wait. The ice cream was impossibly soft, barely holding its shape, and somehow that made every spoonful taste better than anything a store could sell us.
Getting Creative with Mix Ins
The best time to fold in extras is right after churning, when the ice cream is thick but still pliable and every addition gets evenly distributed without sinking to the bottom. Chopped dark chocolate, toasted pecans, caramel swirls, or crushed cookies all work beautifully, but chop everything small so you get a bit of texture in every bite rather than occasional chunks that freeze rock hard.
If You Do Not Own an Ice Cream Maker
Pour the chilled custard into a shallow dish, freeze for forty five minutes, whisk vigorously to break up ice crystals, and repeat this process three or four times until it is smooth and firm. It takes more attention and the texture will not be quite as refined, but the flavor is identical and you avoid buying a single use appliance.
Serving and Storing Like a Pro
Homemade ice cream is best eaten within a week because it does not have the stabilizers that keep commercial brands smooth for months. Let it sit at room temperature for five minutes before scooping so you are not wrestling with a brick, and always press wrap against the surface before lidding to fend off freezer burn.
- A warm scoop dipped in hot water between scoops gives you those perfect round balls.
- Store containers toward the back of the freezer where the temperature is most consistent.
- Label the container with the date you made it so nothing gets lost in the frosty depths.
 Save to Pinterest
 There is something quietly powerful about making ice cream from scratch, the patience, the stirring, the wait, and then that first real taste tells you every minute was worth it. Share it with someone you love, or quietly enjoy a bowl alone on a warm evening, either way it is the kind of simple luxury that never gets old.
Recipe FAQs
- → How long does the custard need to chill before churning?
-
The custard requires at least 4 hours of chilling time, though overnight is ideal. This allows the mixture to cool completely and lets the vanilla flavor fully develop throughout the base.
- → Can I make this without an ice cream maker?
-
Yes, though the texture will be slightly different. Pour the chilled custard into a freezer-safe container and stir every 30 minutes for the first 3 hours to break up ice crystals. Freeze until firm.
- → What's the best way to store leftovers?
-
Keep in an airtight freezer-safe container with parchment paper pressed directly against the surface to prevent ice crystals. Properly stored, it maintains quality for 1-2 weeks.
- → When should I add mix-ins like chocolate or nuts?
-
Add your chosen mix-ins during the final minute of churning, or fold them gently into the freshly churned mixture before transferring to the freezer. This ensures even distribution without overworking the base.
- → How do I know when the custard is properly cooked?
-
The custard is ready when it thickens enough to coat the back of a wooden spoon. Draw your finger through the coating—if it holds a clean line without running, the custard has reached the proper consistency.
- → Can I reduce the sugar in this recipe?
-
Sugar plays a crucial role in texture and freezing, so reducing it significantly may result in icy, hard crystals. You can reduce by about 25%, but the texture may be slightly affected.
