 Save to Pinterest
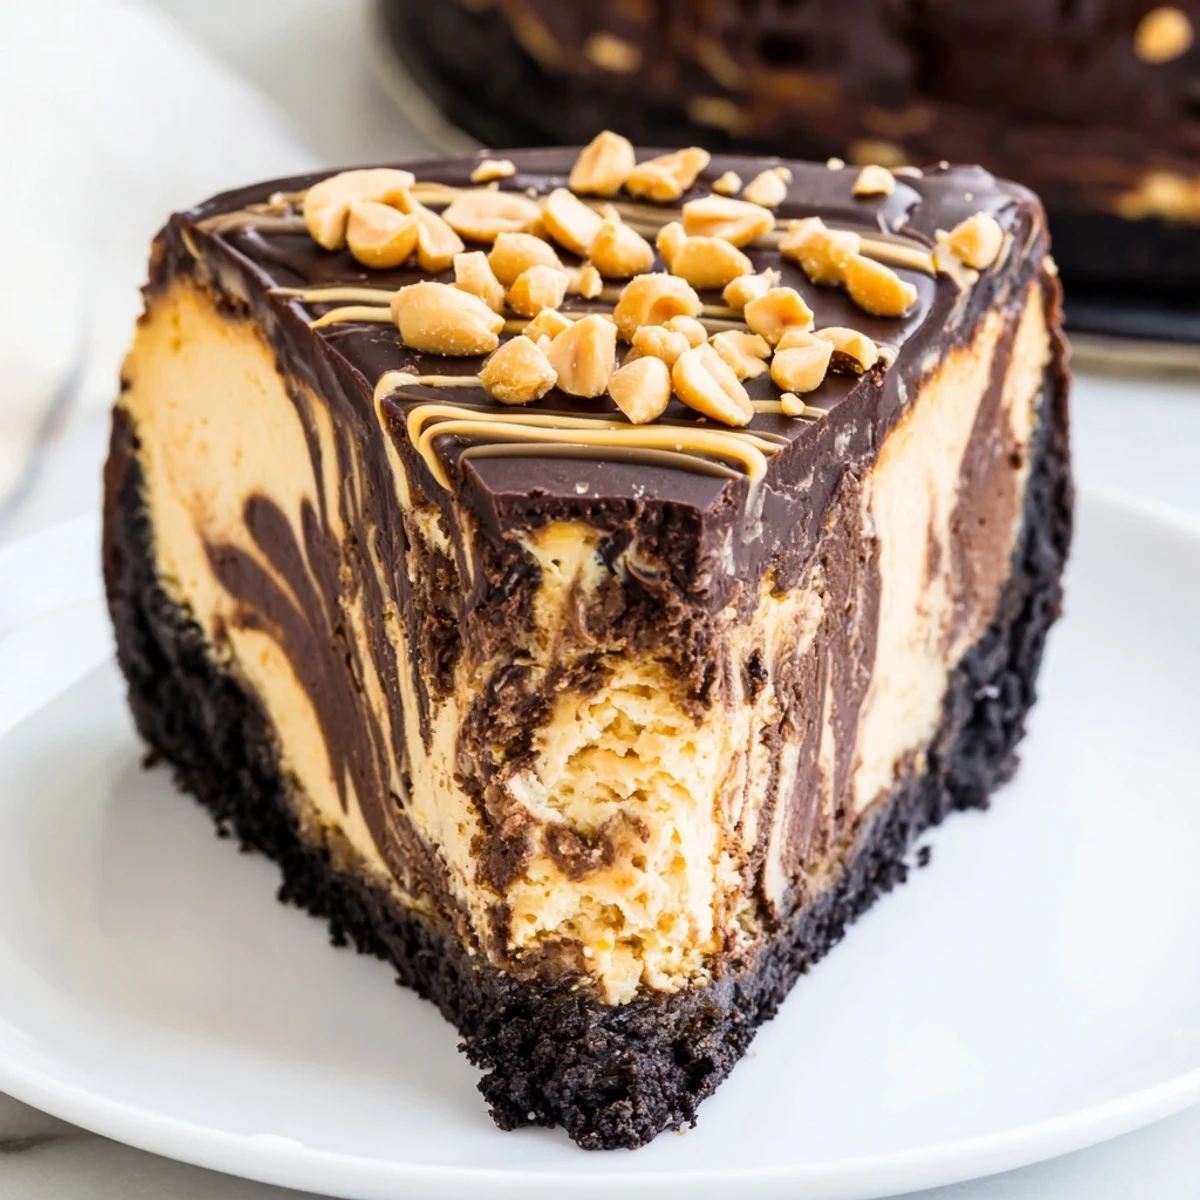
 This chocolate peanut butter cheesecake delivers the ultimate indulgence by combining two beloved flavors into one showstopping dessert. A buttery crushed cookie crust forms the foundation, topped with a rich filling that's divided into chocolate and peanut butter halves and swirled together for a stunning marbled effect.
After a slow bake and overnight chill, the cheesecake is finished with a glossy chocolate-peanut butter ganache and a sprinkle of roasted peanuts. It serves 12, making it ideal for gatherings, holidays, or any occasion that calls for something extraordinary.
The smell of melted chocolate and roasted peanuts together is enough to make anyone abandon their diet plans on the spot, and this cheesecake is living proof of that truth. I threw one together on a rainy Saturday when a friend showed up unannounced and somehow we devoured half of it before dinner. There is something almost unfair about how well chocolate and peanut butter get along in a dense, creamy cheesecake. It is the kind of dessert that makes people close their eyes at the first bite.
I brought this to a potluck once and watched a quiet corner of the kitchen turn into an impromptu dessert fan club, with three people asking for the recipe before I even got my coat off.
Ingredients
- Chocolate sandwich cookies (200 g): Oreos are the classic choice here, and you do not even need to remove the filling because it all binds together beautifully.
- Unsalted butter (60 g), melted: This is what turns crumbs into a crust that holds together without turning into a brick.
- Cream cheese (600 g), softened: Cold cream cheese will leave you with lumps no amount of mixing can fix, so let it sit out for at least an hour.
- Smooth peanut butter (200 g): Use the regular kind, not the natural separated stuff, because you need that consistent richness throughout the filling.
- Granulated sugar (200 g): It balances the slight bitterness of the dark chocolate and tames the saltiness of the peanut butter.
- Large eggs (3): Room temperature eggs blend in more smoothly and help the cheesecake set evenly.
- Vanilla extract (1 tsp): A small amount that quietly lifts every other flavor in the filling.
- Sour cream (120 ml): This adds a gentle tang that keeps the whole thing from tasting flat or overly sweet.
- Dark chocolate (100 g for filling, 120 g for topping): Go for something around 60 to 70 percent cacao for depth without bitterness taking over.
- Heavy cream (120 ml): This is for the ganache topping, and it creates that glossy, pourable finish.
- Creamy peanut butter (2 tbsp, for topping): Swirled into the warm ganache, it adds a salty peanut butter ribbon that makes the top as good as the inside.
- Chopped roasted peanuts (optional): A handful scattered on top gives a welcome crunch against all that creaminess.
Instructions
- Build the crust:
- Preheat your oven to 160 degrees Celsius, grease a 23 cm springform pan, and line the base. Crush the cookies into fine crumbs, mix with melted butter, and press firmly into the bottom of the pan. Bake for 10 minutes until set, then let it cool while you work on the filling.
- Make the base filling:
- Beat the softened cream cheese and sugar together in a large bowl until completely smooth, scraping down the sides at least once. Add the peanut butter and mix until it is fully incorporated and the mixture looks silky.
- Add the eggs and extras:
- Drop in the eggs one at a time, beating on low speed after each one so you do not whip too much air into the batter. Stir in the vanilla and sour cream until just combined.
- Split and flavor:
- Divide the filling into two equal halves, which is easier if you have a kitchen scale. Fold the melted and slightly cooled dark chocolate into one half, leaving the other half as the pure peanut butter mixture.
- Layer and swirl:
- Pour the chocolate filling over the cooled crust and spread it out evenly. Spoon the peanut butter filling on top in gentle dollops, then drag a butterknife through both layers in loose figure eights for a marbled look.
- Bake low and slow:
- Place the cheesecake in the oven for 50 to 60 minutes, until the edges are set but the center still has a slight wobble when you gently shake the pan. This jiggle is your friend because it means a creamy texture after chilling.
- Cool gradually:
- Turn off the oven, crack the door open, and leave the cheesecake inside for one full hour. This slow cooling helps prevent cracks from forming across the top.
- Chill thoroughly:
- Transfer the cheesecake to the refrigerator and let it chill for at least four hours, though overnight is even better if you can wait that long.
- Finish with ganache:
- Heat the cream in a small saucepan until it is steaming but not boiling, then pour it over the chopped chocolate and stir until smooth. Stir in the peanut butter, let it cool slightly so it thickens a bit, and spread it over the chilled cheesecake. Sprinkle with chopped peanuts if you are using them, then slice and serve.
 Save to Pinterest
 The first time I pulled a perfectly clean slice from the pan, I stood there holding the plate and genuinely felt like I had unlocked a new level of baking confidence.
What to Know About the Crust
A wet crust ruins the whole experience, so make sure your cookie crumbs are fine and the butter is evenly distributed before pressing. If you want a gluten free version, any gluten free chocolate cookie will work, just taste one first to make sure it is not overly sweet.
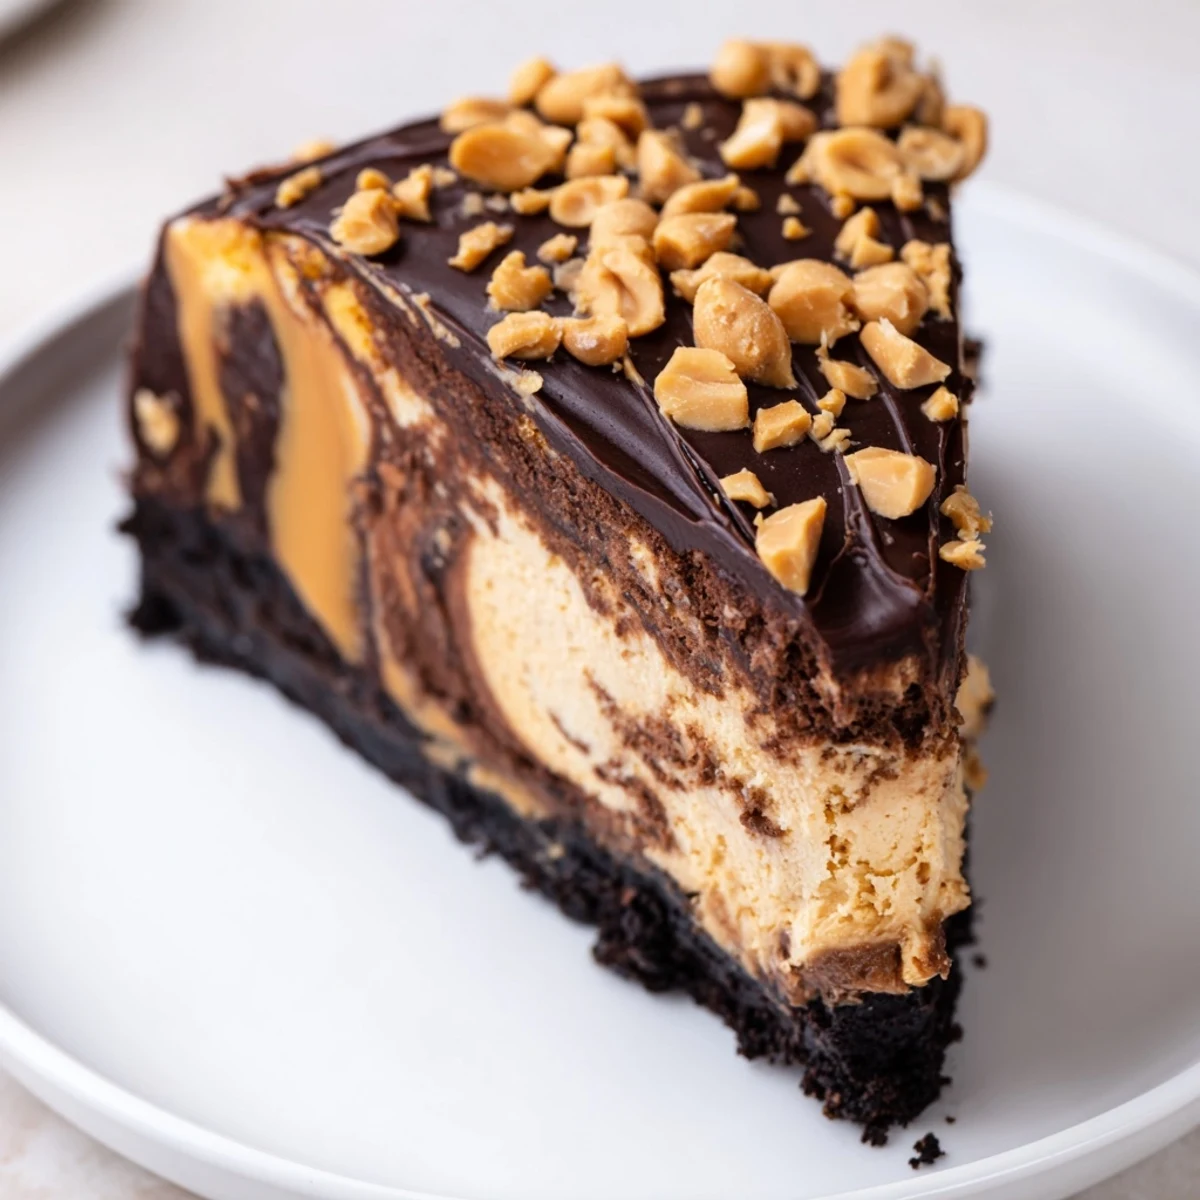
Getting the Swirl Right
The marble effect is all about restraint, because if you overswirl the two mixtures they just merge into one muddy color. Three or four gentle passes with a knife are usually enough to get those dramatic streaks.
Serving and Storage Tips
This cheesecake tastes best on day two when the flavors have had time to deepen and the texture has fully settled. It keeps well in the fridge for up to five days, covered tightly, and individual slices freeze surprisingly well for up to a month.
- Use a hot clean knife for each slice to get those bakery sharp edges.
- Pair a slice with strong black coffee or a glass of dessert wine for the full experience.
- Always remove the springform ring while the cheesecake is still cold to avoid any sticking or tearing.
 Save to Pinterest
 Some desserts are just dessert, but this one has a way of turning an ordinary evening into something people talk about weeks later. Share it generously and keep a slice hidden in the back of the fridge for yourself.
Recipe FAQs
- → Can I make this cheesecake ahead of time?
-
Yes, this cheesecake actually benefits from being made in advance. It needs at least 4 hours of chilling, but refrigerating it overnight yields the best texture and flavor. It will keep well in the refrigerator for up to 5 days covered tightly.
- → Why does the cheesecake need to cool slowly in the oven?
-
Cooling the cheesecake gradually with the oven door cracked prevents cracking on the surface. A sudden temperature change causes the cheesecake to contract rapidly, leading to unsightly cracks. The slow transition keeps everything smooth and creamy.
- → Can I use crunchy peanut butter instead of smooth?
-
Smooth peanut butter is recommended for the filling to achieve that silky, creamy texture. However, you can use crunchy peanut butter if you prefer little bursts of peanut crunch throughout. The topping pairs well with either variety.
- → How do I get a clean slice when cutting the cheesecake?
-
Use a sharp knife dipped in hot water and wiped clean between each cut. This prevents the ganache topping from dragging and ensures beautiful, bakery-style slices every time.
- → Can I freeze leftover cheesecake?
-
Absolutely. Wrap individual slices tightly in plastic wrap, then place them in an airtight container or freezer bag. Freeze for up to 2 months. Thaw overnight in the refrigerator before serving for the best texture.
- → What can I substitute for sour cream in the filling?
-
Greek yogurt works as a fine substitute for sour cream in equal measure. It provides the same subtle tanginess and moisture. Full-fat yogurt will yield the closest match to the original texture.
