 Save to Pinterest
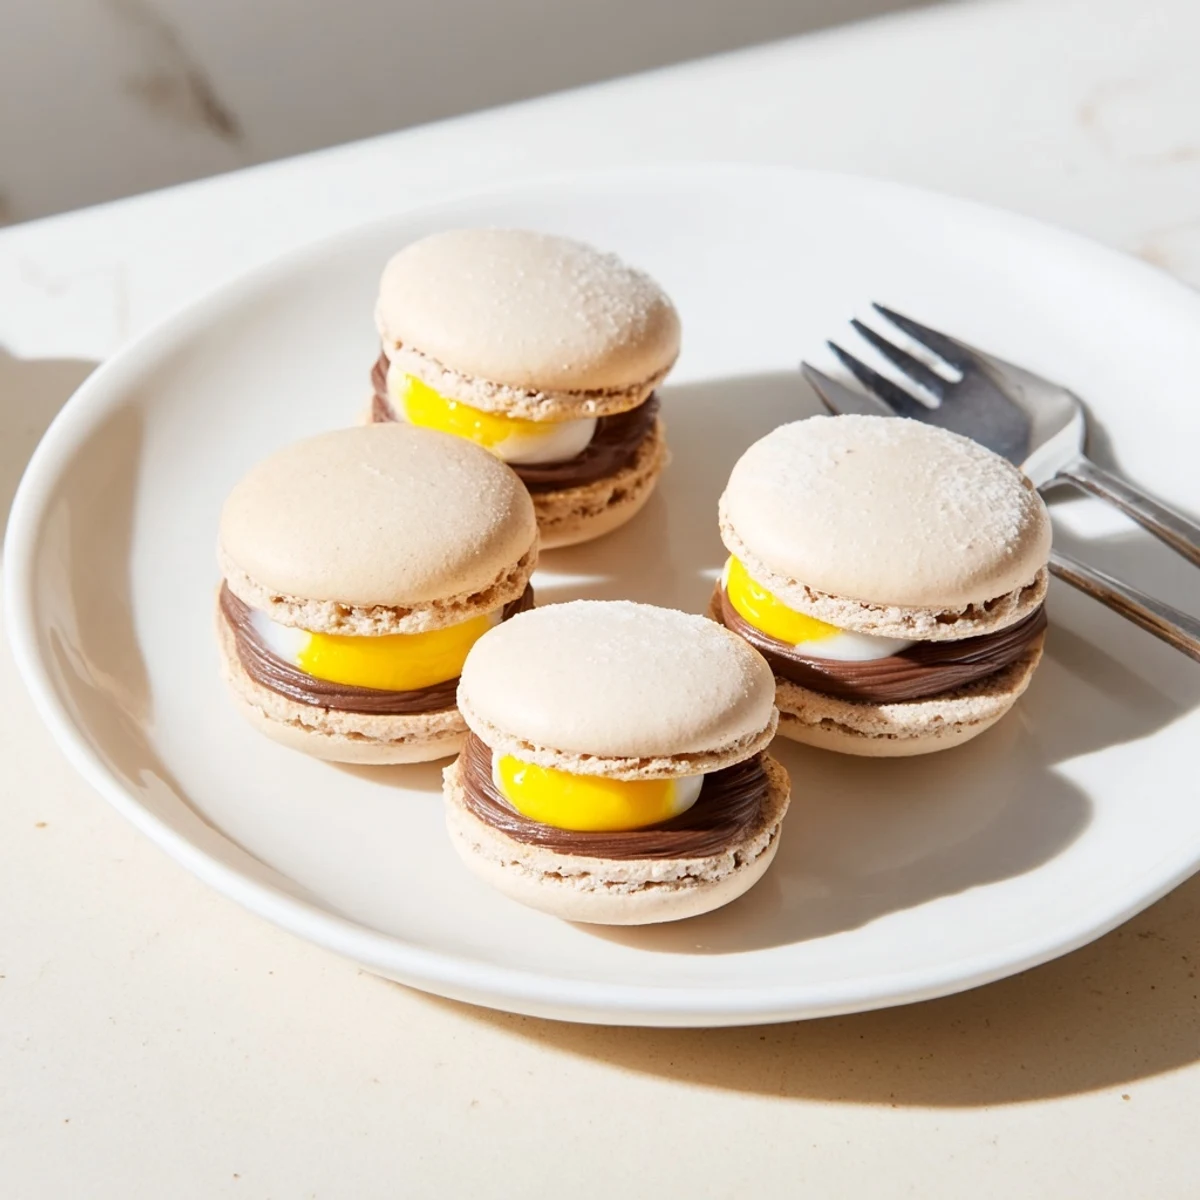
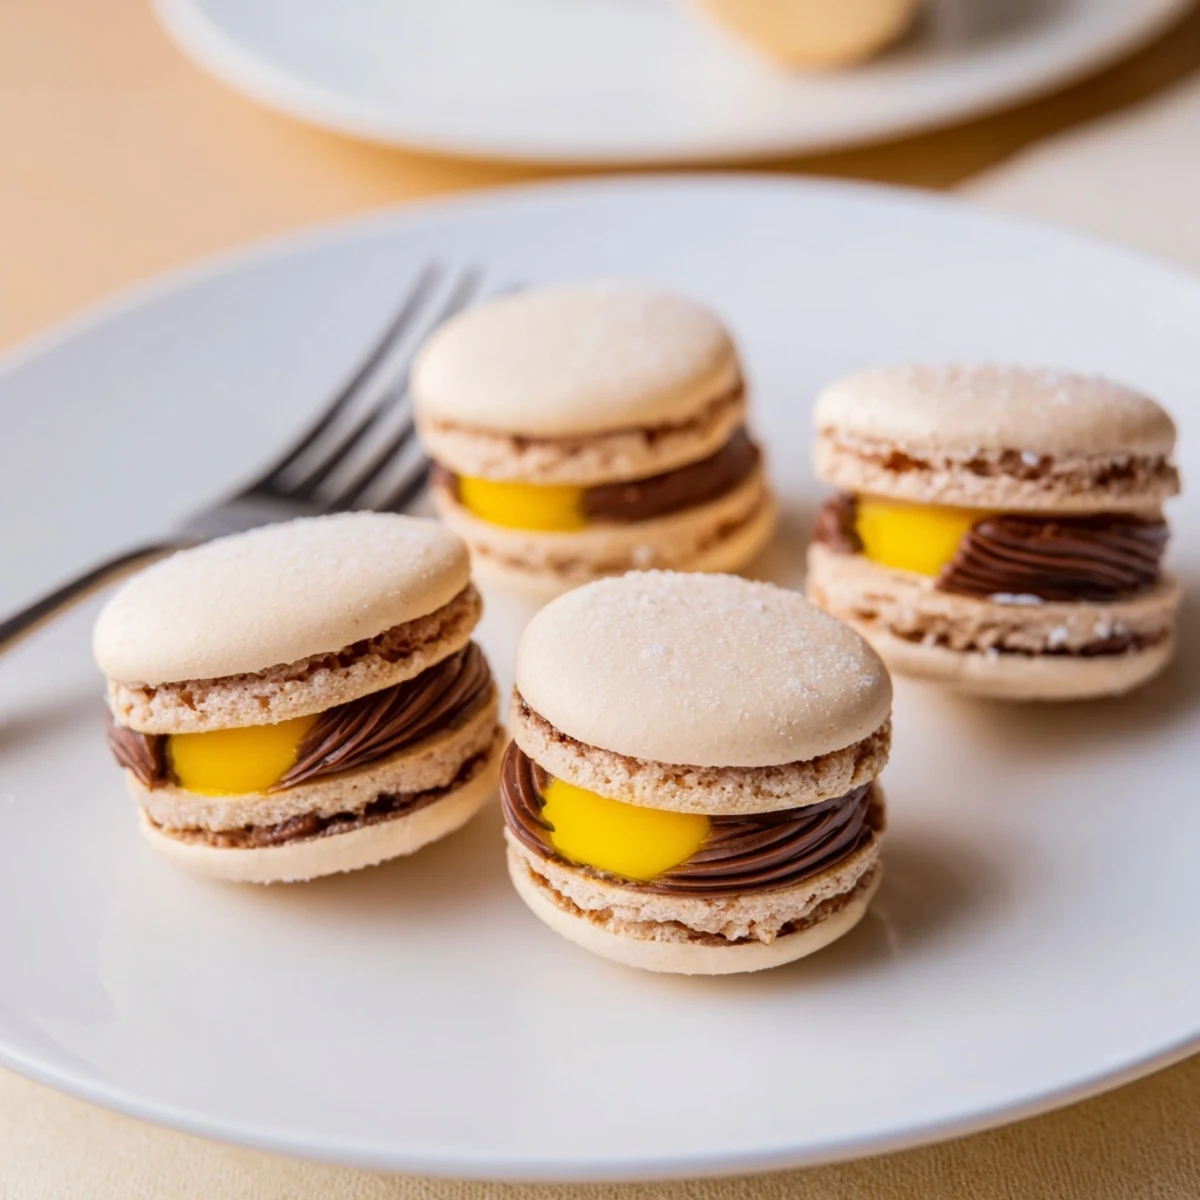
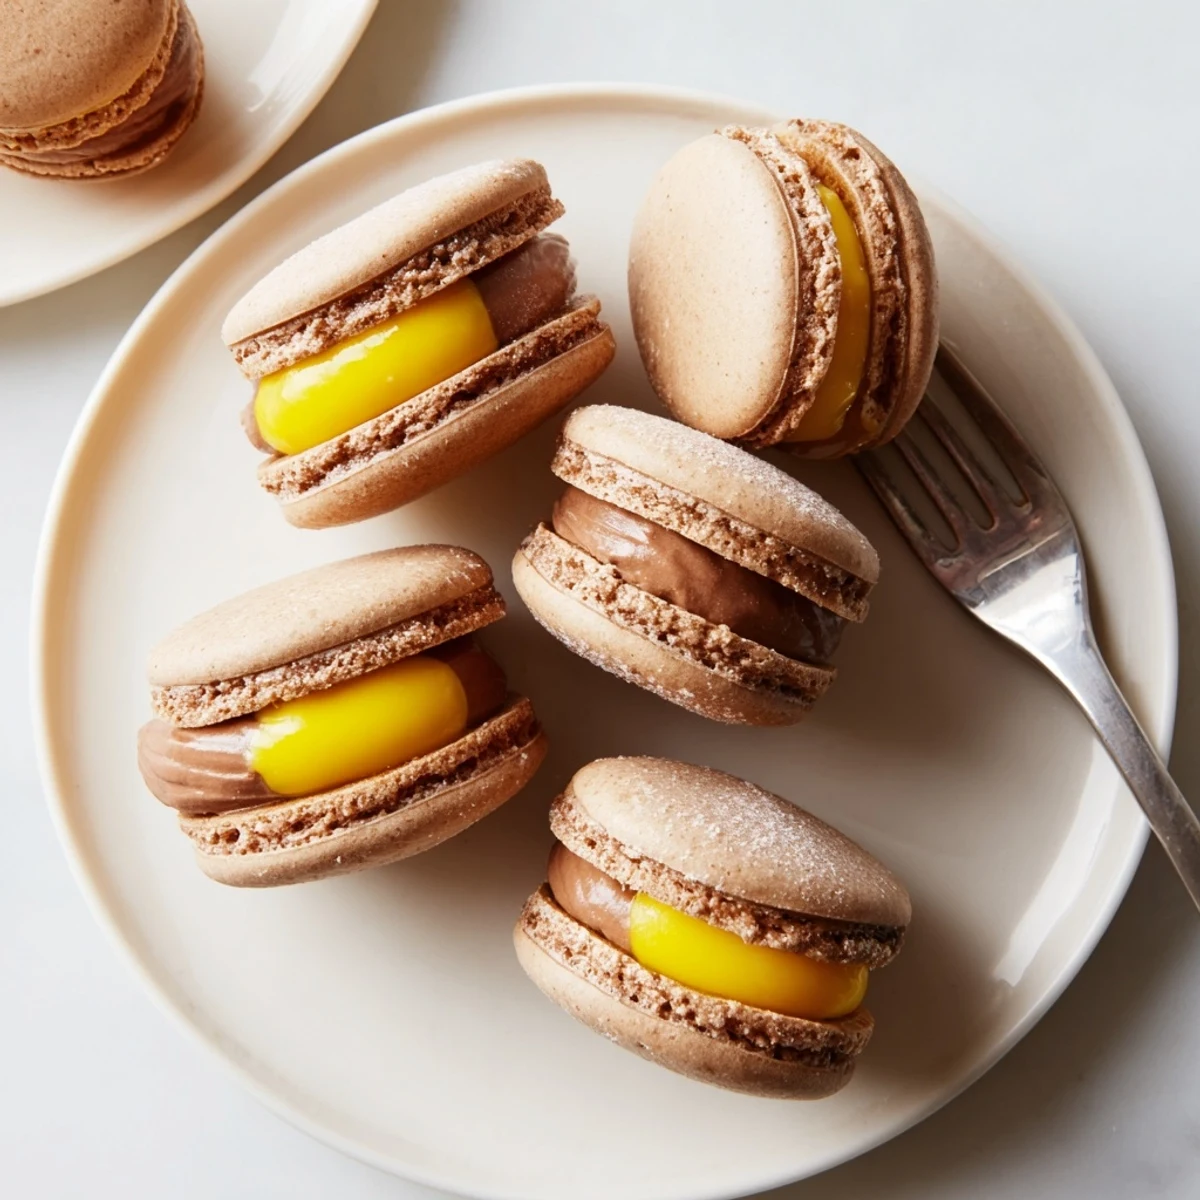
 These delicate French macarons feature crisp almond shells filled with a luscious chocolate ganache inspired by the iconic Cadbury Creme Egg. The assembly creates a stunning effect: a ring of milk chocolate filling surrounds a bright yellow center, mimicking the beloved candy's signature yolk. Perfect for Easter celebrations or spring gatherings, these confections combine the elegant texture of traditional French patisserie with nostalgic chocolate flavor.
The process involves mastering classic macaron technique—achieving the perfect meringue consistency and proper macaronage—then creating a smooth, glossy ganache using quality milk chocolate. While these require patience and practice to master, the impressive results are worth the effort for special occasions.
The first Easter I attempted these, my kitchen looked like a pastel explosion had collided with a chemistry experiment. I was determined to recreate that iconic Cadbury Creme Egg experience in macaron form, and somewhere between the third batch of cracked shells and the realization that I had accidentally dyed my fingers yellow for three days, something magical actually happened. They worked. And then they disappeared faster than any cookie I have ever made.
My sister in law still talks about the Easter brunch where I served these, mostly because she ate four before anyone else even sat down at the table. There is something about the combination of that crisp shell giving way to creamy chocolate that makes people forget all about portion control. I have learned to make double batches.
Ingredients
- Almond flour: The finer the better, any lumps will show in your shells
- Powdered sugar: Essential for that smooth, glossy finish we are after
- Egg whites: Room temperature is non negotiable here, cold whites simply will not cooperate
- Granulated sugar: Dissolves into the meringue to create those stiff peaks we need
- Cream of tartar: The secret weapon that stabilizes everything
- Milk chocolate: Cadbury Dairy Milk is worth seeking out for that authentic taste
- Heavy cream: Creates the silky ganache base
- Golden syrup: Adds that signature gooey texture we remember from the original eggs
- Unsalted butter: Room temperature so it incorporates smoothly into the filling
- Yellow gel food coloring: Just a tiny drop for that convincing yolk center
Instructions
- Prepare your station:
- Line two baking sheets with parchment or silicone mats and fit a pastry bag with a half inch round tip. Having everything ready before you start means less stress later.
- Sift the dry ingredients:
- Combine almond flour and powdered sugar in a bowl, sift them together thoroughly, and set aside. This step is tedious but skipping it is the number one reason macarons fail.
- Make the meringue:
- Whisk egg whites and cream of tartar until soft peaks form, then gradually add granulated sugar while continuing to whisk until you have stiff, glossy peaks. The mixture should hold its shape when you lift the whisk.
- Master the macaronage:
- Gently fold the almond mixture into the meringue in three additions, mixing until the batter flows like thick ribbons off your spatula. Tint a third yellow if you want that playful yolk effect.
- Pipe perfect rounds:
- Transfer batter to your pastry bag and pipe 32 rounds onto the prepared sheets, then tap the trays firmly to release any trapped air bubbles.
- Rest the shells:
- Let the piped shells sit at room temperature for 30 to 60 minutes until the surface is completely dry to the touch. This skin formation is crucial for those signature feet.
- Bake to perfection:
- Preheat your oven to 150°C (300°F) and bake for 13 to 15 minutes, rotating halfway through. The shells are done when they lift easily off the mat without sticking.
- Create the filling:
- Heat cream until just simmering, pour over chopped chocolate, wait two minutes, then stir until completely smooth. Mix in golden syrup and butter until glossy, then tint a quarter of the filling yellow.
- Assemble your creations:
- Chill the fillings until thickened, then pipe a ring of chocolate filling on one shell and add a dollop of yellow in the center. Sandwich with another shell and repeat.
 Save to Pinterest
 Last spring my six year old niece helped me pipe the yellow centers and declared herself a master pastry chef. The shells were slightly lopsided and the yolk centers were more like abstract art than perfect circles, but those were the ones everyone fought over. Sometimes imperfection tastes better anyway.
Making Ahead
The filling can be prepared a day in advance and stored in the refrigerator, which actually makes the assembly process much more relaxed. Just bring it to room temperature before piping so it flows smoothly.
Storage Secrets
Macarons need time to mature, so store them in an airtight container overnight before serving. This resting period lets the flavors meld and the filling soften the shells just enough to create that perfect texture contrast.
Troubleshooting Common Issues
Hollow shells usually mean your oven temperature was too high or you overmixed the batter. Cracked tops indicate the shells did not rest long enough before baking or there was too much moisture in the air. Do not be discouraged by failed batches.
- Practice makes perfect with these delicate cookies
- Keep notes on what works in your kitchen
- Every oven behaves differently
 Save to Pinterest
 These little creations have become my most requested Easter treat, and honestly, watching someone discover that yellow center never gets old. Happy baking, and may your shells always have feet.
Recipe FAQs
- → What makes these macarons inspired by Cadbury Creme Eggs?
-
The filling replicates the iconic Cadbury Creme Egg structure: a ring of creamy milk chocolate ganache surrounds a bright yellow-colored center, mimicking the candy's famous yolk effect. The chocolate flavor profile uses Cadbury Dairy Milk for authentic taste.
- → Why must macaron shells rest before baking?
-
Resting allows the shells to form a dry skin on the surface, which helps them develop the characteristic 'feet' during baking. This 30-60 minute resting period prevents spreading and ensures proper rising in the oven.
- → Can I make these without a stand mixer?
-
Yes, an electric hand mixer works well for whipping the meringue. The key is achieving stiff peaks that hold their shape when the whisk is lifted. Take your time and ensure the bowl and whisk are completely clean and dry.
- → Why must macarons mature overnight before serving?
-
Resting assembled macarons for 24 hours allows moisture from the filling to soften the interior of the shells, creating that signature delicate texture where the shells yield slightly when bitten. This resting period is crucial for the authentic macaron experience.
- → What's the best way to store these macarons?
-
Store assembled macarons in an airtight container in the refrigerator for up to 5 days. For best texture, bring to room temperature 15-20 minutes before serving. The shells can be frozen unfilled for up to 2 months.
- → Why did my macarons crack or not develop feet?
-
Cracking usually indicates insufficient resting time or oven temperature issues. Use an oven thermometer to verify temperature. If shells lack feet, the batter may have been overmixed or undermixed—aim for thick ribbon consistency that takes about 20 seconds to disappear.
