 Save to Pinterest
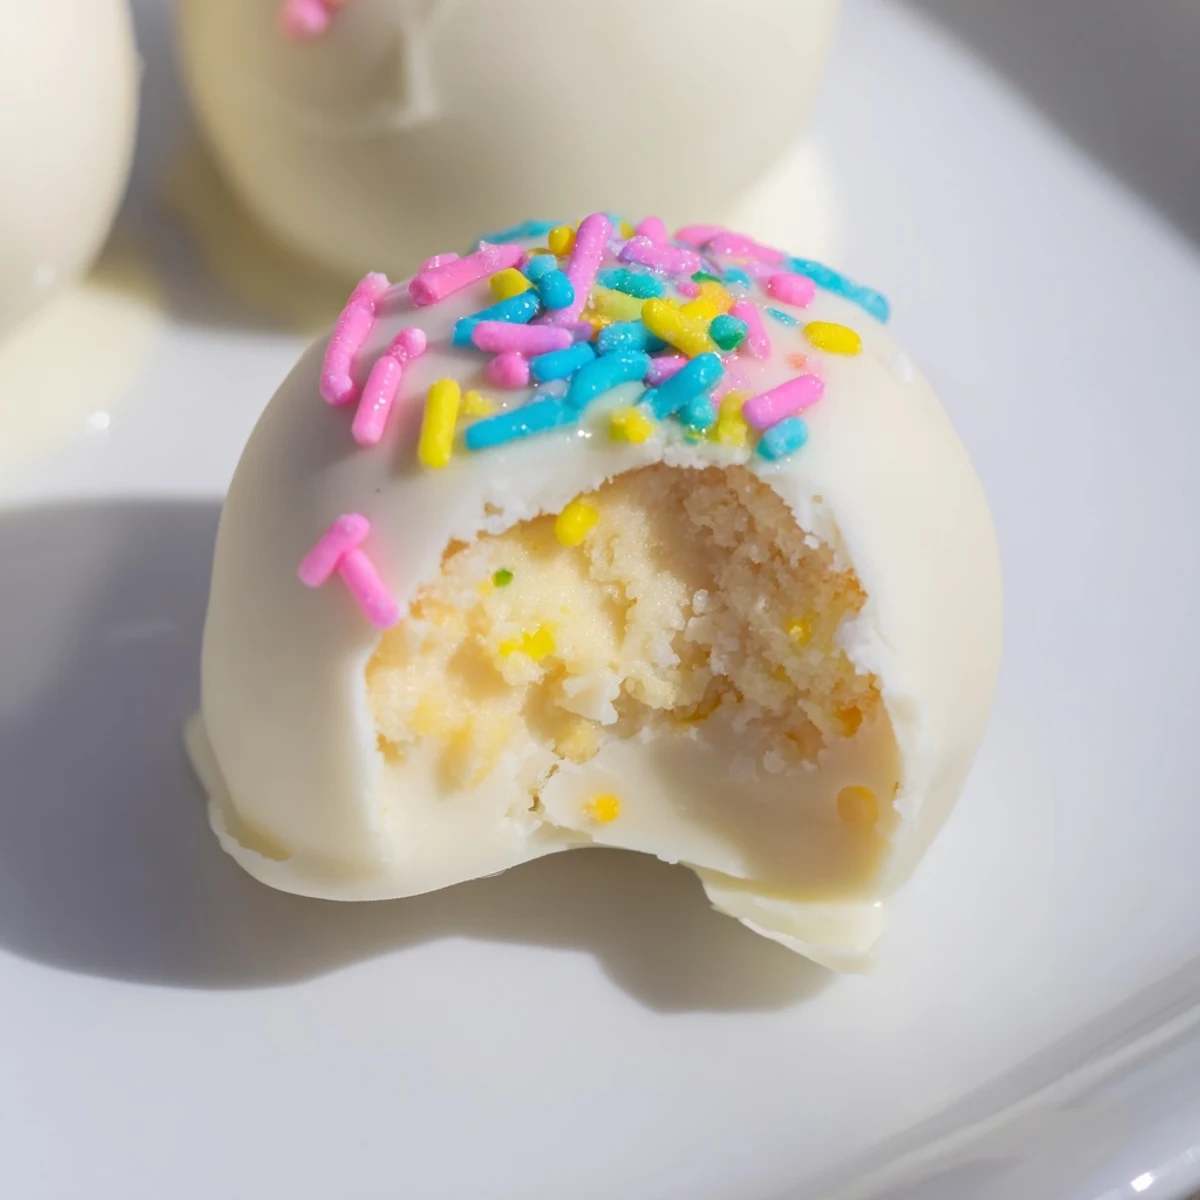
 These festive Easter truffles combine the classic flavors of banana pudding with the convenience of a no-bake dessert. A creamy filling made from instant banana pudding, cream cheese, and crushed vanilla wafers gets rolled into bite-sized balls, then dipped in melted white chocolate and finished with colorful Easter sprinkles. The entire process takes just 25 minutes of active preparation, plus about 45 minutes of chilling time to set. The result is 24 impressive handheld treats that capture everything people love about traditional banana pudding—but in an elegant, portion-controlled format perfect for spring gatherings.
Last Easter, my sister joked that our family's banana pudding tradition needed an upgrade. I'd been making those classic layered desserts for years, but something bite-sized felt right for the holiday spread. These truffles disappeared faster than anything else on the table, and even my banana-skeptical nephew went back for seconds.
I accidentally discovered that slightly crushing the vanilla wafers by hand instead of pulsing them into fine crumbs gives these truffles the most wonderful texture. You get these tiny buttery pockets throughout that remind everyone exactly why they love the original dessert. My mom actually asked if I'd snuck pieces of whole cookies inside.
Ingredients
- Cold whole milk: Using it straight from the fridge helps the pudding set up properly
- Instant banana pudding mix: The foundation of that classic flavor we all know
- Cream cheese: Room temperature is non negotiable for smooth incorporation
- Vanilla wafer crumbs: Leave some texture rather than going completely fine
- White chocolate: Chopped into similar sized pieces melts more evenly
- Easter sprinkles: Add them immediately or the chocolate will set too fast
Instructions
- Whisk the pudding base:
- Pour the cold milk into a medium bowl and add the instant pudding mix. Whisk vigorously for 2 minutes until it noticeably thickens and becomes smooth.
- Add the cream cheese:
- Drop in the softened cream cheese and beat with an electric mixer until no lumps remain and the mixture feels silky and creamy.
- Fold in the crumbs:
- Gently incorporate the vanilla wafer crumbs until a thick dough forms that holds its shape when you press it together.
- Shape the truffles:
- Use a tablespoon or small cookie scoop to portion the dough, then roll into 1 inch balls and place on a parchment lined baking sheet.
- Chill until firm:
- Refrigerate the truffle balls for at least 30 minutes, though 45 minutes makes them easier to handle during dipping.
- Melt the chocolate:
- Heat the white chocolate in 20 second intervals, stirring thoroughly between each, until completely smooth and fluid.
- Dip and decorate:
- Drop each chilled truffle into the melted chocolate, let excess drip off, and return to the baking sheet. Immediately add sprinkles before the coating sets.
- Final chill:
- Refrigerate for 10 to 15 minutes until the chocolate is completely set. These can be served chilled or at room temperature.
 Save to Pinterest
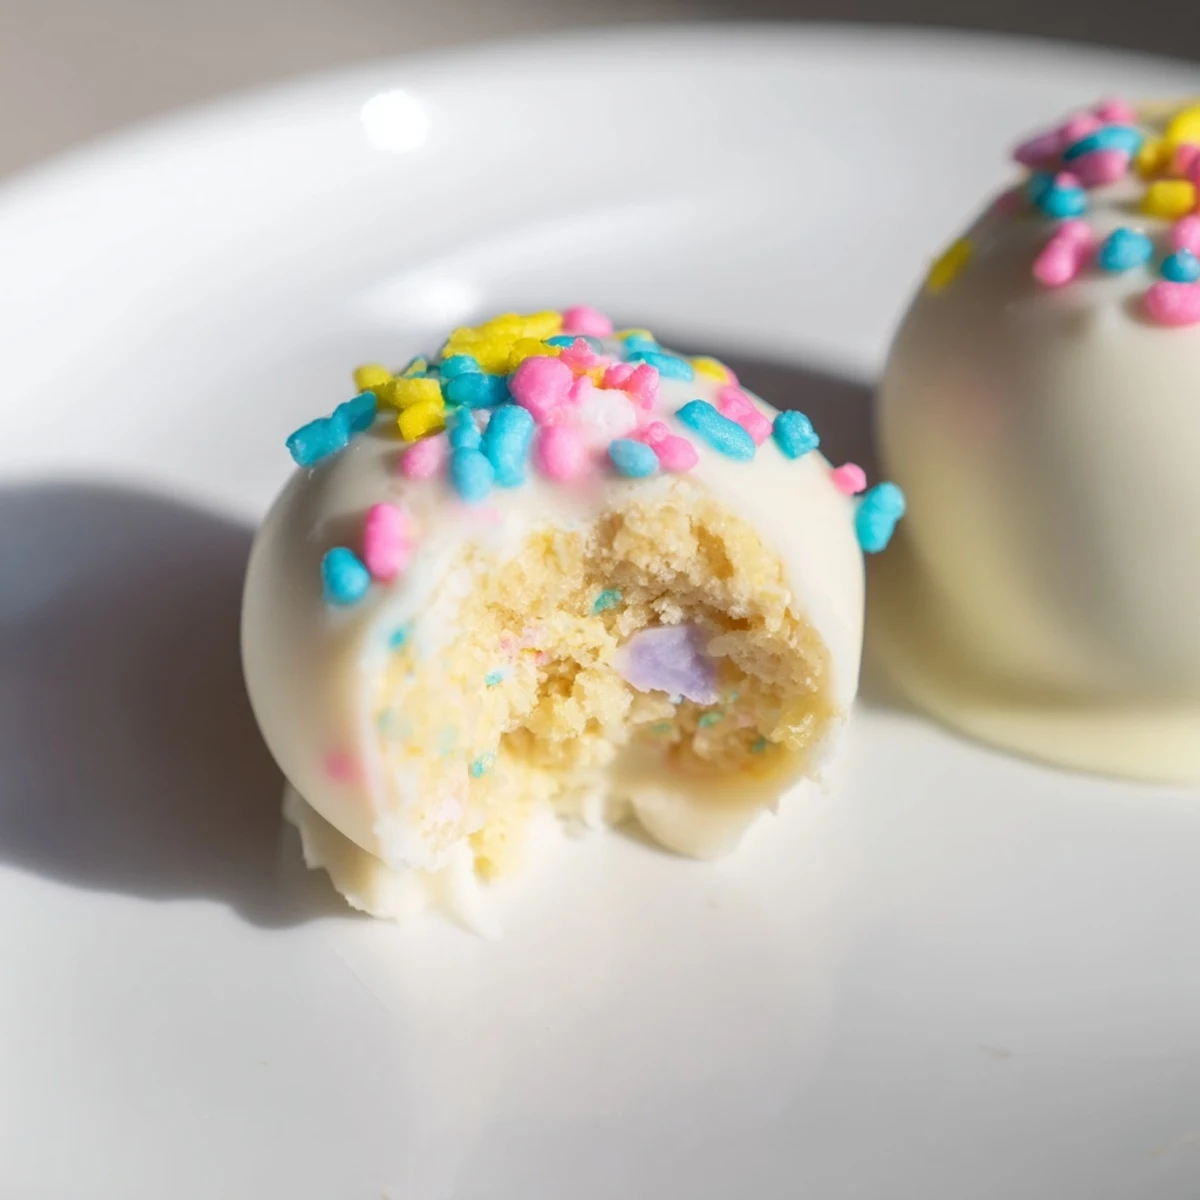
 My daughter insisted on arranging these on a platter in the shape of a bunny, and honestly, it became the highlight of our dessert table. Something about having that familiar flavor in such a fun format makes people gravitate toward them.
Making Ahead
I've learned through trial and error that the truffle mixture can sit in the refrigerator for up to 24 hours before rolling and dipping. The texture actually improves after that rest period, giving the wafer crumbs time to soften slightly and meld with the creamy base.
Dipping Like a Pro
After losing several truffles to the abyss of my chocolate bowl, I started using a spiral dipping fork that lets the excess chocolate drain through the gaps. The key is tapping the fork gently against the bowl rim rather than shaking vigorously, which can cause the truffle to slide off mid tap.
Serving Suggestions
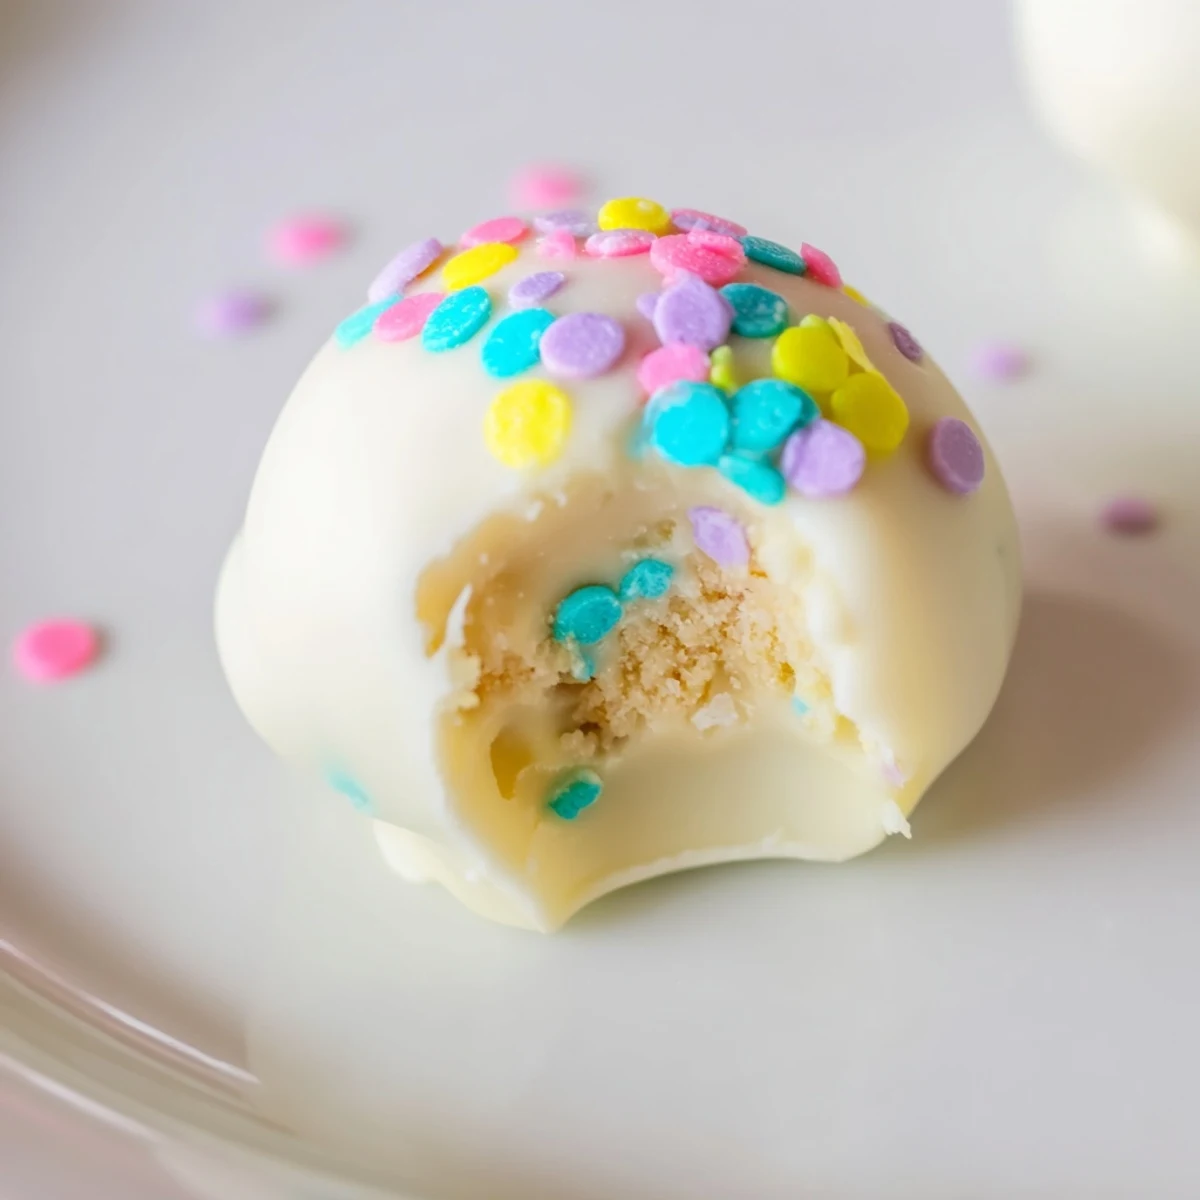
These look stunning arranged on a cake stand or decorative platter, but I've also packed them in clear treat bags with pastel ribbons for party favors. The contrast between the white chocolate and colorful sprinkles makes them photograph beautifully for social media if you're into that sort of thing.
- Set up a sprinkles station and let guests decorate their own
- Pair with fresh berries for a more elegant presentation
- Store in the refrigerator but bring to room temperature 15 minutes before serving
 Save to Pinterest
 There's something deeply satisfying about transforming a beloved dessert into something new while keeping its soul intact. These little bites carry all the comfort of the original, wrapped up in a festive package that feels special enough for any celebration.
Recipe FAQs
- → How long do these truffles need to chill?
-
The truffle centers need at least 30 minutes in the refrigerator to firm up before dipping. After coating with chocolate, they need another 10–15 minutes to set completely. For the best texture, plan for about 45 minutes to 1 hour of total chilling time.
- → Can I make these ahead of time?
-
Yes, these truffles store beautifully in the refrigerator for up to 5 days when kept in an airtight container. You can also freeze the undipped truffle balls for up to 1 month, then thaw and coat when needed.
- → What can I use instead of vanilla wafers?
-
Graham crackers work well as a substitute and add a slightly different flavor profile. You could also use digestive biscuits, Nilla wafers, or even shortbread cookies depending on your taste preference.
- → Do I need special equipment for dipping?
-
No special tools are required. A fork works well for dipping and letting excess chocolate drip off. If you make these regularly, a chocolate dipping fork or candy making tools can make the process easier, but a regular fork or toothpicks work perfectly fine.
- → Can I use milk or dark chocolate instead of white?
-
Absolutely! While white chocolate complements the banana flavor beautifully and gives a classic Easter look, milk or dark chocolate also work well. Just keep in mind that darker chocolate will change the appearance and slightly alter the flavor balance.
- → Why did my truffle mixture feel too soft to roll?
-
If the mixture feels sticky or soft, chill it for 15–20 minutes before rolling. You can also add a few more crushed vanilla wafers, about 1–2 tablespoons at a time, until the dough holds its shape. The cream cheese and pudding need to be cold enough to form workable balls.
