 Save to Pinterest
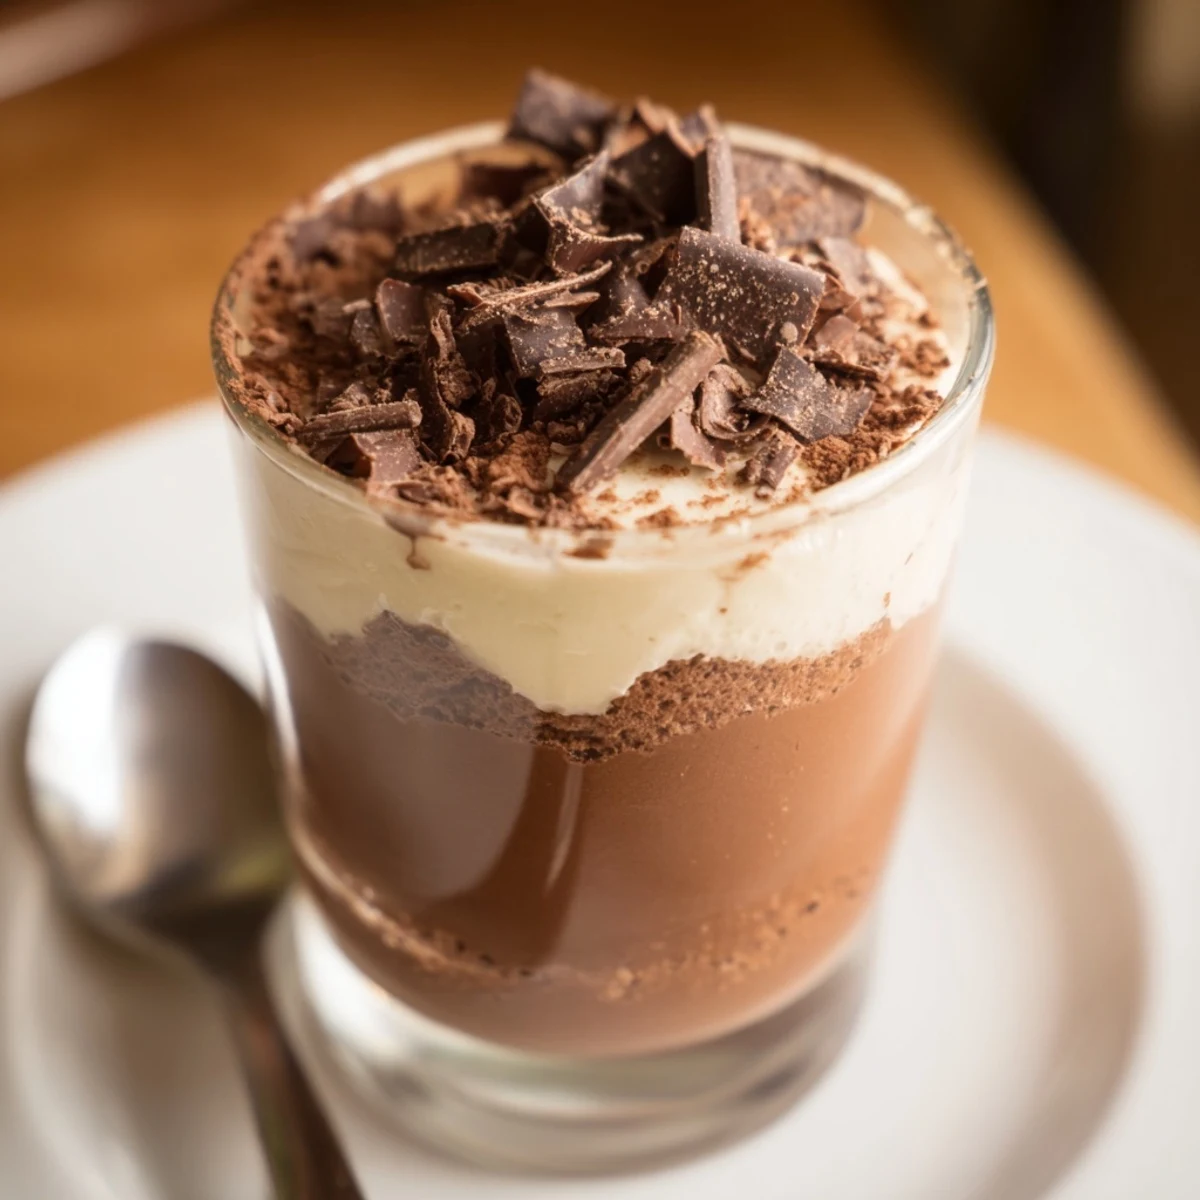
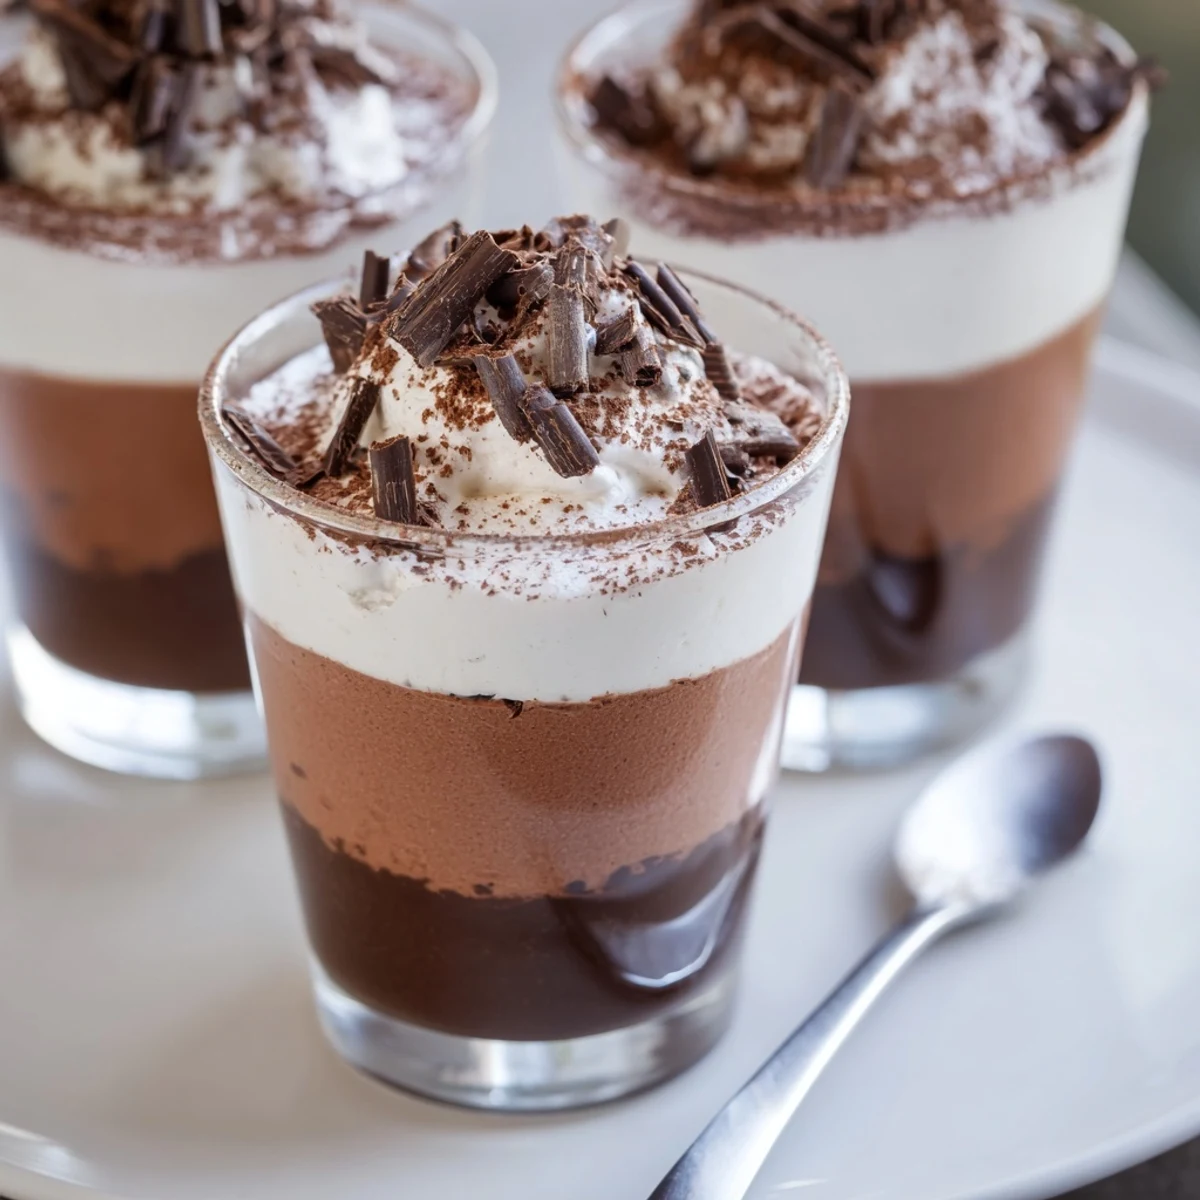
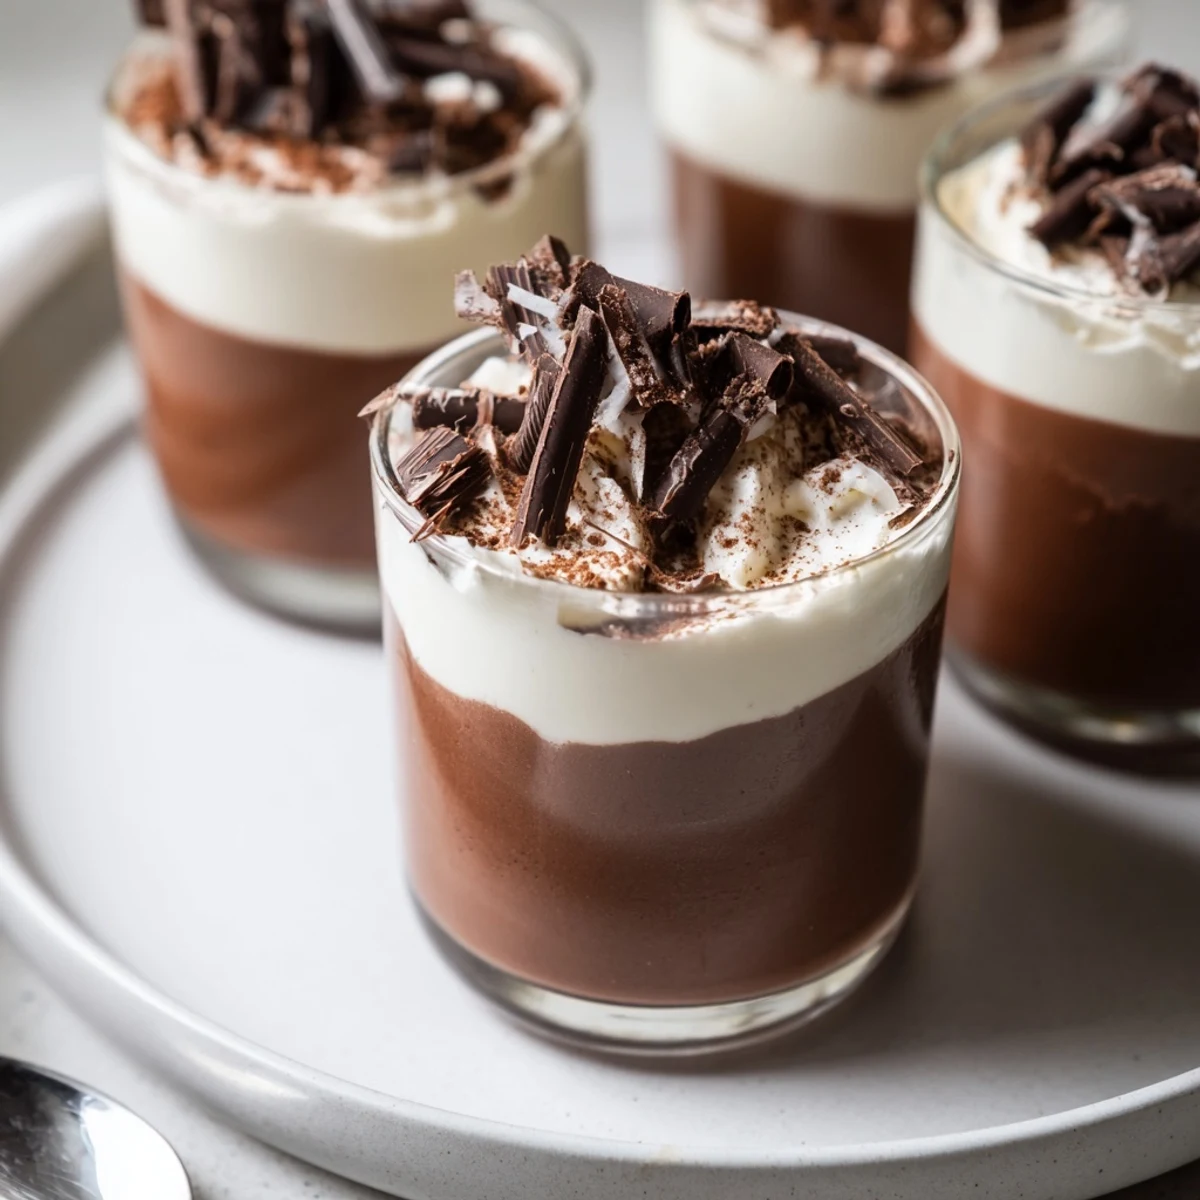
 Layer three mousses - dark, milk and white - into six small cups for an elegant chilled dessert. Melt each chocolate, whisk an egg yolk with sugar, fold in melted chocolate, then gently incorporate whipped cream to keep the texture airy. Spoon or pipe each layer, chill until set (about 1 hour total plus prep), and finish with shaved chocolate or a dusting of cocoa.
The first time I made triple chocolate mousse cups, my kitchen smelled like a chocolate factory and my apron told the story of a multitasking disaster. Swirling melted chocolate while juggling three mixing bowls, I managed to leave spoon marks everywhere but in the mousses themselves. Building those chocolaty layers felt a bit like putting together a masterpiece—each one a different shade and texture, beckoning for a taste. Even as I balanced the last cup into the fridge, I wondered if I'd ever be patient enough to wait for them to set.
I made these mousse cups for my friend's birthday picnic, and we ate them under an old oak tree, laughing every time the wind threatened to snatch the napkins (but never the desserts). There was a moment when someone bit straight to the bottom and let out a deep, blissed-out sigh that got us all giggling. It became an unspoken rule that from then on, any celebration required at least a double batch. Chocolate smeared smiles were the only proof of what we'd just enjoyed.
Ingredients
- Dark chocolate (100 g, min 60% cocoa): The foundation of the first layer, its bittersweet depth anchors the whole cup—it melts best if chopped fine and stirred gently over a bain-marie.
- Egg yolk (1 per layer): These give the mousse its silky, custardy backbone; I always separate them just before using for extra freshness.
- Sugar (1 1/2 tbsp per layer): Adds just enough sweetness, so none of the chocolates overpower—sift if it seems lumpy.
- Heavy cream (100 ml per layer, cold): Whipping cold cream makes each mousse feather-light; don't rush the peaks.
- Milk chocolate (100 g): Creamier and slightly sweeter, this makes the middle layer addictive—I use good-quality bars and avoid chips.
- White chocolate (100 g): The final touch, this layer always sets up fastest and makes the cups look like little desserts from a fancy party.
- Shaved chocolate or cocoa powder (garnish, optional): A last-minute sprinkle adds drama and a hint of bitterness on top—use a microplane for perfect chocolate curls.
Instructions
- Melt & Mix the Dark Chocolate:
- Chop the dark chocolate and melt it slowly, letting the scent bloom through the kitchen, then cool slightly. Whisk egg yolk and sugar until pale and creamy, fold in the melted chocolate, then gently blend in whipped cream until the mousse is thick and glossy.
- Build Your First Layer:
- Spoon or pipe the dark chocolate mousse into the bottom of six small cups. Slide them into the fridge so the mousse begins to set while you prepare the next layer.
- Create the Milk Chocolate Mousse:
- Repeat the process with the milk chocolate, making sure each step is smooth and even. Layer this carefully over the set dark chocolate, using a gentle hand to keep the lines clean, then chill again.
- Finish with White Chocolate:
- Melt and blend the white chocolate with its yolk, sugar, and whipped cream, then spoon or pipe softly onto the milk chocolate layer. Refrigerate for at least an hour, resisting the urge to sneak a taste before it sets.
- Garnish & Serve:
- Right before serving, scatter shaved chocolate or a dusting of cocoa over each cup for a little flourish. When you dig in, aim your spoon straight down through all three layers for the full chocolate experience.
 Save to Pinterest
 The night I made these for my sister during a thunderstorm, we sat by the window with mousse cups in hand, joking that no power outage could ever dampen chocolate happiness. Under candlelight, the glossy layers looked downright magical, and every bite felt celebratory.
Layering Without the Stress
If you worry about the layers blending, let each one chill thoroughly before adding the next. Sometimes I use the freezer for a fast set, just don't forget them or you'll need a chisel instead of a spoon. A steady hand and a little patience make all the difference to those beautiful straight-edged lines.
Choosing the Best Chocolate
After a few tries, I realized not all chocolate bars melt smoothly—some go grainy or seize right at the end. I swear by using chocolate with minimal additives (and a cocoa content above 60 percent for the dark), as it gives the mousse a lush texture and clear flavor. If in doubt, taste the chocolate before you melt it—if you wouldn't nibble it plain, it's not right for these cups.
Whipping Cream to Perfection
There's something oddly healing about quietly whipping cream in the late afternoon light, waiting for that just-right moment between soft and stiff peaks. It's easy to overbeat and end up closer to butter, so watch closely and stop as soon as the whisk leaves gentle waves. The cream practically carries the layers, making each one melt on the tongue.
- Use a metal bowl and chilled whisk for faster, fluffier results.
- If you overshoot and start to see lumps, fold in a tablespoon of fresh cream to rescue it.
- Double check the layers are fully set before serving for the cleanest slice through all three chocolates.
 Save to Pinterest
 Layering these mousse cups calms and rewards me every time, and there's always a little thrill when the spoon dives down and lifts out all three chocolates. I hope your kitchen fills with laughter and a little chocolate chaos too.
Recipe FAQs
- → Can I prepare these ahead of time?
-
Yes. Assemble the cups and chill them covered in the refrigerator for up to 24 hours; flavors meld nicely. For longer storage, freeze briefly but allow thawing in the fridge before serving to regain the proper texture.
- → What chocolate should I use for best results?
-
Choose high-quality chocolate: at least 60% cocoa for the dark layer, good milk chocolate for creaminess, and true couverture or quality white chocolate for a smooth white layer. Avoid low-grade bars that contain too many additives.
- → How can I get a light, airy mousse texture?
-
Whip the cream to soft peaks and fold it in gently to preserve air. Cool melted chocolate slightly before combining with the yolk mixture to avoid deflating. Avoid overmixing when folding to keep the mousse airy.
- → Is there an egg-free alternative?
-
Yes. Replace the egg yolk step by stabilizing whipped cream with a little gelatin or use whipped aquafaba for a vegan approach. Texture will vary, so adjust chilling time and stabilizer amounts as needed.
- → How do I speed up setting between layers?
-
Place the cups in the freezer for 20–30 minutes between layers to firm each stage faster. Return them to the refrigerator for the final set to avoid freezing the mousse solid.
- → Can I add liqueur or flavorings?
-
A splash of coffee liqueur mixes well into the dark chocolate layer; orange liqueur pairs nicely with milk chocolate. Add sparingly to preserve structure and balance of the mousse.
