 Save to Pinterest
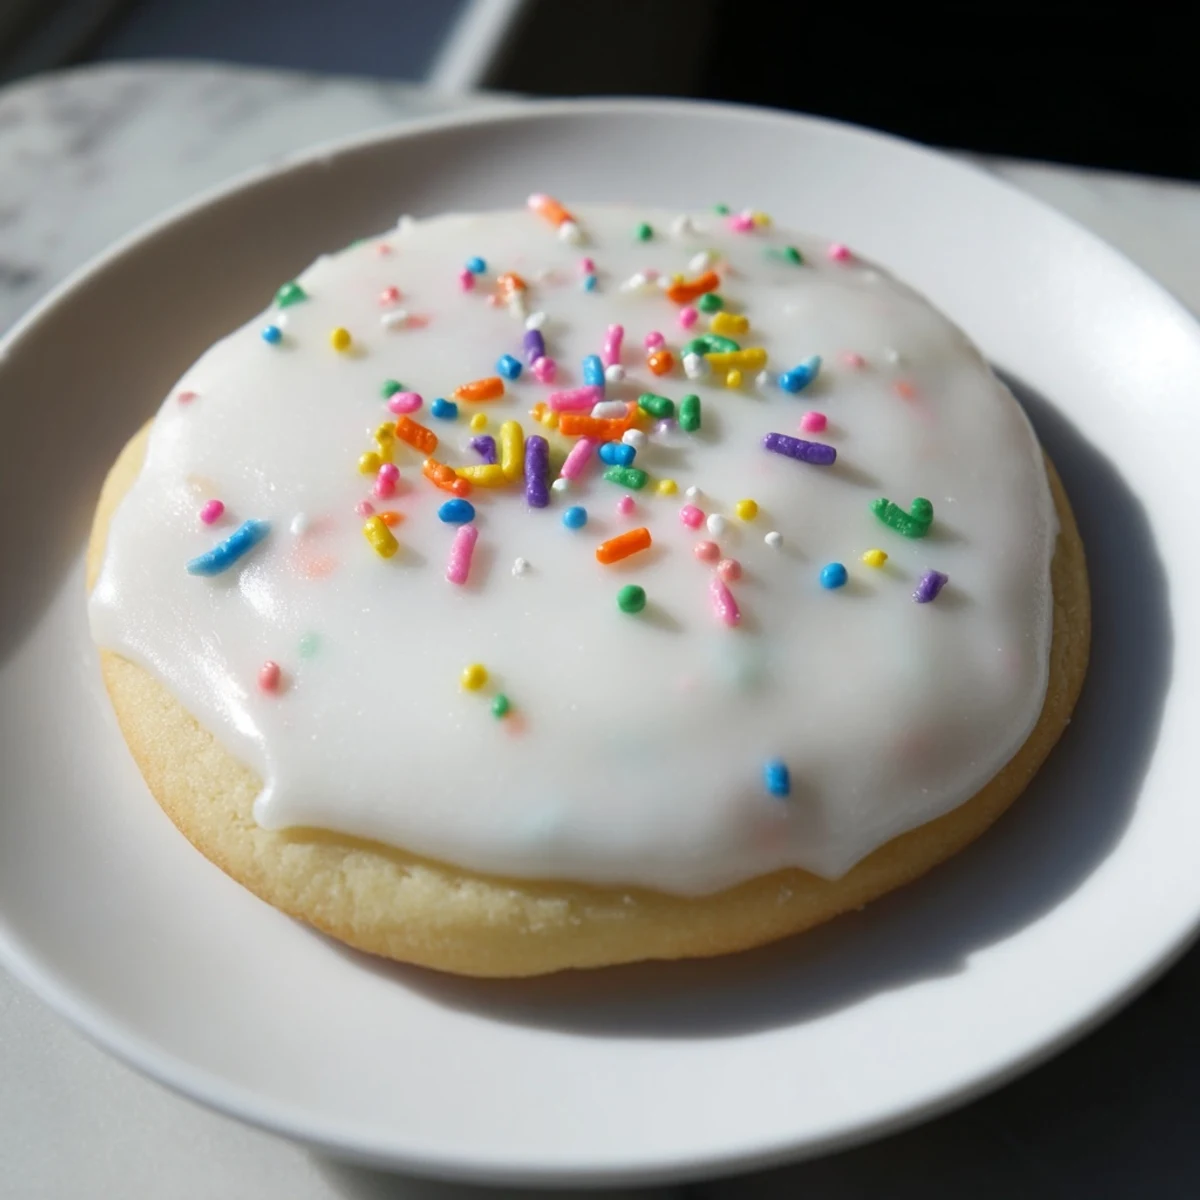
 Craft stunning decorated cookies with this versatile glossy icing that creates professional bakery-quality results right in your kitchen. The secret combination of powdered sugar, corn syrup, and vanilla produces a smooth, pourable consistency that dries to a firm, glossy finish—perfect for detailed piping work or flooding entire cookie surfaces.
Customize with gel or liquid food coloring to match any occasion, from birthday parties to holiday celebrations. The base mixture yields about one cup, enough to beautifully decorate approximately two dozen cookies. You can adjust the thickness by adding more powdered sugar for intricate piping details or more milk for smooth flooding techniques.
This vegetarian and gluten-free icing sets completely at room temperature within four hours, creating a surface that's stackable for storage or gift-giving. Store any unused portion in the refrigerator for up to a week, and simply stir before your next decorating session.
My daughter's kindergarten teacher sent home a dozen plain sugar cookies before winter break, and something about those naked cookies just felt incomplete. We ended up mixing up this icing in tiny cereal bowls, three different colors spread across the kitchen table, making an absolute mess but creating the most perfect afternoon I've had in years.
Last Christmas Eve, I made six batches of this icing in different shades while my husband stood at the counter taste-testing the scraps. We'd both been so caught up in holiday chaos that standing there, dipping cookies and watching them dry, became this unexpected moment of calm in the middle of everything.
Ingredients
- 2 cups (240 g) powdered sugar, sifted: Sifting makes the difference between grainy icing and silk, I learned this after one too many lumpy batches
- 2–3 tablespoons milk: Start with less, you can always add more but you can't take it back once the icing turns too thin
- 1 tablespoon light corn syrup: This is what creates that gorgeous glossy finish and helps the icing set properly
- 1/2 teaspoon pure vanilla extract: The real stuff matters here since the flavor shines through all that sugar
- Food coloring: Gel colors give you vibrancy without thinning the icing like liquid drops can
Instructions
- Mix your glossy base:
- Whisk together the powdered sugar, 2 tablespoons milk, corn syrup and vanilla until you've got something smooth and shiny that slowly drips off the whisk.
- Find your perfect consistency:
- Add milk 1/2 teaspoon at a time until the icing flows easily but still holds its shape, thinner for flooding thicker for piping edges.
- Create your colors:
- Divide between bowls and work food coloring in drop by drop, remembering those gel colors pack serious punch so start tiny.
- Decorate with confidence:
- Use this immediately on cooled cookies, dipping them face down, spreading with an offset spatula, or piping designs with a squeeze bottle.
- Let them set properly:
- Give decorated cookies at least 4 hours at room temperature, maybe overnight if you've layered thick designs.
 Save to Pinterest
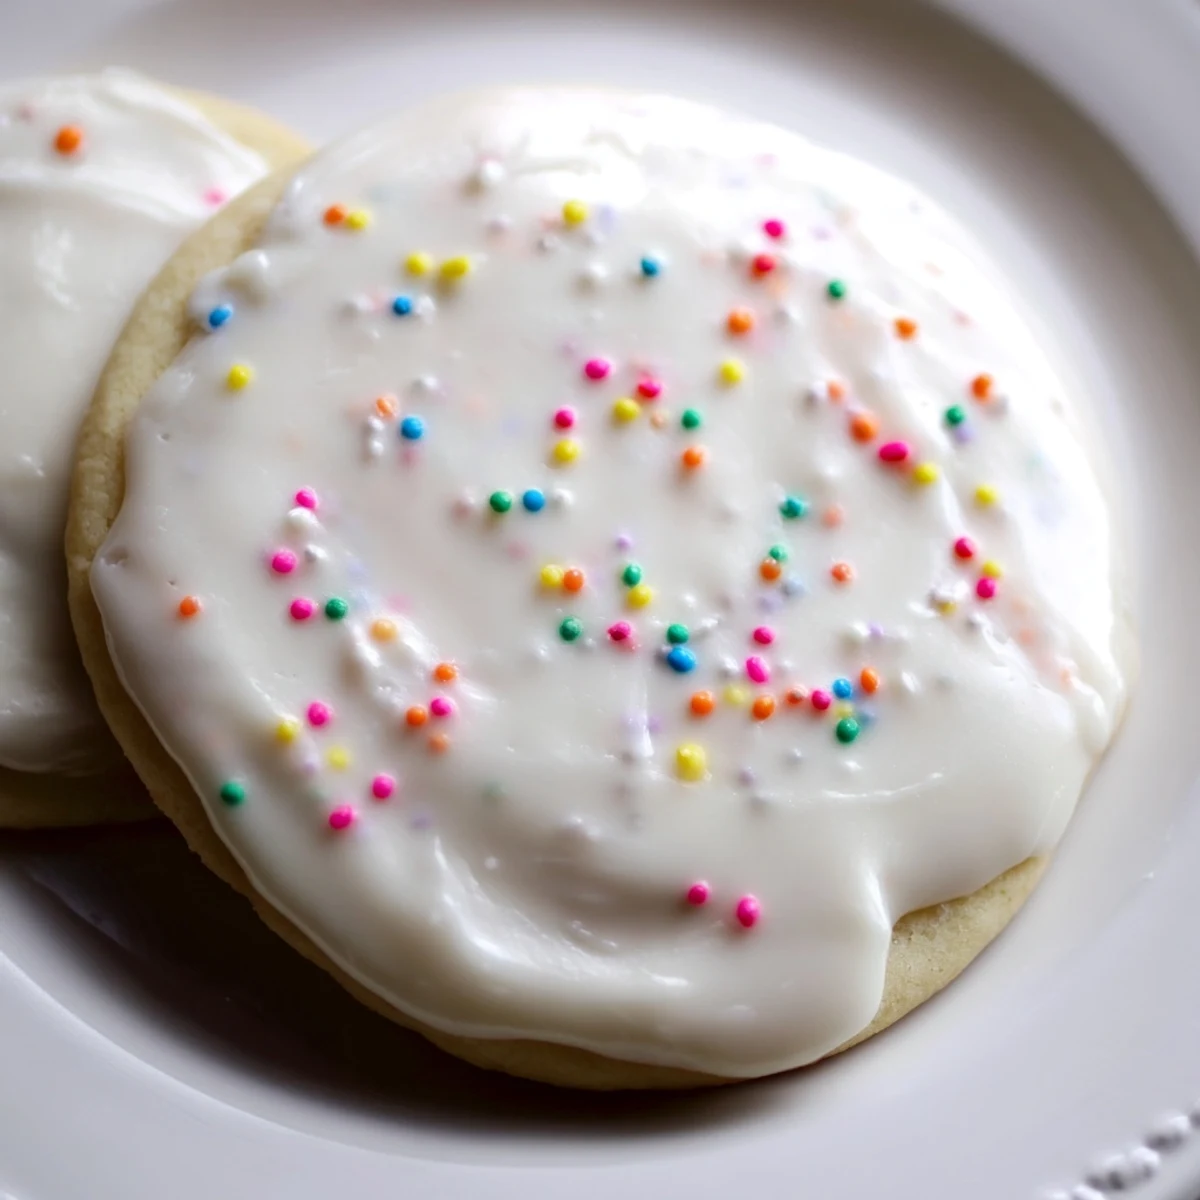
 My niece brought home leftover cookies from her school bake sale once, decorated with this exact icing in wild neon colors. Those cookies sat on my counter for three days and the icing never once softened or smudged, which convinced me forever of this recipe's reliability.
Getting The Right Consistency
I've learned that different humidity levels affect how much milk you'll need. On rainy days, you might need less liquid than the recipe calls for, while dry winter air often means adding an extra splash to keep the icing workable.
Working With Colors
Gel food coloring has become my absolute go to since it doesn't throw off the carefully balanced liquid ratios. A toothpick dipped in gel color goes such a long way, and the intensity you can achieve without thinning the icing is remarkable.
Storage And Make Ahead Tips
This icing keeps surprisingly well in the refrigerator, stored in an airtight container for up to a week. Give it a good stir before using again, and you might need to add a few drops of milk to bring back that perfect working consistency.
- Cover bowls of colored icing with plastic wrap directly on the surface to prevent crusting
- Squeeze bottles are game changers for precise flooding work
- Set a timer when drying so you don't accidentally touch them too soon
 Save to Pinterest
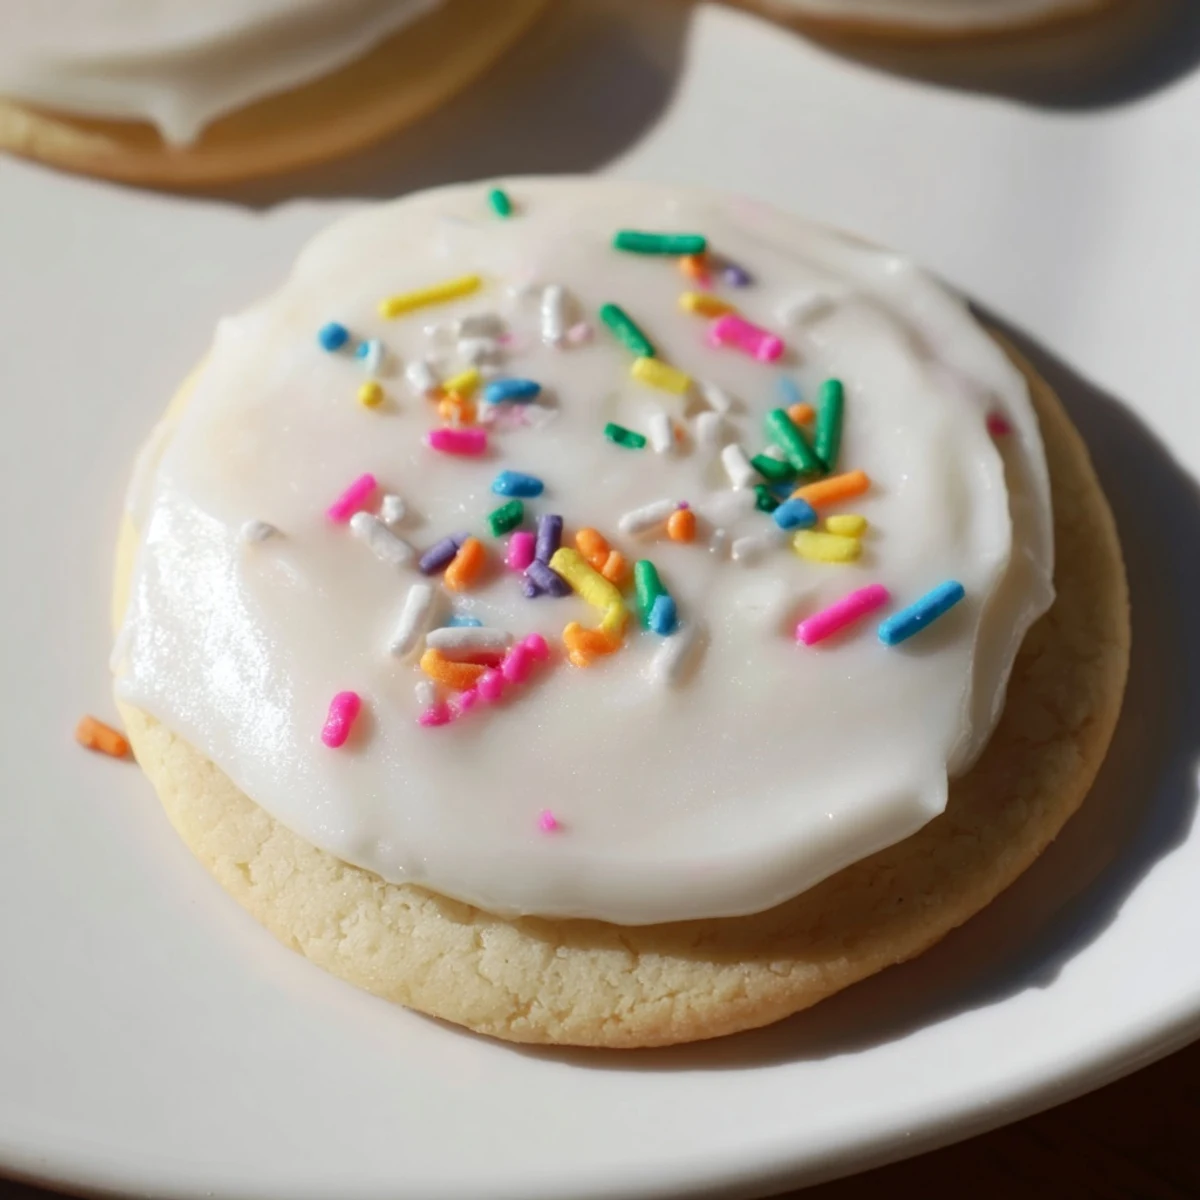
 There's something magical about watching a plain cookie transform into something festive, especially when you're sharing that moment with someone you love.
Recipe FAQs
- → How long does the icing take to dry completely?
-
The icing typically dries completely within 4 hours at room temperature. For best results, decorate cookies on a wire rack to allow air circulation underneath. Humidity may extend drying time slightly, so plan accordingly for very humid days.
- → Can I make this icing ahead of time?
-
Yes, store the prepared icing in an airtight container in the refrigerator for up to one week. The mixture may separate slightly—simply stir well before using. Bring to room temperature and add a few drops of milk if it thickens too much during storage.
- → What's the purpose of corn syrup in the icing?
-
Corn syrup creates the glossy finish and helps the icing dry smoothly without cracking. It also contributes to the perfect pourable consistency while ensuring the finished surface remains firm yet flexible. For an extra-shiny appearance, increase to 1.5 tablespoons.
- → Can I use alternative liquids instead of milk?
-
Absolutely. Non-dairy milk alternatives work perfectly, including almond, oat, coconut, or soy milk. You can also use water, though milk adds a subtle richness. The liquid choice doesn't significantly affect the final texture or drying time.
- → How do I achieve different consistencies for outlining versus flooding?
-
For outlining and detailed piping, add more powdered sugar until the mixture holds its shape when piped. For flooding larger areas, keep the original pourable consistency or add a few more drops of milk. Always test on a spare cookie or plate first.
- → What type of food coloring works best?
-
Gel food coloring provides vibrant colors without thinning the consistency. Liquid food coloring works too but may require slight adjustments with additional powdered sugar. Start with just a few drops—colors intensify as they sit.
