 Save to Pinterest
 Master the art of traditional sourdough baking with this authentic method using wild yeast starter. The process begins with mixing bread flour and water, followed by a resting period called autolyse that develops gluten structure. After incorporating active starter and salt, perform stretch and folds over two hours to build strength.
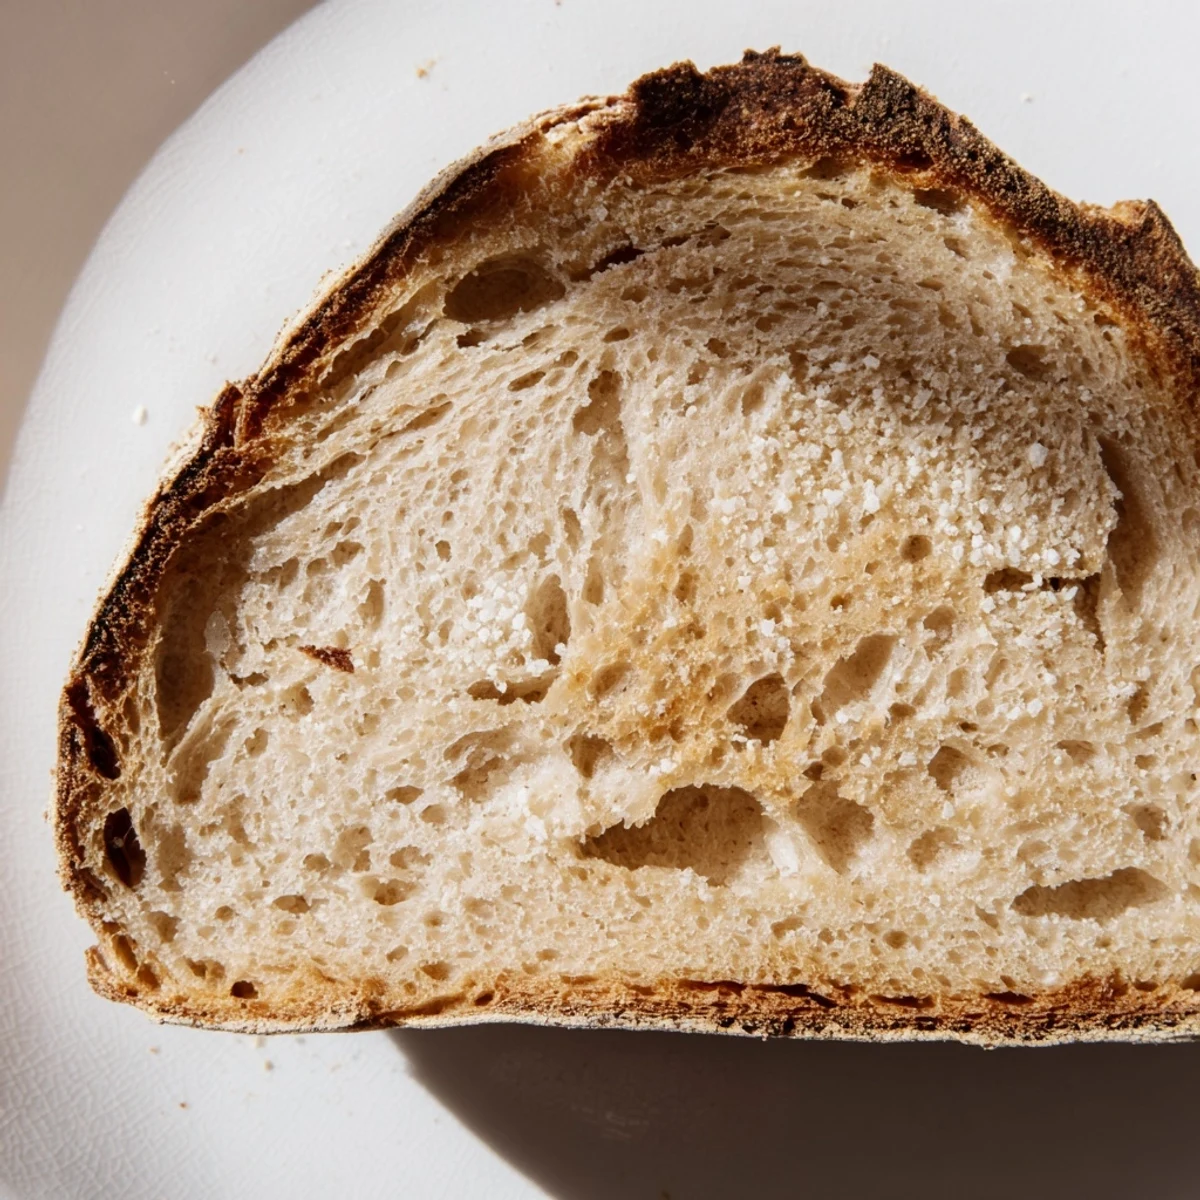
The dough rises at room temperature for 4-6 hours before shaping and cold fermentation in the refrigerator. This overnight rest develops the characteristic tangy flavor and chewy texture. Baking in a preheated Dutch oven creates steam, resulting in that signature crackling crust and airy crumb structure sourdough lovers crave.
The smell of sourdough baking hits you before you even see the oven. My kitchen transforms into a warm, yeasty sanctuary that makes the whole house feel cozier. Something about feeding a starter and watching bubbles form connects you to generations of bakers who understood patience.
I baked my first sourdough during a rainy weekend when I had nowhere to be and nothing to prove. The bread emerged slightly lopsided but with the most extraordinary flavor Id ever tasted. Friends started asking for loaves, and suddenly I was that person with flour-dusted arms and a starter bubbling on the counter.
Ingredients
- Bread flour: Higher protein content creates the structure and chew that makes sourdough so satisfying to eat
- Water: Room temperature water helps the starter activate properly without shocking the wild yeast
- Sourdough starter: This living culture is everything, use it when its bubbly and doubles in size within 4 hours of feeding
- Fine sea salt: Don't skip or reduce this, salt controls fermentation and deepens the flavor profile
Instructions
- Mix and Rest:
- Combine flour and water in a large bowl until shaggy streaks disappear. Cover and walk away for an hour, letting the flour hydrate completely.
- Build the Dough:
- Add your starter and salt, squeezing them through the dough with your fingers until everything incorporates. The dough should feel sticky and alive.
- Stretch and Fold:
- Every 30 minutes for 2 hours, grab one side of the dough and stretch it up before folding over the center. Rotate the bowl and repeat four times per set.
- Bulk Fermentation:
- Cover the bowl and let the dough rise at room temperature until it looks puffy and jiggly, usually 4 to 6 hours depending on your kitchen warmth.
- Shape with Confidence:
- Turn dough onto a lightly floured surface and fold edges toward the center to create tension. Flip and shape into a smooth round, using the friction of the counter to tighten the skin.
- Cold Proof:
- Place shaped dough seam side up in a floured proofing basket. Cover and refrigerate overnight, developing flavor while you sleep.
- Preheat Like You Mean It:
- Crank oven to 230°C with your Dutch oven inside. Let it heat for at least 30 minutes, getting everything screaming hot.
- Score and Bake:
- Invert dough onto parchment, slash the top with a confident swift motion, and transfer into the hot Dutch oven. Cover immediately.
- Create the Crust:
- Bake covered for 20 minutes, then remove the lid and continue baking until the crust turns deep golden brown, another 15 to 20 minutes.
- The Hardest Part:
- Cool completely on a wire rack for at least 1 hour. Slicing warm bread ruins the crumb structure and wastes all your patience.
 Save to Pinterest
 My partner started leaving butter out on the counter the night before I plan to bake. The ritual of warm sourdough and salted butter has become our weekend language, better than words sometimes.
Understanding Your Starter
A healthy starter should bubble actively within a few hours of feeding. If it smells like acetone or alcohol, feed it more frequently to get it back to peak vitality before baking day.
Flour Variations
Up to 20 percent of your bread flour can be swapped for rye or whole wheat. These add nutty complexity but also make the dough slightly denser, so adjust your expectations accordingly.
Storage and Freshness
Sourdough keeps remarkably well compared to commercial bread. Store cut side down on a cutting board for 2 days, then freeze slices wrapped tightly for longer keeping.
- Revive day old bread by sprinkling with water and reheating at 180°C for 10 minutes
- Stale sourdough makes the most incredible French toast or bread pudding
- The flavor actually develops more depth after sitting for 24 hours
 Save to Pinterest
 Every loaf teaches you something new about patience and observation. Welcome to the sourdough journey, your hands will remember what your mind forgets.
Recipe FAQs
- → What makes sourdough different from regular bread?
-
Sourdough uses wild yeast and beneficial bacteria naturally present in flour rather than commercial yeast. This creates lactic acid, giving the bread its distinctive tangy flavor and making it easier to digest. The long fermentation process also breaks down gluten, resulting in better texture and nutrient absorption.
- → How do I know if my starter is active enough?
-
A healthy starter should double in size within 4-8 hours after feeding. Look for bubbles throughout, a pleasant slightly sour aroma, and a domed top surface. The starter should float when dropped in water. If it fails these tests, feed it daily at room temperature until consistently active before baking.
- → Can I shorten the fermentation time?
-
While possible, reducing fermentation time compromises flavor development and texture. The long, slow fermentation is essential for authentic sourdough characteristics. If pressed for time, you can use warmer proofing conditions (75-80°F) to speed bulk fermentation slightly, but never skip the overnight cold proof which enhances flavor and crust development.
- → Why do I need a Dutch oven?
-
A Dutch oven traps steam during the initial baking phase, which keeps the crust soft and allows maximum oven spring—the rapid expansion of interior gases. This creates the beautiful, lofty crumb structure. The trapped moisture also develops a glossy, blistered crust. A regular oven cannot replicate this steam-filled environment effectively.
- → How should I store the baked loaf?
-
Store completely cooled bread in a paper bag at room temperature for up to 3 days. The paper allows moisture to escape, keeping the crust crisp. Avoid plastic bags which make the crust soft. For longer storage, slice and freeze in a freezer bag, toasting slices directly from frozen. Never refrigerate bread, as it accelerates staling.
