 Save to Pinterest
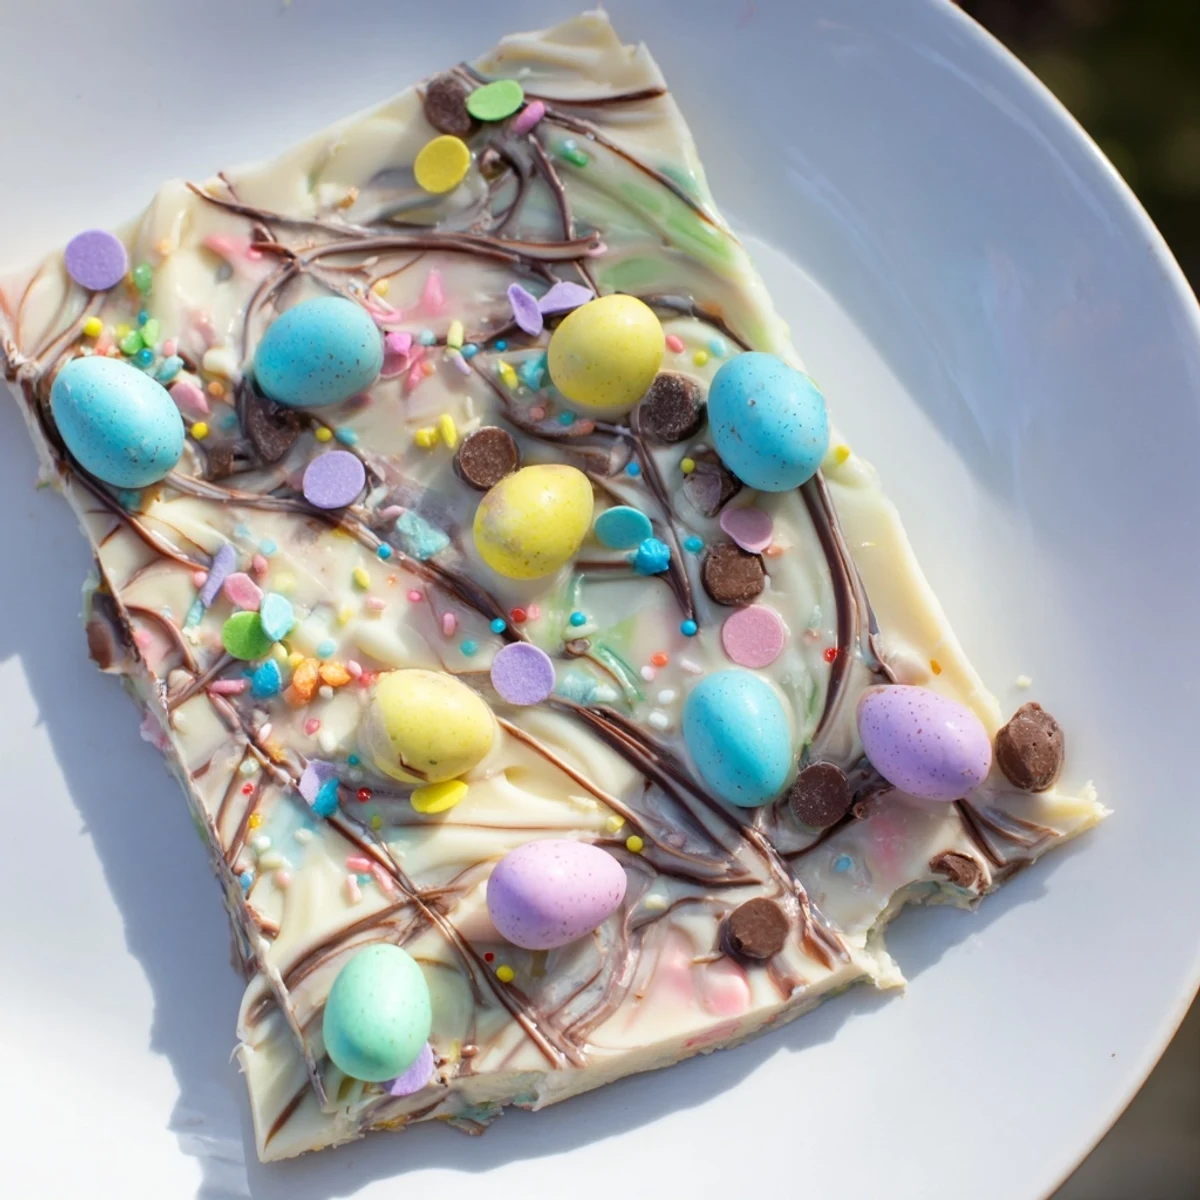
 This no‑bake, festive chocolate bark pairs melted white and milk (or semi‑sweet) chocolate for a marbled base, then is scattered with candy robin eggs, pastel sprinkles and optional mini chips. Melt gently over a simmering pan or in short microwave bursts, spread to about ¼ inch, swirl with a toothpick, press toppings so they adhere, and chill until firm (15–40 minutes). Break into large pieces and store airtight at room temperature up to one week; swap in vegan chocolate for a dairy-free option or add crushed pretzels for extra crunch.
My kitchen counter looked like a pastel explosion the morning my daughter asked if we could make something special for her school Easter party. Within an hour, we had chocolate smeared on the faucet, sprinkles in our hair, and the most beautiful slab of robin egg bark cooling on the counter. She carried it into class like a trophy, and three parents messaged me for the recipe before noon.
I have made this bark for potlucks, neighbor gifts, and once at midnight because I forgot a dessert was due the next morning.
Ingredients
- White chocolate (340 g): Use good quality white chocolate here because it is the base of the entire bark and cheaper brands can seize or taste waxy.
- Semi sweet or milk chocolate (170 g): This is for the swirl and adds a richer contrast against the sweet white chocolate.
- Candy coated chocolate robin eggs (150 g): The star of the show, so grab a fresh bag because stale candy shells lose their satisfying crunch.
- Pastel sprinkles (2 tbsp): These fill in the gaps between the larger candies and make everything look festive.
- Mini chocolate chips (1 tbsp, optional): A nice little extra if you want more chocolate depth in every bite.
Instructions
- Prep your workspace:
- Line a baking sheet with parchment paper so your bark releases cleanly once it sets.
- Melt the white chocolate:
- Set a heatproof bowl over a saucepan of gently simmering water and stir the white chocolate until it is completely smooth, or microwave in 30 second bursts stirring between each round.
- Spread the base:
- Pour the melted white chocolate onto your prepared sheet and spread it into an even rectangle about a quarter inch thick using a spatula.
- Melt and swirl the dark chocolate:
- Melt the semi sweet chocolate the same way, then drizzle it over the white layer in thin lines and drag a toothpick through both layers to create a marbled pattern that looks like watercolor.
- Add all the toppings:
- Scatter the robin eggs, sprinkles, and mini chips over the surface right away and gently press the larger candies down so they adhere as the chocolate hardens.
- Let it set:
- Leave the bark at room temperature for 30 to 40 minutes, or pop it in the refrigerator for 15 to 20 minutes if you are impatient like me.
- Break and serve:
- Once completely firm, use your hands to break the slab into rustic, uneven pieces and arrange them on a platter.
 Save to Pinterest
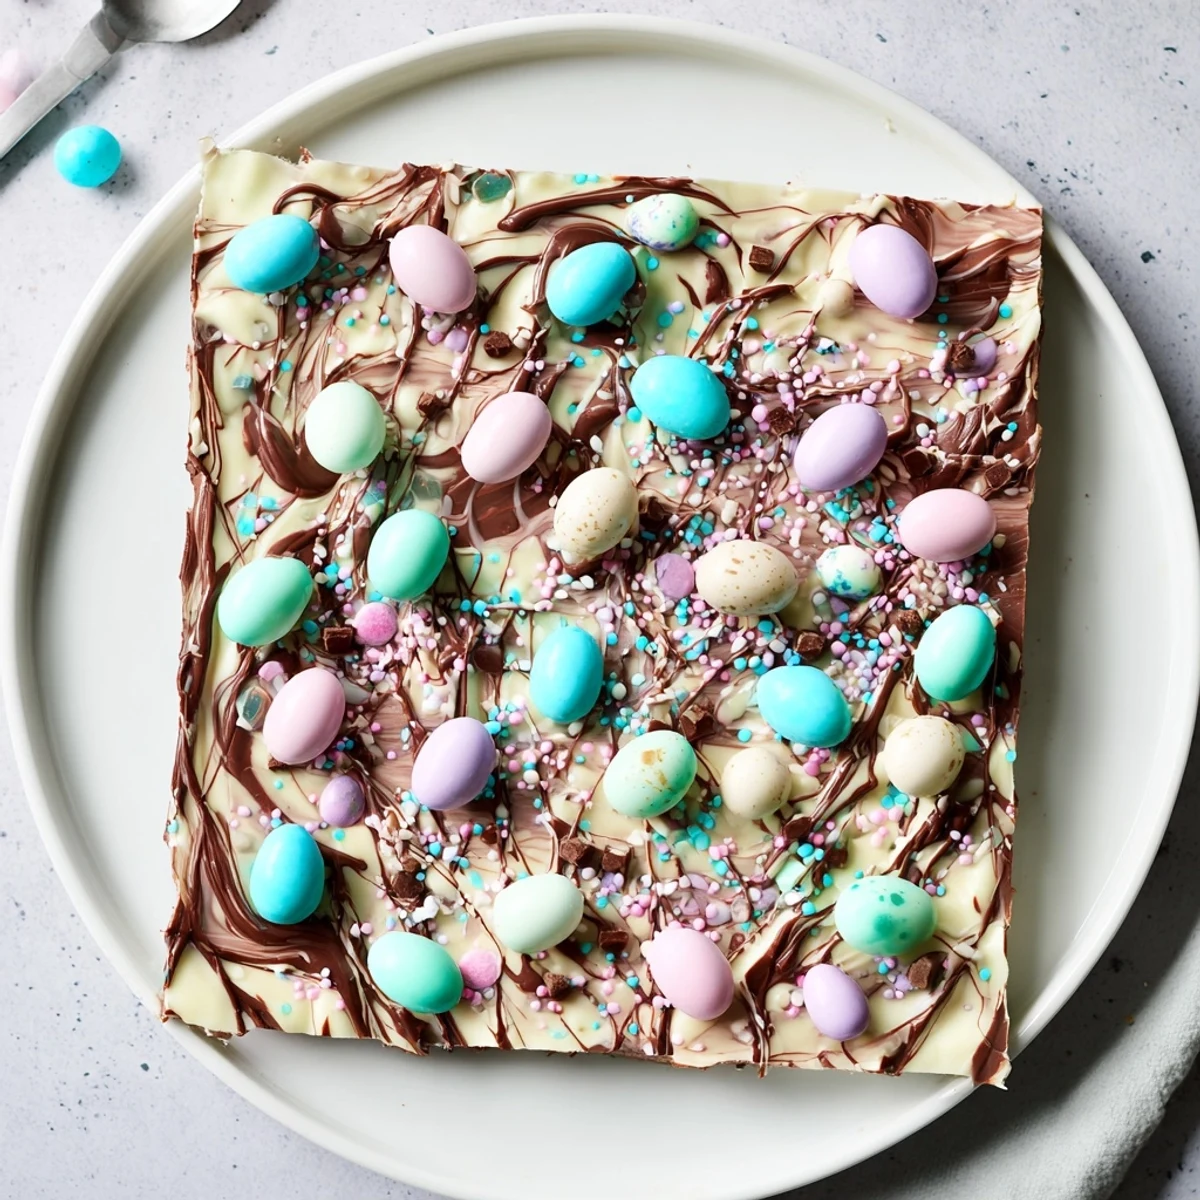
 That first batch with my daughter turned into an annual tradition, and now every spring she pulls the stool up to the counter without even being asked.
Texture Variations Worth Trying
Crushed pretzels add a salty crunch that cuts through the sweetness beautifully. Toasted coconut flakes bring a chewy element that surprises people in the best way. I once tossed in some freeze dried strawberries and the tart pops of flavor were a revelation.
Storing Your Bark Properly
Keep the bark in an airtight container at room temperature and it stays fresh for up to a week. Avoid storing it in the fridge long term because condensation can make the candy shells sticky and dull. If you are gifting it, tuck pieces into cellophane bags tied with ribbon and it looks like it came from a boutique shop.
Making It Your Own
Part of the charm of bark is how easily it adapts to whatever you have on hand or whatever occasion you are celebrating.
- Swap the robin eggs for chopped peppermint bark candy canes during winter holidays.
- Use dark chocolate and sea salt for a more grown up flavor profile.
- Always taste your toppings before adding them because freshness makes all the difference.
 Save to Pinterest
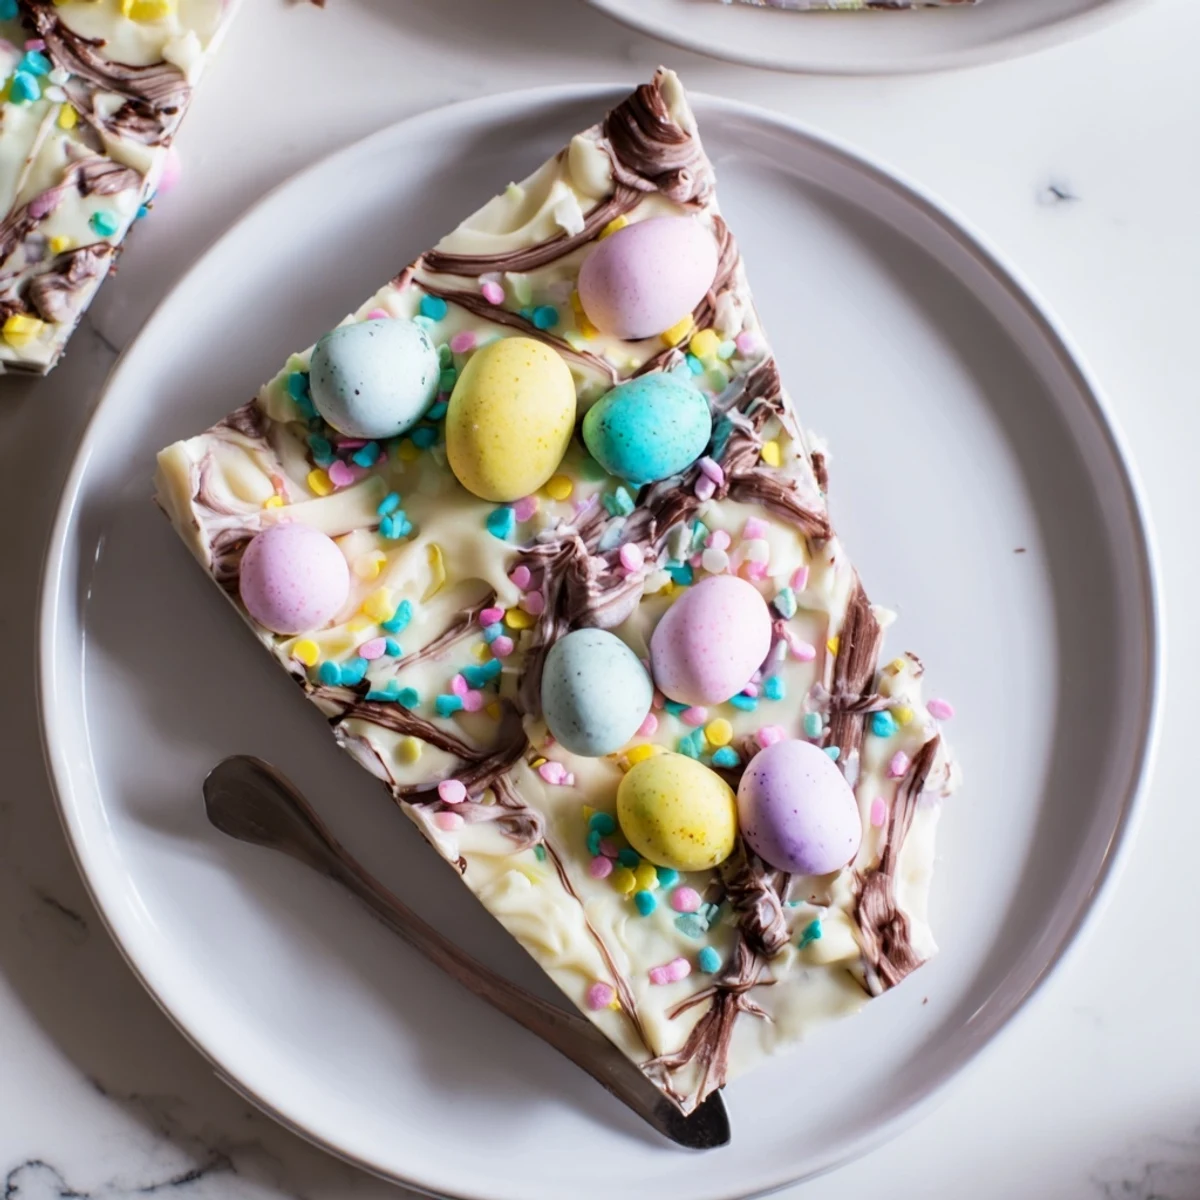
 This bark is proof that the simplest recipes often leave the biggest impression. Make it once and it will find its way into your kitchen every spring.
Recipe FAQs
- → How do I melt chocolate without burning it?
-
Melt chocolate gently over a simmering pan (double boiler) or in the microwave in 20–30 second bursts, stirring between each interval. Remove from heat while a few small unmelted bits remain and stir to finish melting from residual warmth.
- → What’s the best way to get a marbled look?
-
Pour the white chocolate as the base, then drizzle the darker chocolate over it. Use a toothpick or skewer to drag the two chocolates through each other in slow figure‑eight or swirl motions until you achieve the desired marbling.
- → How long does it take to set and how should I chill it?
-
At room temperature the bark firms in about 30–40 minutes. To speed up setting, chill in the refrigerator for 15–20 minutes until completely firm. Avoid freezing, which can cause condensation and affect texture.
- → Can I make substitutions for dietary needs?
-
Yes. Use dairy‑free or vegan white and dark chocolates and confirm candies are dairy‑free. You can also swap or add toppings like crushed pretzels, shredded coconut, or dried fruit to suit dietary preferences.
- → How should I store the finished bark?
-
Keep pieces in an airtight container at room temperature away from direct heat or sunlight for up to one week. If your kitchen is warm, store in the fridge but allow pieces to come to room temperature before serving to avoid condensation.
- → Any tips for decorating so candies stick?
-
Sprinkle larger candies immediately after spreading and gently press them into the still‑soft chocolate so they anchor as it sets. Work quickly because the surface firms as it cools.
