 Save to Pinterest
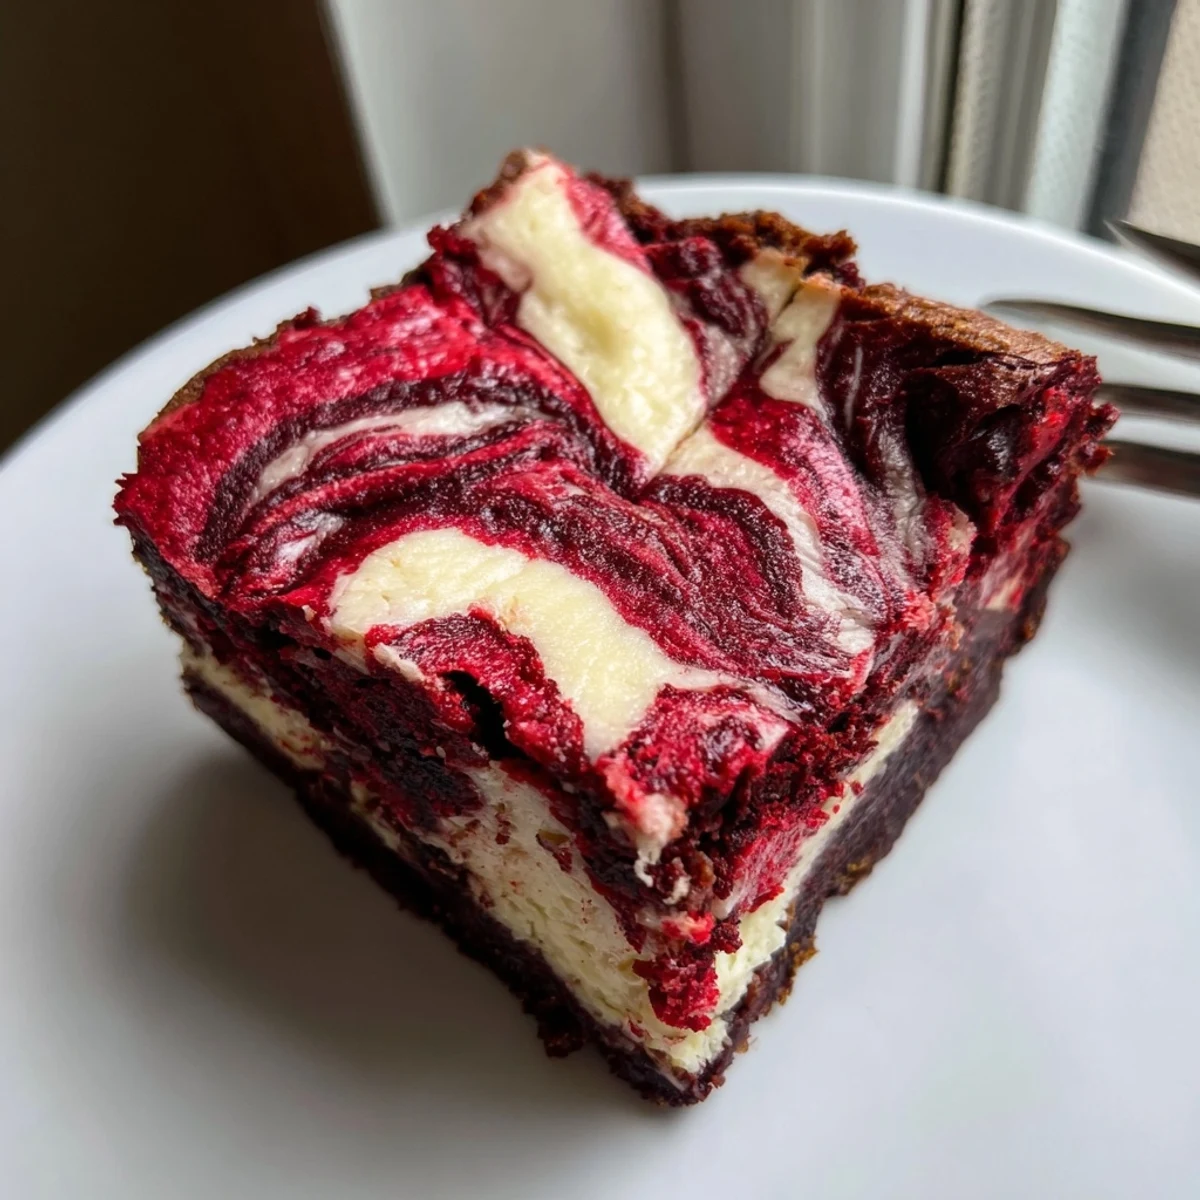
 These stunning red velvet cheesecake brownies combine the best of both worlds—rich, fudgy chocolate-red velvet layers swirled with tangy, creamy cheesecake filling. The marbled effect creates a beautiful presentation while the contrasting textures offer an incredible eating experience.
The brownie base uses unsweetened cocoa powder and red food coloring for that signature velvet appearance, while the cheesecake layer adds a luxurious creaminess that perfectly complements the dense chocolate bottom. Each bite delivers the perfect balance of sweet, tangy, and chocolatey flavors.
The first time I made these, my kitchen looked like a crime scene. Red food coloring everywhere. But when I pulled that pan from the oven and saw those gorgeous swirls of cream and crimson, I knew the mess was worth it. My roommate actually gasped when she walked in.
I brought these to a Valentine potluck and watched them disappear in under ten minutes. Someone actually asked if I'd bought them from a bakery. My little secret was how simple the swirling technique actually is once you get the hang of it.
Ingredients
- Unsalted butter: Melted completely makes for better incorporation and a denser crumb
- Granulated sugar: Creates that crackly top we all love on brownies
- Large eggs: Room temperature eggs blend more smoothly into the batter
- Vanilla extract: Dont be tempted to skip this, it balances the chocolate
- Red food coloring: Gel coloring gives a more vibrant hue than liquid
- All-purpose flour: Measure by weight if you can for consistent results
- Unsweetened cocoa powder: Dutch process gives a deeper color and milder flavor
- Salt: Enhances chocolate flavor without making these taste salty
- Cream cheese: Softened to room temperature prevents lumps in the swirl
- Cream cheese sugar: Sweetens the cheesecake layer without overpowering
Instructions
- Prep your pan and oven:
- Lining with parchment paper creates those neat edges and makes lifting the whole batch out so satisfying later. Preheating to 350°F ensures even baking from the start.
- Make the red velvet batter:
- Whisking the melted butter and sugar first creates a smooth base. Adding food coloring with the liquid ingredients helps distribute it evenly without overmixing later.
- Fold in the dry ingredients:
- Sifting prevents cocoa lumps. Fold until you no longer see streaks of flour, but stop as soon as everything comes together.
- Layer the batters:
- That reserved bit of red velvet batter creates those beautiful marbled pockets on top. Pouring the cheesecake mixture over the base layer and adding dollops of batter gives you something to swirl.
- Swirl like an artist:
- Run your knife through the batters in a figure eight pattern. The key is not to over swirl or youll lose the distinct marble effect.
- Bake until just set:
- The center should still have a slight wobble. That toothpick test with moist crumbs is your friend here, underbaked is better than dry.
 Save to Pinterest
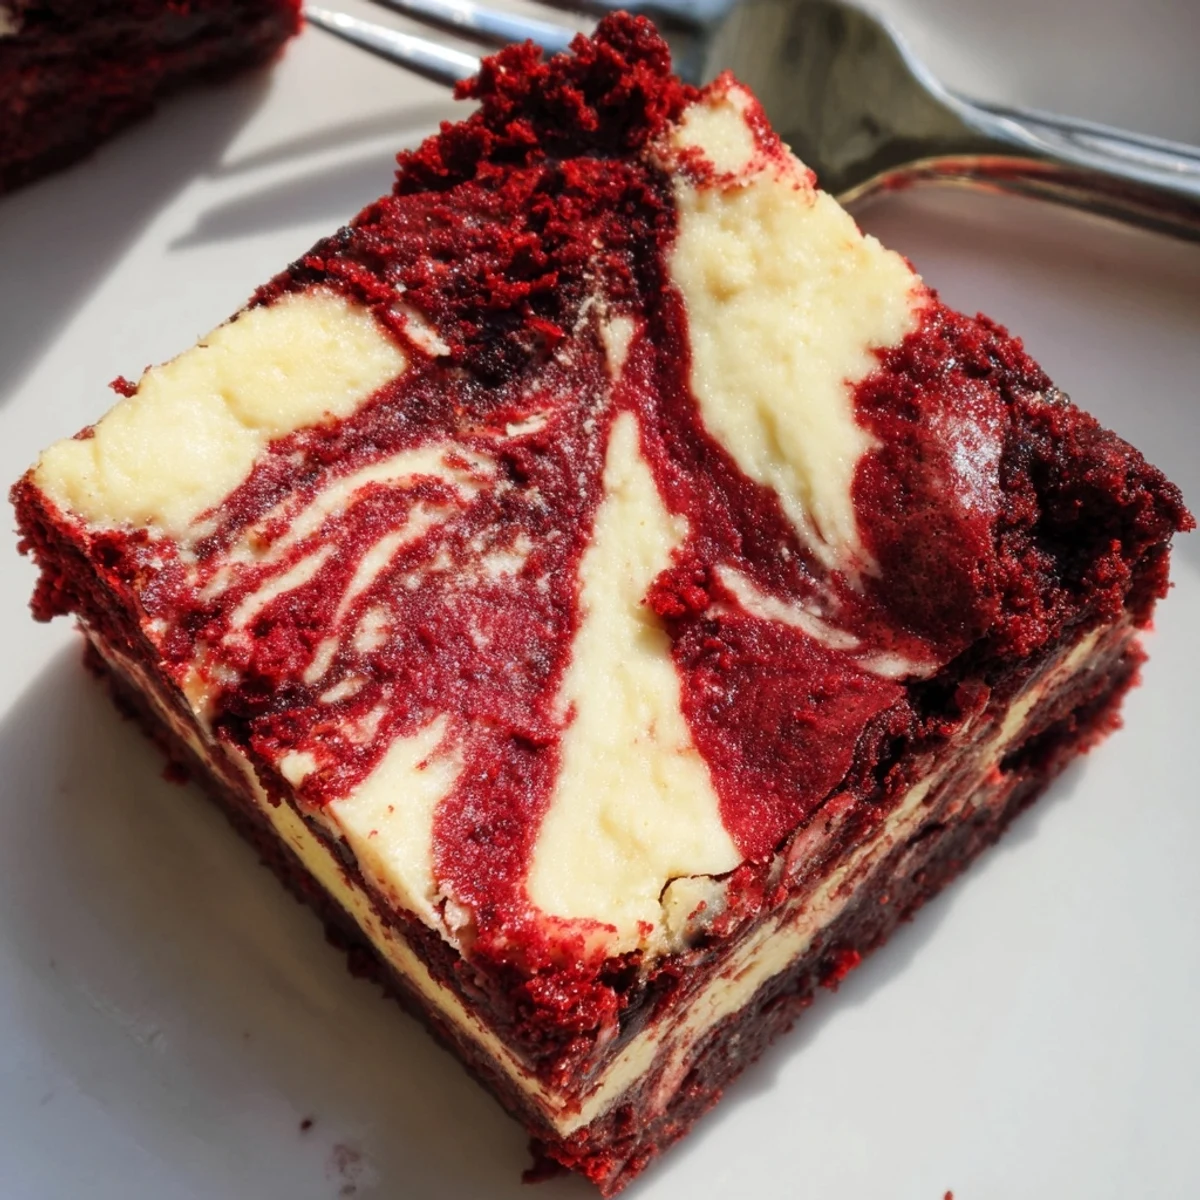
 My mom swears these taste better chilled from the fridge. I prefer them at room temperature when that cheesecake layer gets almost custard-like. Either way, the first bite always makes me pause and appreciate how something so pretty tastes even better.
Getting The Perfect Swirl
The trick is dropping your red velvet dollops in rows rather than randomly. When you drag your knife through, the pattern creates itself. I use a skewer now after my first attempt with a butter knife left chunky trails.
Baking Pan Wisdom
Dark metal pans bake faster than glass or light-colored ones. I learned this the hard way with slightly burnt edges. If youre using a dark pan, drop the temperature by 25 degrees and check a few minutes early.
Storage And Serving
These actually improve after a night in the refrigerator. The flavors meld together and the texture settles into something between fudge and cake. I cut them cold then let them sit out for twenty minutes before serving.
- Use a clean knife wiped between cuts for the prettiest squares
- Wrap individual pieces in parchment for easy grabbing
- The swirl pattern looks most striking on the first day
 Save to Pinterest
 Hope these bring as much joy to your kitchen as they have to mine. Happy baking.
Recipe FAQs
- → How do I know when the brownies are done baking?
-
Insert a toothpick into the center—it should come out with a few moist crumbs but not wet batter. The edges should be slightly set while the center still has a slight jiggle. Overbaking will result in a dry texture instead of the desired fudgy consistency.
- → Can I use gel food coloring instead of liquid?
-
Yes, gel food coloring works beautifully and may provide a more vibrant red hue. Use approximately 1 teaspoon of gel coloring or adjust to achieve your desired shade. Gel coloring also won't add extra moisture to the batter.
- → Why did my cheesecake swirl sink into the brownie batter?
-
This can happen if the cheesecake layer is too thin or the brownie batter is too warm. Make sure both layers are at room temperature before swirling. Also, avoid over-swirling—just 2-3 gentle passes with a knife create the best marbled effect.
- → Can I make these ahead of time?
-
Absolutely! These actually taste better after chilling overnight. The flavors meld together and the texture becomes more fudgy. Store in an airtight container in the refrigerator for up to 5 days. Bring to room temperature 30 minutes before serving.
- → What's the best way to cut clean squares?
-
For clean cuts, chill the brownies completely—at least 4 hours or overnight. Use a sharp knife wiped clean between each cut. You can also run the knife under hot water and dry it before slicing for extra smooth edges.
