 Save to Pinterest
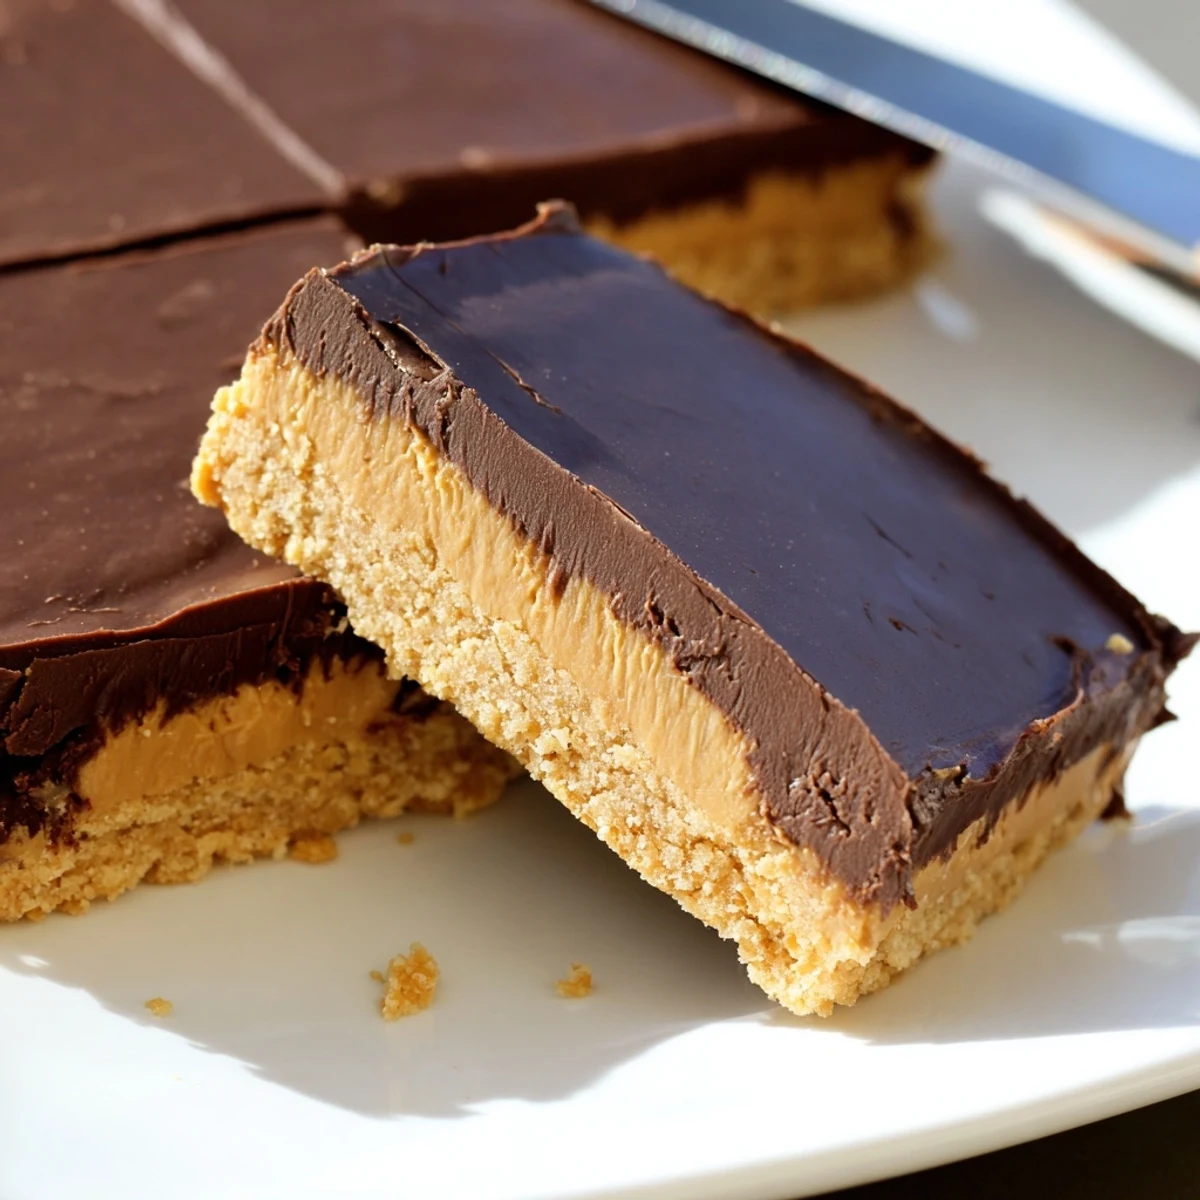
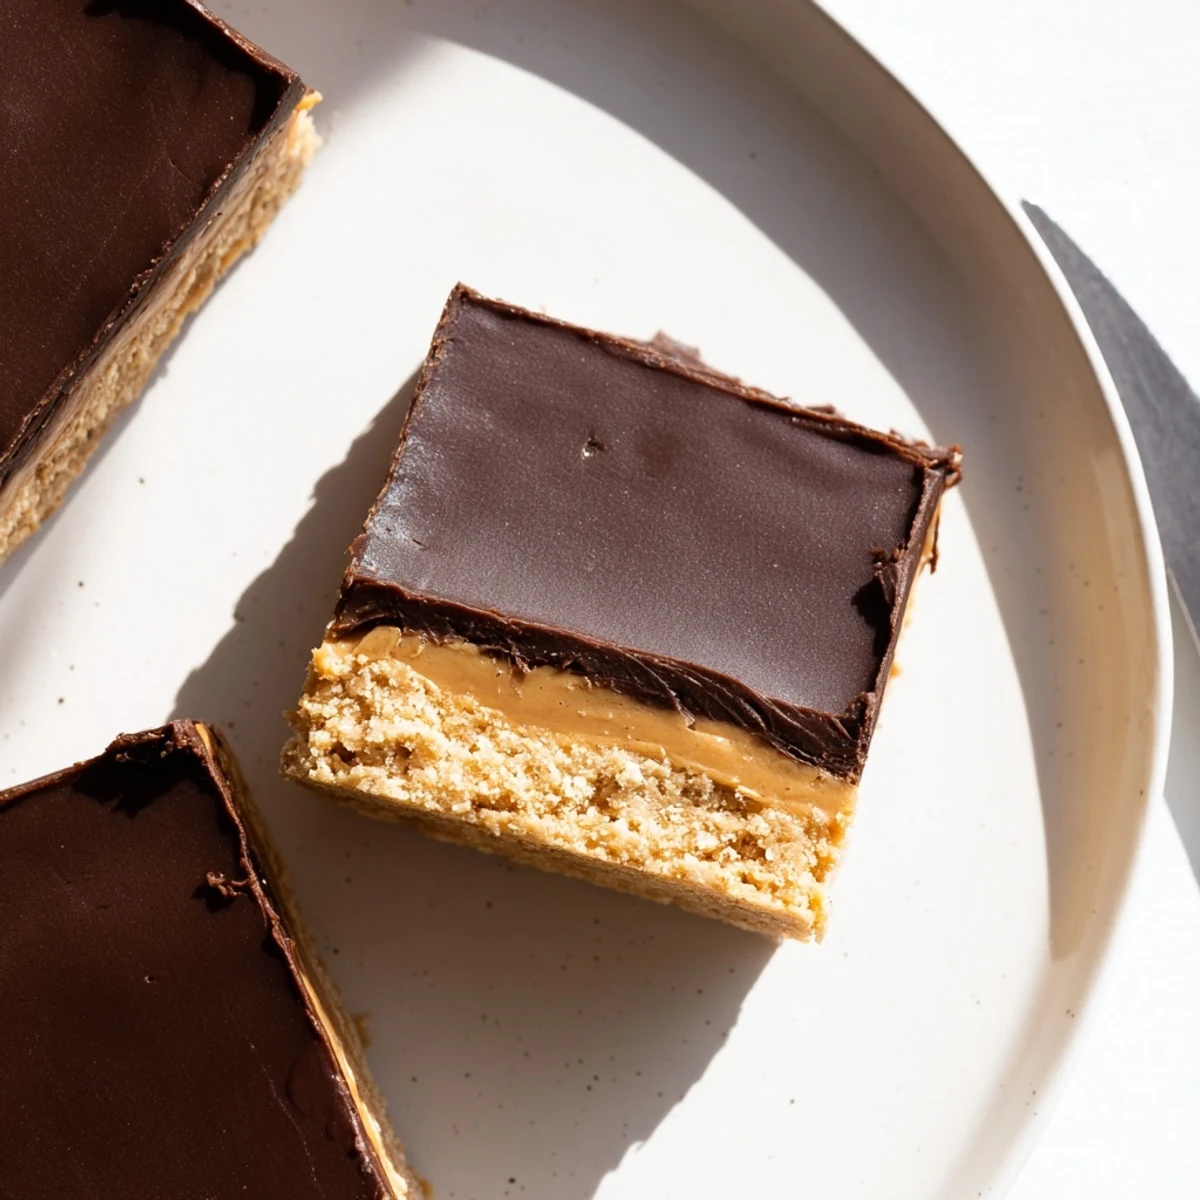
 These indulgent bars feature a buttery peanut butter base made with graham cracker crumbs, topped with a silky layer of melted chocolate and peanut butter. The no-bake preparation comes together in just 15 minutes, followed by chilling time to set the layers perfectly.
The texture contrasts beautifully—the dense, fudgy peanut butter layer pairs with the firm chocolate topping that snaps when you bite. Each bar delivers the classic peanut butter and chocolate combination fans adore.
Customizing is simple: swap in chunky peanut butter for crunch, use digestive biscuits instead of graham crackers, or finish with flaky sea salt to enhance the chocolate. Store chilled for the best texture.
The air conditioning was broken during a July heat wave when I decided, against all logic, that making a no bake dessert was the perfect way to spend my afternoon. The oven stayed off, the peanut butter jar was nearly empty by the time I finished snacking while mixing, and somehow those bars turned out better than anything I had ever baked. My roommate walked in, cut herself a square before they had even finished chilling, and declared them dangerous. She was right.
I brought a full pan of these to a backyard potluck once and watched a grown man eat four squares in under ten minutes while pretending he was just being polite. That is the power of peanut butter and chocolate combined into one neat little bar.
Ingredients
- 1 cup (240 g) creamy peanut butter: Use the regular kind, not the natural stirring required variety, because the oils in standard peanut butter bind everything together beautifully.
- 1/2 cup (115 g) unsalted butter, melted: Let it cool slightly after melting so it does not melt the sugar on contact.
- 2 cups (240 g) powdered sugar, sifted: Sifting is nonnegotiable here unless you enjoy biting into tiny chalky lumps.
- 1 1/2 cups (150 g) graham cracker crumbs: You can crush your own or buy precrushed, but either way they give the base a tender cookie-like texture.
- 1 1/2 cups (260 g) semisweet chocolate chips: Semisweet strikes the right balance against the sweetness of the base layer.
- 1/4 cup (60 g) creamy peanut butter: This extra bit stirred into the chocolate keeps the topping soft enough to cut cleanly once chilled.
Instructions
- Prep your pan:
- Line a 9 by 9 inch baking dish with parchment paper, leaving enough overhang on two sides to grab like handles later. This small step saves you from the heartbreak of bars stuck to the bottom of a pan.
- Build the base:
- Stir the melted butter and one cup of peanut butter together in a medium bowl until they become one smooth golden mixture. Dump in the powdered sugar and graham cracker crumbs, then mix until everything comes together into a thick dough that pulls away from the sides of the bowl.
- Press it in:
- Transfer the dough to your lined pan and press it down firmly and evenly using your hands or the back of a spatula. Really get in there because a tightly packed base means bars that hold their shape when you cut them.
- Melt the topping:
- Combine the chocolate chips and remaining quarter cup of peanut butter in a microwave safe bowl and heat in twenty second bursts, stirring between each one, until the mixture is glossy and completely smooth. The peanut butter blended into the chocolate prevents it from seizing and makes every slice easy to cut through.
- Spread and chill:
- Pour the chocolate mixture over the peanut butter layer and spread it out with gentle, even strokes so the surface is flat and gleaming. Slide the whole pan into the refrigerator for at least two hours, though overnight is even better if you can wait that long.
- Cut and serve:
- Grab the parchment overhang and lift the entire slab out of the pan onto a cutting board. Use a sharp knife to cut sixteen squares, wiping the blade between cuts for the cleanest edges.
 Save to Pinterest
 My sister keeps a container of these in her fridge at all times because she says they are her emergency food, and honestly I respect that level of preparedness.
Making Them Your Own
Chunky peanut butter adds a welcome crunch throughout the base, or you could toss in a handful of chopped roasted peanuts if you only have creamy on hand. A light sprinkle of flaky sea salt over the wet chocolate top before it sets transforms the whole pan into something that tastes far more sophisticated than the effort suggests. I have also seen people swap graham cracker crumbs for crushed oreos with completely delicious results.
Storage That Actually Works
These bars need to live in the refrigerator in an airtight container or the chocolate top will bloom and look dull after a day or two. They hold their shape beautifully when cold, which makes them easy to stack with a square of parchment between layers. They will keep for about a week, though in my experience they never last that long.
Getting Clean Cuts
The secret to those perfect bakery style squares is a hot knife run under warm water and dried quickly between each cut. It takes a little patience but the result is worth it, especially if you are bringing these somewhere and want them to look as good as they taste.
- Score the whole slab lightly before committing to full cuts so you can adjust for even sizing.
- Let the bars sit at room temperature for about ten minutes before cutting if they have been chilled overnight.
- Always cut on a cutting board, not in the pan, for the straightest lines.
 Save to Pinterest
 Some recipes earn a permanent spot in your rotation because they ask so little and give so much back. These peanut butter bars are exactly that kind of recipe, and once you make them once, you will find yourself reaching for the peanut butter jar without even thinking about it.
Recipe FAQs
- → How long do peanut butter bars need to chill?
-
Refrigerate for at least 2 hours until completely firm. The layers need this time to set properly so bars hold their shape when cut. For best results, chill overnight.
- → Can I freeze these bars?
-
Yes, freeze for up to 3 months. Cut into portions first, then wrap individually in plastic and place in an airtight container. Thaw in the refrigerator before serving.
- → What's the best way to cut clean squares?
-
Use a sharp knife warmed under hot water, wiping clean between cuts. Lift the entire slab from the pan using parchment paper, then slice on a cutting board for cleaner edges.
- → Can I make these gluten-free?
-
Absolutely. Replace graham cracker crumbs with certified gluten-free cookie crumbs or crushed gluten-free graham-style crackers. All other ingredients naturally contain no gluten.
- → Why add peanut butter to the chocolate topping?
-
The peanut butter creates a softer, creamier chocolate layer that won't crack when cutting. It also intensifies the peanut butter flavor throughout both layers for a more cohesive taste.
- → How should I store leftover bars?
-
Keep refrigerated in an airtight container between layers of parchment paper. They'll stay fresh for up to a week. The firm texture from chilling makes them taste best.
