 Save to Pinterest
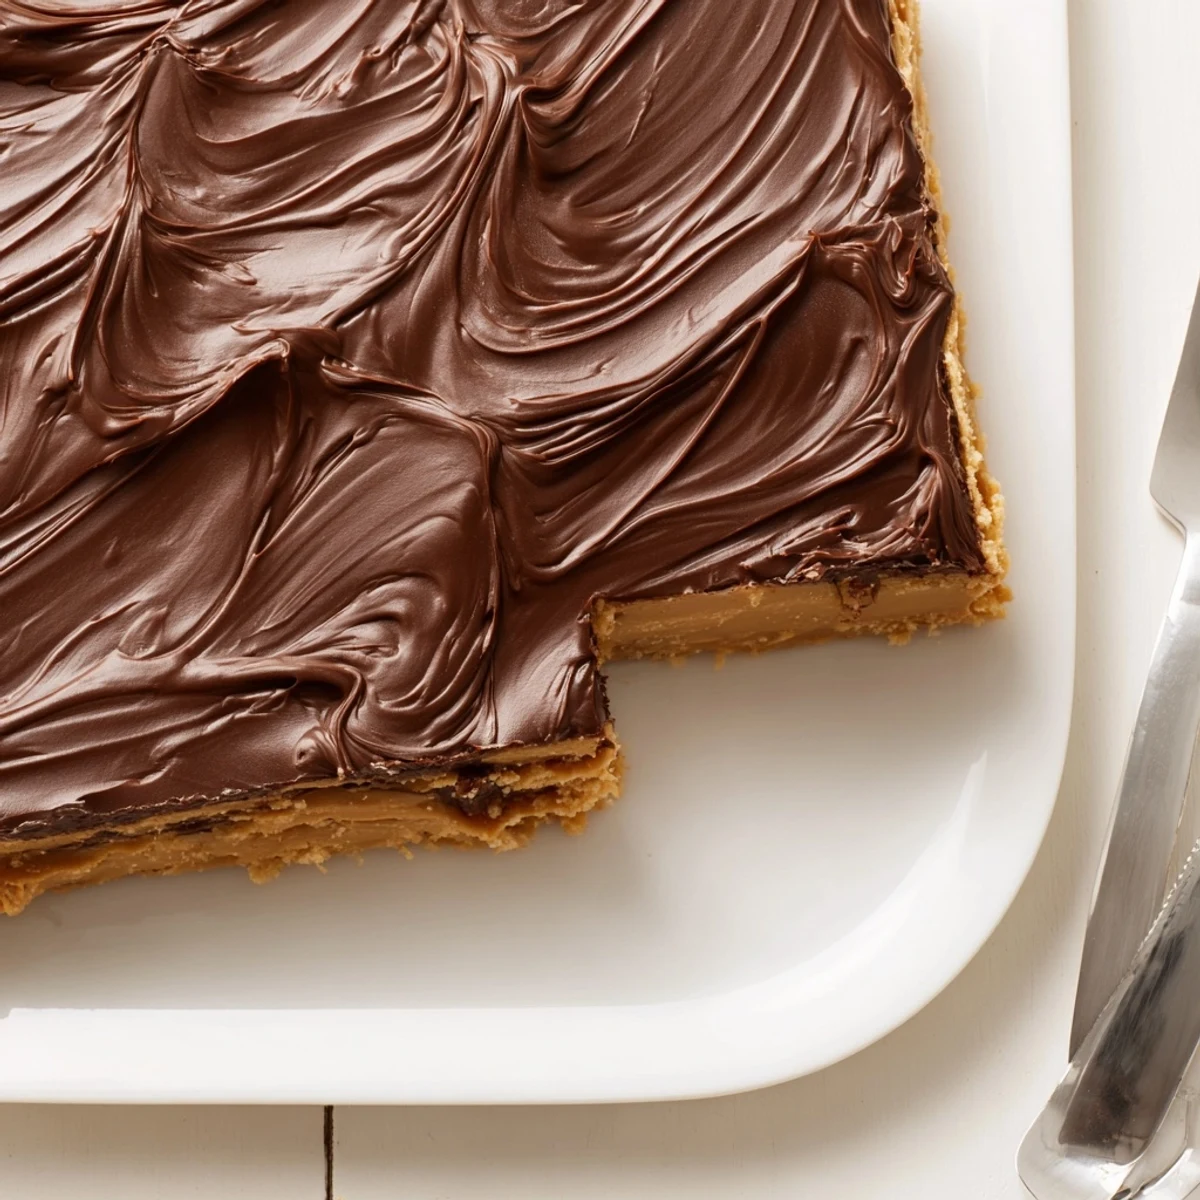
 These no-bake peanut butter bars combine a creamy peanut butter and melted butter base with graham cracker crumbs and powdered sugar, pressed into a pan. A warm chocolate and peanut butter glaze is spread on top, then chilled until firm. Variations include folding in chopped roasted peanuts for crunch or swapping graham crackers for digestive biscuits. Cut into bars and keep chilled.
My apartment smelled like a candy factory for three days straight after the first time I made these peanut butter bars, and honestly I was not mad about it. A friend had challenged me to bring something to a potluck that required zero baking skill, and these bars answered that call with embarrassing ease. The hardest part was waiting two hours for the chocolate to set while I paced the kitchen like a restless dog. They vanished from the dessert table in under ten minutes.
I brought a second batch to my coworkers the following week and someone actually asked if I had ordered them from a bakery. That moment of silent, smug pride carried me through the entire afternoon.
Ingredients
- 1 cup (240 g) creamy peanut butter: Use the regular kind, not natural or stir-kind, because the stabilizers help the bars hold together beautifully.
- 1/2 cup (115 g) unsalted butter, melted: Melting it first ensures the base mixes evenly without any cold pockets.
- 2 cups (200 g) graham cracker crumbs: Pulse whole crackers in a bag if you cannot find pre-crumbled ones, and do not skip measuring after crushing.
- 2 cups (240 g) powdered sugar: Sift it if it looks lumpy because nobody wants a gritty bar.
- 1 1/2 cups (270 g) semi-sweet chocolate chips: Semi-sweet balances the sweetness of the base perfectly, but milk chocolate works if you want it richer.
- 1/4 cup (60 g) creamy peanut butter: Stirred into the chocolate, this little addition keeps the topping from cracking when you cut the bars.
Instructions
- Prep the pan:
- Line your 9x13 inch baking dish with parchment paper, leaving some overhang on the sides so you can lift the whole slab out later like a genius.
- Blend the base:
- Stir the peanut butter and melted butter together in a large bowl until the mixture looks glossy and completely smooth with no oil streaks.
- Add the dry ingredients:
- Pour in the graham cracker crumbs and powdered sugar, then mix until every crumb is coated and the dough feels uniform when you press it between your fingers.
- Press it in:
- Firmly press the mixture into your prepared dish using a spatula or the flat bottom of a measuring cup so the surface is even and compact.
- Melt the topping:
- Combine the chocolate chips and peanut butter in a microwave-safe bowl, heating in 30 second bursts and stirring between each until the mixture is silky and lump-free.
- Spread and chill:
- Pour the chocolate over the base and spread it edge to edge with a spatula, then refrigerate for at least 2 hours until the topping is completely firm to the touch.
- Cut and serve:
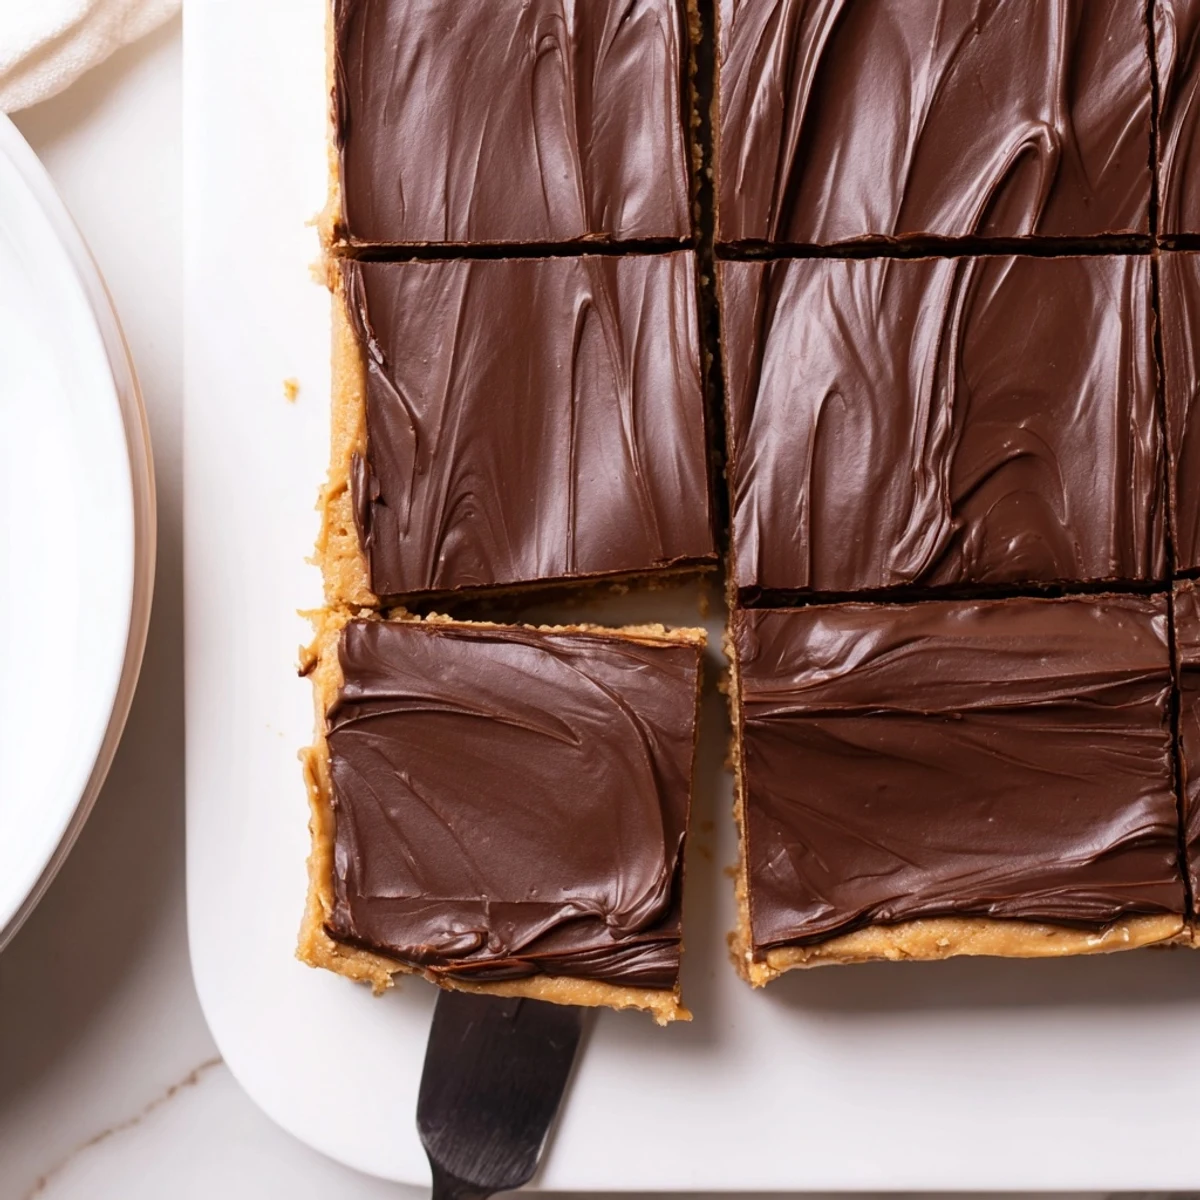
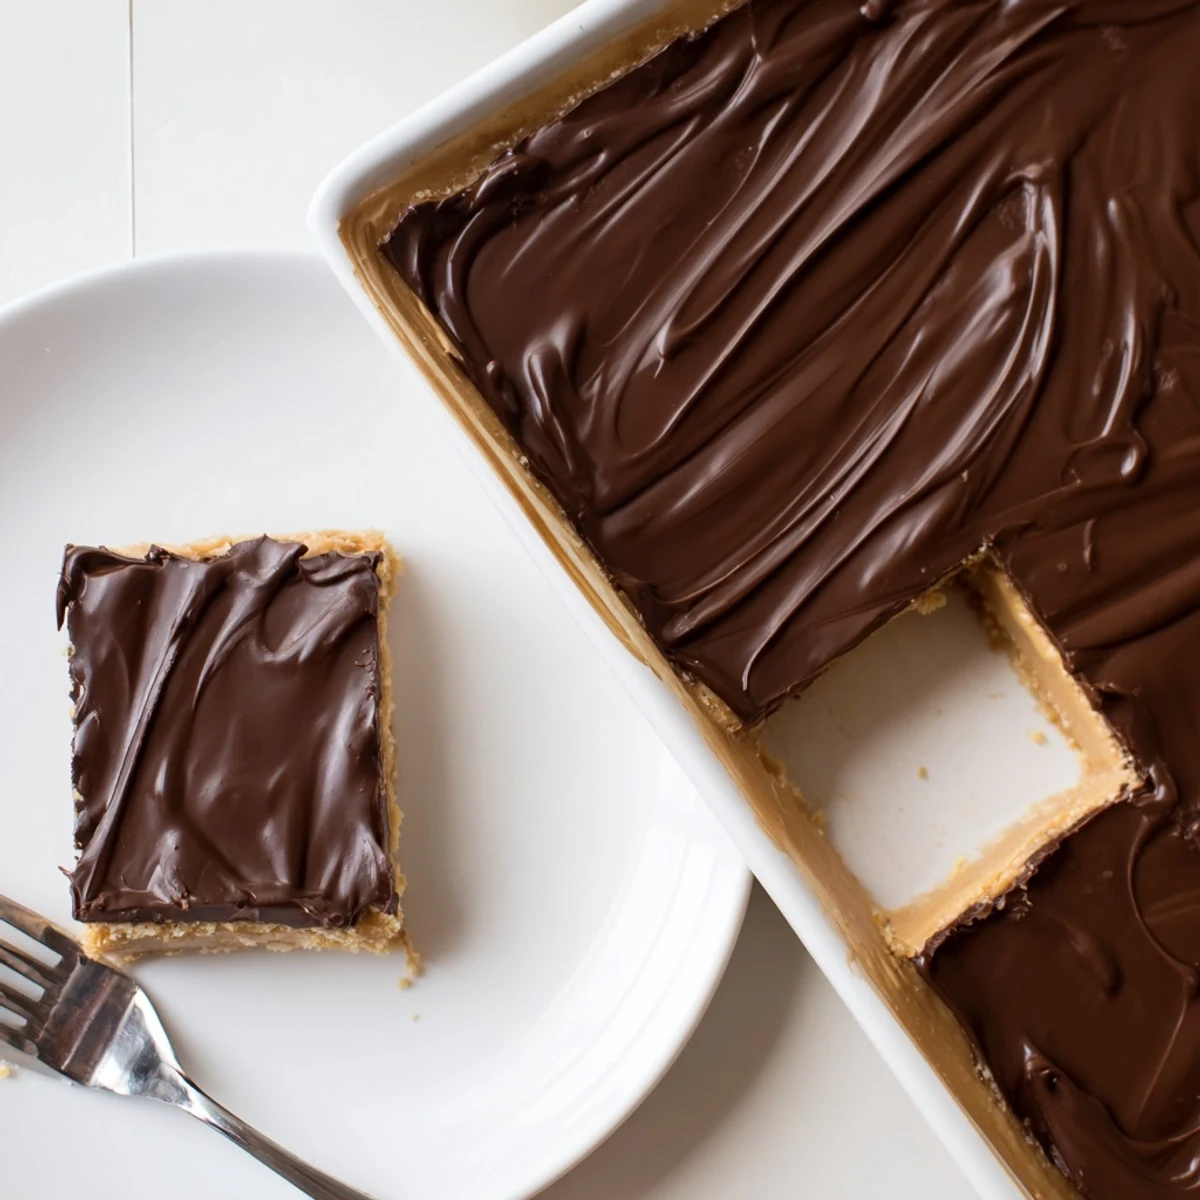
- Lift the slab out using the parchment overhang, set it on a cutting board, and slice into 16 squares with a sharp knife dipped in hot water for clean edges.
 Save to Pinterest
 A neighbor knocked on my door one evening asking what that incredible chocolate smell was, and I ended up sending her home with a small plate of bars. Food is rarely just food when it makes people show up at your door.
Storage That Actually Works
Keep the bars in an airtight container in the refrigerator and they stay perfectly fudgy for up to a week. I have also frozen them individually wrapped in parchment and they thaw beautifully in about twenty minutes at room temperature.
Making Them Your Own
Fold half a cup of chopped roasted peanuts into the base if you want a satisfying crunch in every bite. Digestive biscuits swap in seamlessly for graham crackers when you cannot find them, and a sprinkle of flaky sea salt on top of the wet chocolate adds a grown-up edge.
Tools You Will Want Handy
Gather everything before you start because this recipe moves fast once you begin mixing.
- A large mixing bowl and a sturdy spatula cover almost everything you need.
- Parchment paper is non-negotiable unless you enjoy chiseling bars out of a dish.
- A microwave-safe bowl for the topping saves time, but a double boiler works too.
 Save to Pinterest
 These bars are proof that the simplest recipes often leave the biggest impression, and they will absolutely become the thing people ask you to bring everywhere. Keep the recipe close because someone will want it.
Recipe FAQs
- → Can I use crunchy peanut butter instead of creamy?
-
Yes. Crunchy peanut butter adds texture to the base and enhances nuttiness; expect a slightly firmer, more textured bar when pressed and chilled.
- → How can I melt the chocolate topping without a microwave?
-
Use a double boiler: place a heatproof bowl over simmering water, stir chocolate and peanut butter until smooth, and remove from heat before spreading to avoid seizing.
- → How long should I chill the bars before cutting?
-
Chill for at least two hours until fully set. For cleaner cuts, chill longer or briefly freeze to firm the layers before slicing.
- → What adjustments make the bars firmer?
-
Reduce the peanut butter slightly or increase powdered sugar in the base, press the mixture firmly into the pan, and ensure adequate chilling time to set the structure.
- → How should I store the bars and how long do they keep?
-
Store chilled in an airtight container in the refrigerator for up to one week. For longer storage, freeze up to three months and thaw in the fridge before serving.
- → Can I make a nut-free version?
-
Swap peanut butter for a seed butter like sunflower seed spread and use seed-based chocolate alternatives. Always check labels for cross-contact if allergies are a concern.
