 Save to Pinterest
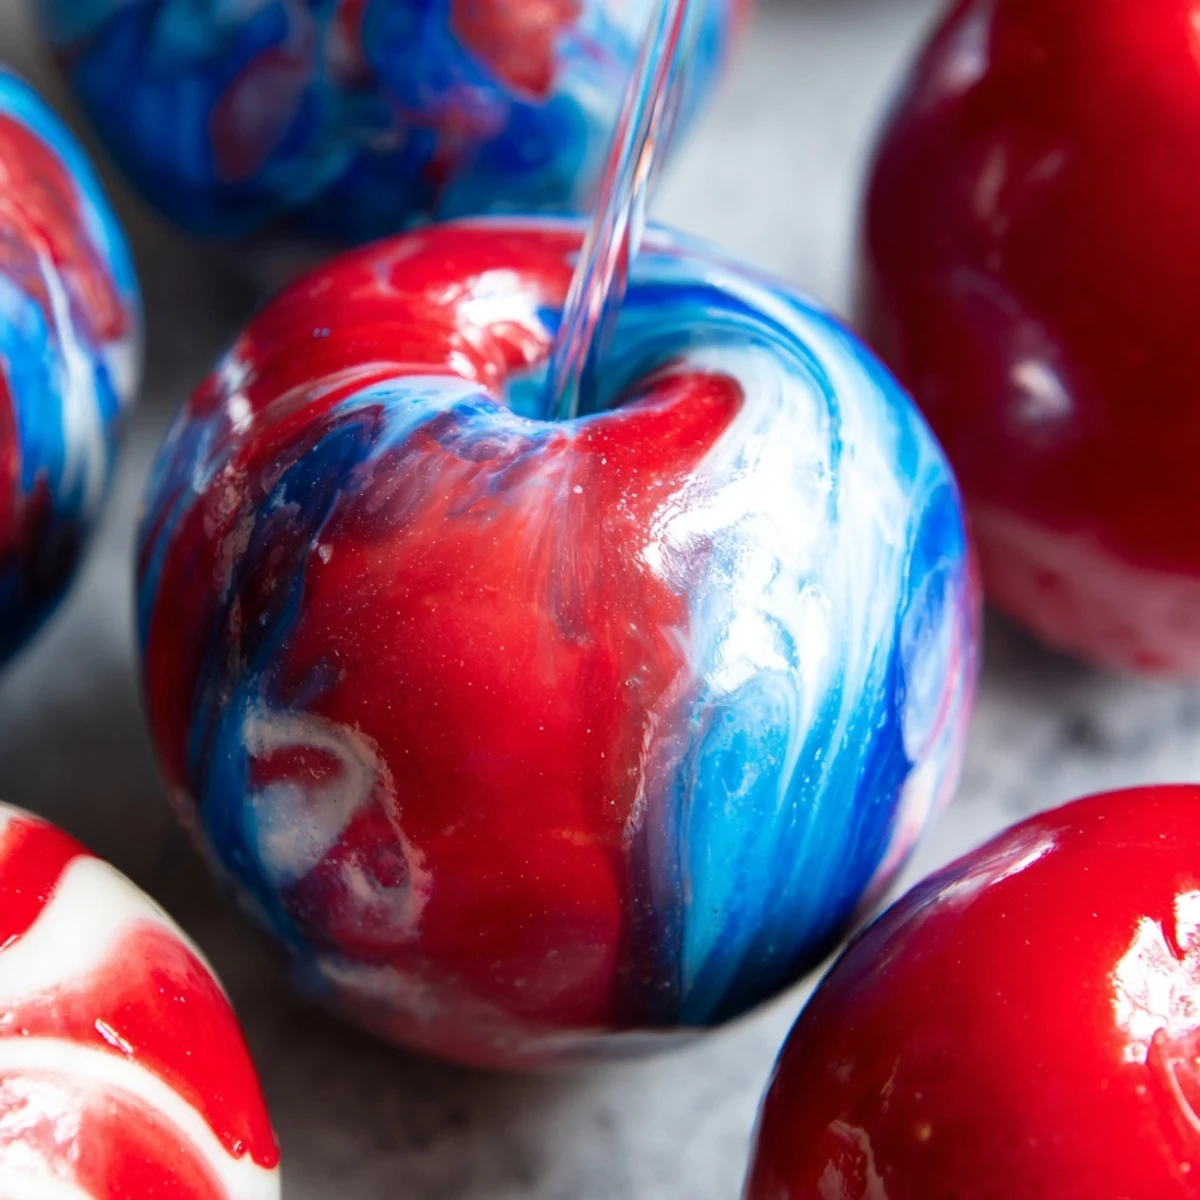
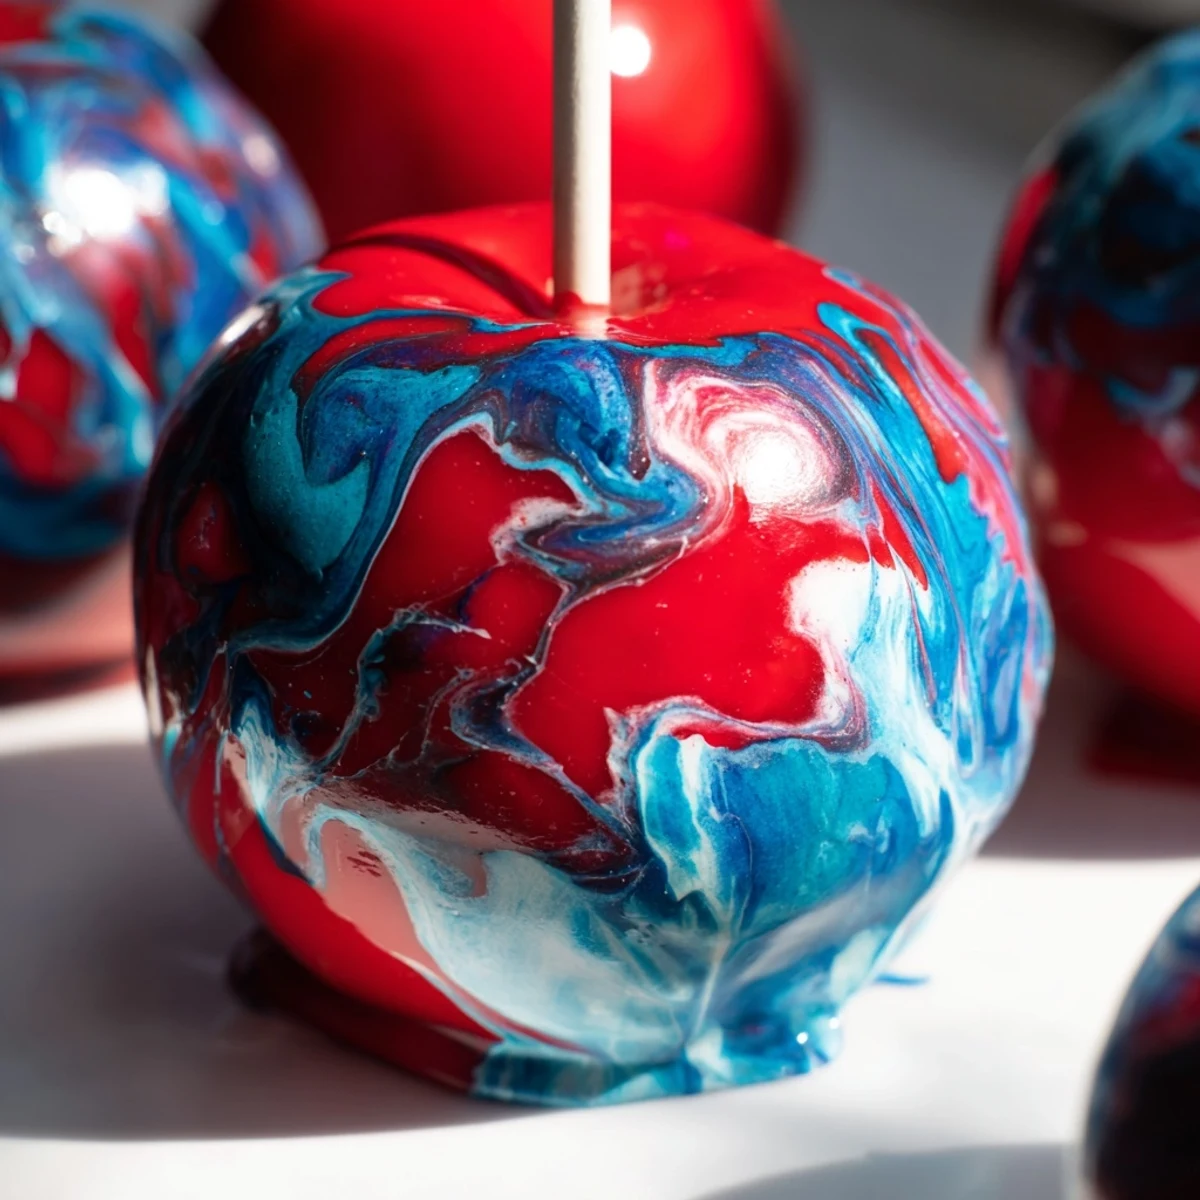
 Create stunning marbled candy apples with this easy recipe. Crisp apples are coated in a glossy, vibrantly swirled candy shell that's perfect for parties, holidays, or whimsical dessert tables. The marbled effect is achieved by adding drops of different colored food coloring to hot candy syrup and gently swirling, rather than fully mixing, to create visible streaks. This medium-difficulty dessert takes about 40 minutes total to prepare and yields 8 beautiful apples.
The candy coating is made with granulated sugar, water, corn syrup, and optional vanilla extract, cooked to the hard crack stage (300°F/150°C). Gel food coloring in red, blue, and white creates the distinctive marbled pattern. For best results, use gel food coloring for vibrant, distinct marbling, and work quickly once the syrup reaches temperature. The finished apples can be stored at room temperature for up to 24 hours.
The first time I tried making marbled candy apples, I stood over my stove completely mesmerized watching the colors swirl together like edible galaxies. My kitchen smelled like caramelized sugar and pure magic. Those apples disappeared faster than anything I've ever made, and the way the light caught the swirled coating made them look like something straight out of a fairytale.
I brought a batch to my niece's birthday party last fall, and honestly, the adults were just as excited as the kids. My friend Sarah actually gasped when she saw them sitting on the dessert table, catching the afternoon sunlight through the kitchen window. Now every time September rolls around, my niece messages me asking when I'm making 'those galaxy apples' again.
Ingredients
- 8 medium apples: Granny Smith or Fuji work beautifully because their tartness balances the sweet candy coating and their firm flesh holds up well
- 8 sturdy wooden sticks: Ive learned the hard way that flimsy skewers will snap when you try to dip heavy apples into hot syrup
- 2 cups granulated sugar: Use fresh sugar, not something thats been sitting in your pantry for years, as it dissolves more evenly
- 3/4 cup water: This seems like a small amount but it perfectly balances the sugar to create that glass-like candy shell
- 1/2 cup light corn syrup: This prevents the sugar from crystallizing and gives the coating that gorgeous glossy finish
- 1/2 tsp vanilla extract: Optional but I always add it because it rounds out the pure sugar flavor beautifully
- Red, blue and white gel food coloring: Gel coloring is absolutely essential here, liquid coloring will make your syrup seize up and turn grainy
Instructions
- Set up your dipping station:
- Line a large baking sheet with parchment paper or a silicone mat, then insert a wooden stick firmly into the stem end of each apple until its secure and centered
- Make the candy base:
- Combine sugar, water, and corn syrup in a heavy-bottomed saucepan, stirring over medium heat just until the sugar completely dissolves
- Reach hard crack stage:
- Stop stirring completely, increase heat to high, and boil until your candy thermometer hits exactly 300°F, watching closely as it climbs
- Create the marble magic:
- Remove from heat immediately, stir in vanilla if using, then add drops of red, blue, and white gel colorings, swirling gently with a skewer just enough to create visible streaks without fully blending them
- Dip and swirl:
- Hold an apple by the stick, dip it straight down into the syrup, then slowly lift while turning to catch those gorgeous swirled patterns, letting excess drip back into the pan
- Set and repeat:
- Place each coated apple on your prepared baking sheet, swirling the syrup briefly between dips to keep the marble effect alive, working quickly before the coating thickens
- Let them set:
- Leave the apples undisturbed for about 15 minutes until the candy shell becomes completely hard and makes that satisfying tap when touched
 Save to Pinterest
 Last Halloween, I set up a candy apple dipping station at my annual party and let guests swirl their own color combinations. Seeing peoples faces light up as they watched their custom patterns form was honestly better than any costume. Some of those creations were absolutely wild, but everyone ate them with such pride.
Making The Marble Effect Work
The secret is resisting the urge to fully mix the colors into the syrup. I drop the gel colorings in three distinct spots, then use my wooden skewer to drag through them just once or twice, creating those gorgeous ribbon-like streaks. Every single apple ends up looking completely unique, which is part of the fun.
Working With Hot Sugar
Candy burns are no joke, so I keep a bowl of ice water nearby just in case and never attempt this recipe with children underfoot. The syrup stays incredibly hot for quite a while, so I set my timer for the full 15 minutes even if the apples look set earlier.
Serving And Storage
These really are best enjoyed the same day theyre made, when that candy shell is at its most glass-like and perfect. I serve them upright in mason jars filled with sugar or decorative beads, which keeps them from touching each other and makes for such a pretty presentation.
- Plan to serve within 24 hours for the best texture experience
- If you need to store them, wrap individually in wax paper and keep at room temperature
- Avoid refrigeration, which causes the candy coating to weep and become sticky
 Save to Pinterest
 There is something so joyful about biting through that shattering candy shell into crisp, tart apple underneath. These never fail to make people smile, no matter how old they are.
Recipe FAQs
- → What type of apples work best for candy coating?
-
Medium apples like Granny Smith or Fuji work best. They should be washed and thoroughly dried before dipping to ensure the candy coating adheres properly. The crisp texture provides a nice contrast to the hard candy shell.
- → How do I achieve the marbled effect?
-
After cooking the syrup to 300°F (hard crack stage), remove from heat and add a few drops each of different colored gel food colorings. Gently swirl with a wooden skewer - do not fully mix. You want visible streaks of color rather than a uniform blend for the marbled effect.
- → What's the hard crack stage and why is it important?
-
The hard crack stage is 300°F (150°C), where the sugar syrup becomes hard and brittle when cooled. This is crucial for creating a crisp, non-sticky candy coating that will set properly on the apples and remain stable at room temperature.
- → Can I use different color combinations?
-
Absolutely! While red, blue, and white create a classic marbled look, you can try other color combinations for different occasions. Consider festive colors for holidays or matching colors to party themes.
- → How should I store the finished candy apples?
-
Store finished apples at room temperature for up to 24 hours. Avoid refrigerating as the candy coating may become sticky. For best texture and appearance, consume within a day of preparation.
