 Save to Pinterest
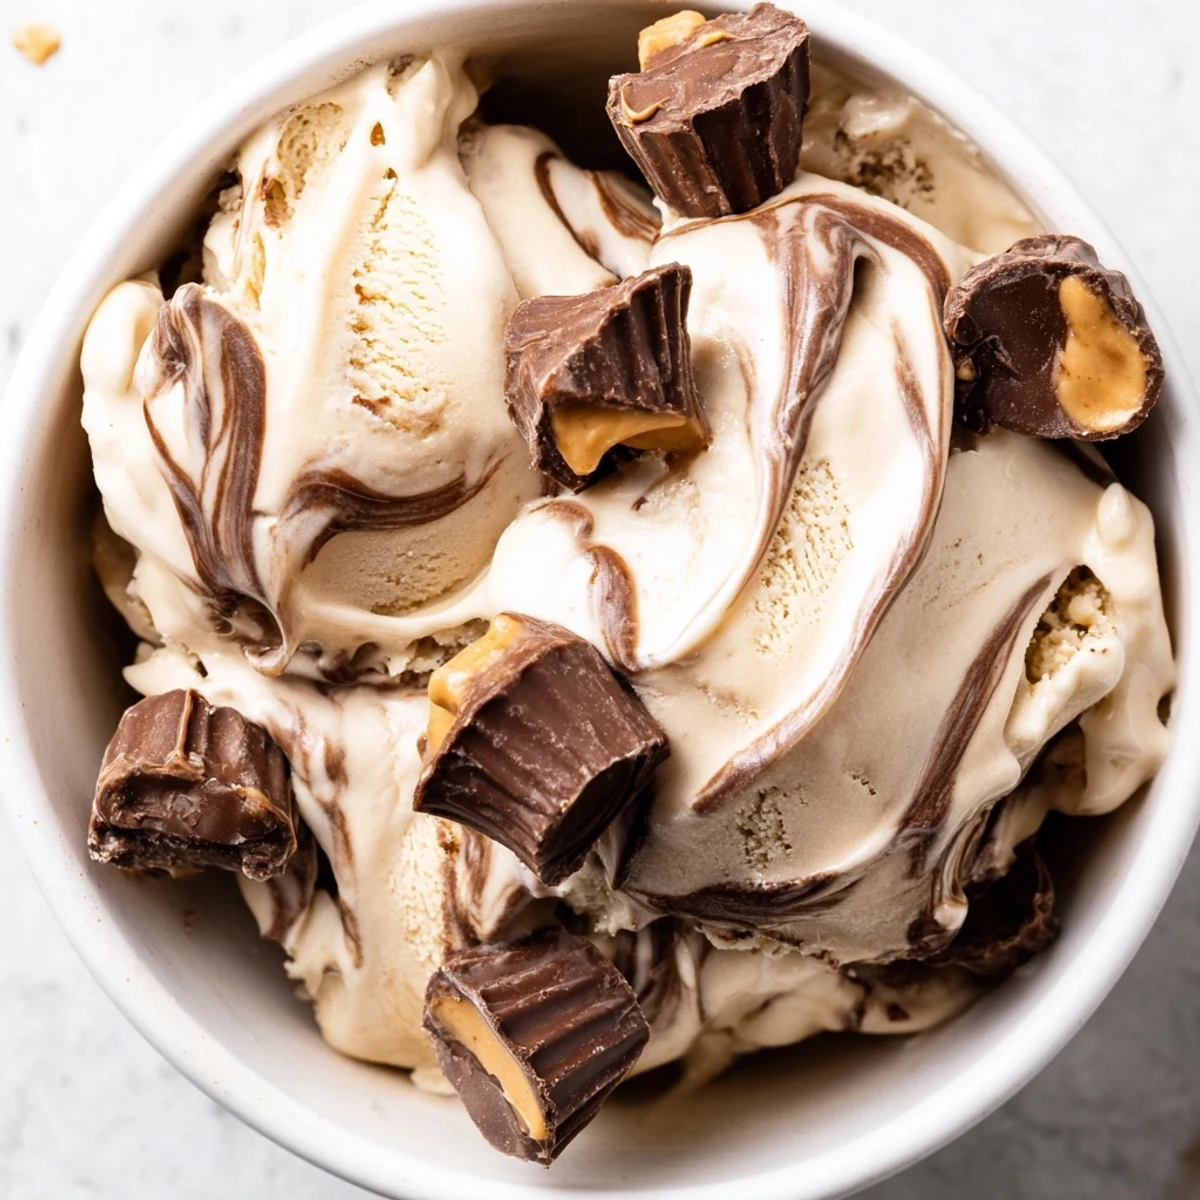
 Create this indulgent frozen dessert featuring a silky vanilla base churned to perfection. The method involves preparing a custard-style ice cream base, then layering with homemade chocolate fudge sauce and chopped peanut butter cups. The key is achieving those signature moose tracks ribbons by drizzling fudge between layers of soft churned ice cream and gently swirling with a knife. Freeze until firm for the ideal scooping texture.
The first time I attempted homemade ice cream, I stood in my kitchen at midnight watching the machine churn, convinced something magical was happening in that freezing bowl. My roommate wandered in, drawn by the sound, and we ended up eating soft serve straight from the paddle at 1 AM, laughing about how store-bought ice cream would never taste the same again.
Last summer I made this for a backyard barbecue and watched my cousin close her eyes at first bite, immediately asking for the recipe instead of grabbing seconds of the potato salad. There is something deeply satisfying about serving guests something that tastes like it came from an artisan creamery when it actually came from your own freezer.
Ingredients
- Heavy cream: This is the backbone of that luxurious texture and higher fat content means smaller ice crystals for smoother results
- Whole milk: Balances the richness and helps create that perfect scoopable consistency that is neither too dense nor too icy
- Granulated sugar: Essential not just for sweetness but for lowering the freezing point so your ice cream stays soft enough to scoop
- Salt: A tiny pinch amplifies all the flavors and makes the chocolate notes sing
- Vanilla extract: Use pure extract here as artificial vanilla can leave a strange aftertaste in frozen desserts
- Semisweet chocolate chips: These create the fudge swirl with just the right balance of sweetness and intense chocolate flavor
- Unsalted butter: Adds silkiness to the fudge sauce so it stays ribbony in the frozen ice cream instead of turning into hard shards
- Corn syrup: Prevents the fudge from crystallizing and keeps it smooth and glossy even after freezing
- Mini chocolate peanut butter cups: Chop or halve these so you get pockets of chocolate and peanut butter in every bite rather than whole frozen nuggets
Instructions
- Mix the base:
- Whisk the cream, milk, sugar, salt and vanilla in a medium bowl until the sugar completely disappears into the liquid.
- Chill the mixture:
- Refrigerate for at least 2 hours or overnight so the base is thoroughly cold before churning.
- Churn to perfection:
- Pour into your ice cream maker and let it work its magic for 20 to 25 minutes until it looks like soft serve.
- Make the fudge:
- While the machine runs, heat the cream, chocolate chips, butter, corn syrup and salt in a small saucepan over low heat, stirring until melted and smooth.
- Cool the chocolate:
- Let the fudge sauce come to room temperature so it drizzles beautifully instead of melting your ice cream.
- Add the peanut butter cups:
- Gently fold the halved cups into the churned ice cream until distributed throughout.
- Layer and swirl:
- Spoon one third of the ice cream into your container, drizzle with fudge, and repeat twice more, then run a knife through once to create those gorgeous marble ribbons.
- Freeze until firm:
- Cover and freeze for at least 6 hours before scooping.
 Save to Pinterest
 My niece declared this better than the birthday cake at her party last month and honestly, watching eight kids go quiet for dessert while chocolate smeared happy faces appeared all around the table was better than any present.
Making It Without A Machine
Do not let lack of an ice cream maker stop you from experiencing this homemade treat. Pour your chilled base into a shallow metal pan and freeze, stirring every 30 minutes to break up ice crystals, until it reaches soft serve consistency. Then fold in your mix-ins, layer with fudge, and freeze until firm.
Getting The Perfect Swirl
The trick to those Instagram worthy ribbons is layering both components while the ice cream is still soft from churning. If your fudge sauce thickens too much in the fridge, warm it for just 10 seconds so it flows easily again.
Storage And Serving
This keeps beautifully for up to two weeks in the freezer though it rarely lasts that long in my house. Let it sit on the counter for 5 to 10 minutes before scooping to achieve that perfect creamy texture.
- Use a warm ice cream scoop dipped in hot water between scoops for clean, perfect rounds
- Press a piece of parchment paper directly onto the surface before freezing to prevent ice crystals from forming
- Store your container in the back of the freezer where temperature stays most consistent
 Save to Pinterest
 There is something deeply satisfying about pulling out a container of this on a Tuesday night and remembering that you made it yourself.
Recipe FAQs
- → How long does this need to freeze before serving?
-
Allow the frozen mixture to set for at least 6 hours in the freezer. This ensures proper firmness and makes scooping easier. For best results, overnight freezing yields the ideal texture.
- → Can I make this without an ice cream maker?
-
While an ice cream maker creates the smoothest texture, you can freeze the mixture in a shallow container, whisking every 30 minutes for the first 3 hours to break up ice crystals. The final texture will be slightly denser but still delicious.
- → What's the best way to store leftovers?
-
Keep in an airtight freezer-safe container with parchment paper pressed against the surface to prevent ice crystals. Properly stored, this will maintain quality for 2-3 weeks, though it's best enjoyed within the first week.
- → Can I substitute the peanut butter cups?
-
Absolutely. For nut-free versions, try chopped chocolate caramel candies, crushed Oreos, or broken pretzel pieces for crunch. Dark chocolate chunks or chopped peanut butter cups work equally well as mix-ins.
- → Why does my fudge sauce harden in the ice cream?
-
This is actually desired for moose tracks style. The fudge should create firm ribbons throughout. If it becomes too hard to swirl, let it cool slightly longer at room temperature before layering to achieve that perfect marble effect.
