 Save to Pinterest
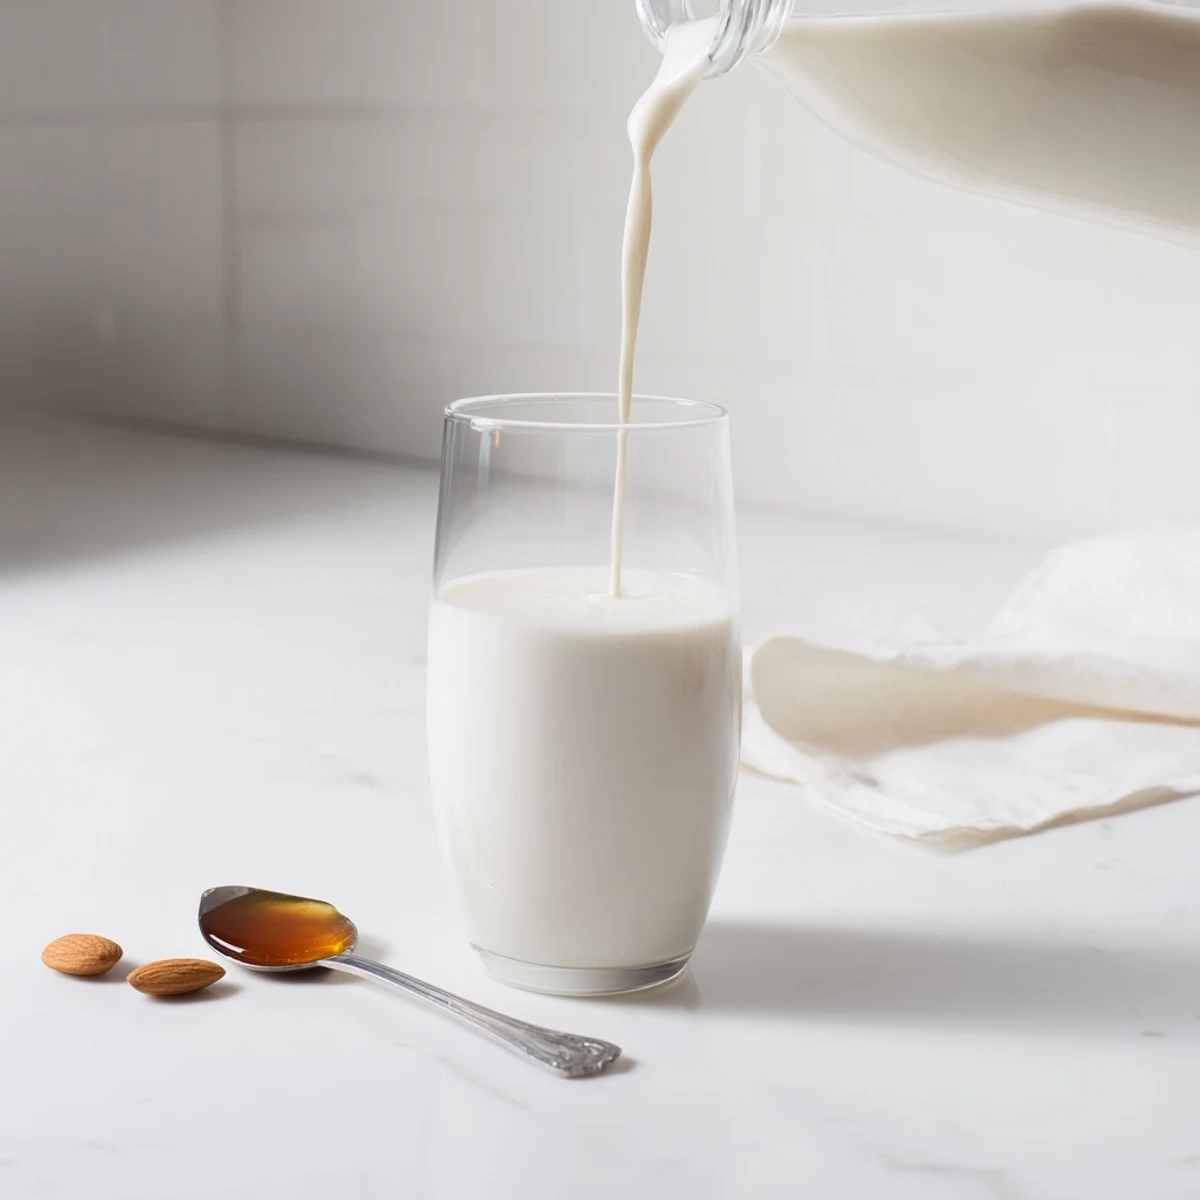
 Transform raw almonds into silky, creamy plant-based milk with this simple technique. Soak nuts overnight, blend with fresh water, and strain through a nut milk bag for perfectly smooth results. Customize with vanilla, maple syrup, or sea salt to taste. Keep in the refrigerator for up to 5 days and shake well before each use.
The whir of the blender at six in the morning used to drive my roommate crazy, but once she tasted what came out of it, she started setting her alarm earlier just to make sure she got a glass. Homemade almond milk is one of those things that sounds fussy until you actually try it and realize it takes barely any effort. The store bought version never quite captured that fresh, subtly sweet nuttiness. Now I keep a jar in the fridge every single week.
One Saturday my nephew walked into the kitchen while I was squeezing the nut milk bag and declared it looked like a science experiment. He watched the whole process with his nose wrinkled, then asked for three refills of the final product.
Ingredients
- 1 cup raw almonds: Use truly raw, unsalted almonds because roasted ones will give you a completely different, heavier flavor.
- 4 cups filtered water: Filtered water makes a noticeable difference since tap water can introduce chlorine flavors that compete with the almonds.
- 1 to 2 tablespoons maple syrup or sweetener of choice (optional): A little sweetness rounds everything out, and maple syrup adds a warm depth that regular sugar lacks.
- 1 teaspoon vanilla extract (optional): This lifts the entire flavor profile and makes the milk feel like a treat rather than just a pantry staple.
- Pinch of sea salt (optional): Salt is the silent hero here, amplifying the natural sweetness without making the milk taste salty.
Instructions
- Soak the almonds:
- Place the almonds in a bowl, cover generously with water, and let them soak at least 8 hours or overnight until they look plump and tender. Drain and rinse them well under cool running water.
- Blend until velvety:
- Add the soaked almonds and 4 cups of fresh filtered water to a high speed blender, then blend on high for 1 to 2 minutes until the mixture looks creamy and no large chunks remain.
- Add flavor if you like:
- Toss in your sweetener, vanilla extract, and a pinch of sea salt, then blend briefly just to combine everything evenly.
- Strain out the pulp:
- Set a nut milk bag or a fine mesh strainer lined with cheesecloth over a large bowl or jug, pour the blended mixture through, and let gravity do the first pass of work.
- Squeeze with conviction:
- Gather the bag or cloth and squeeze firmly to extract every last drop of milk, because the last squeeze often yields the creamiest batch.
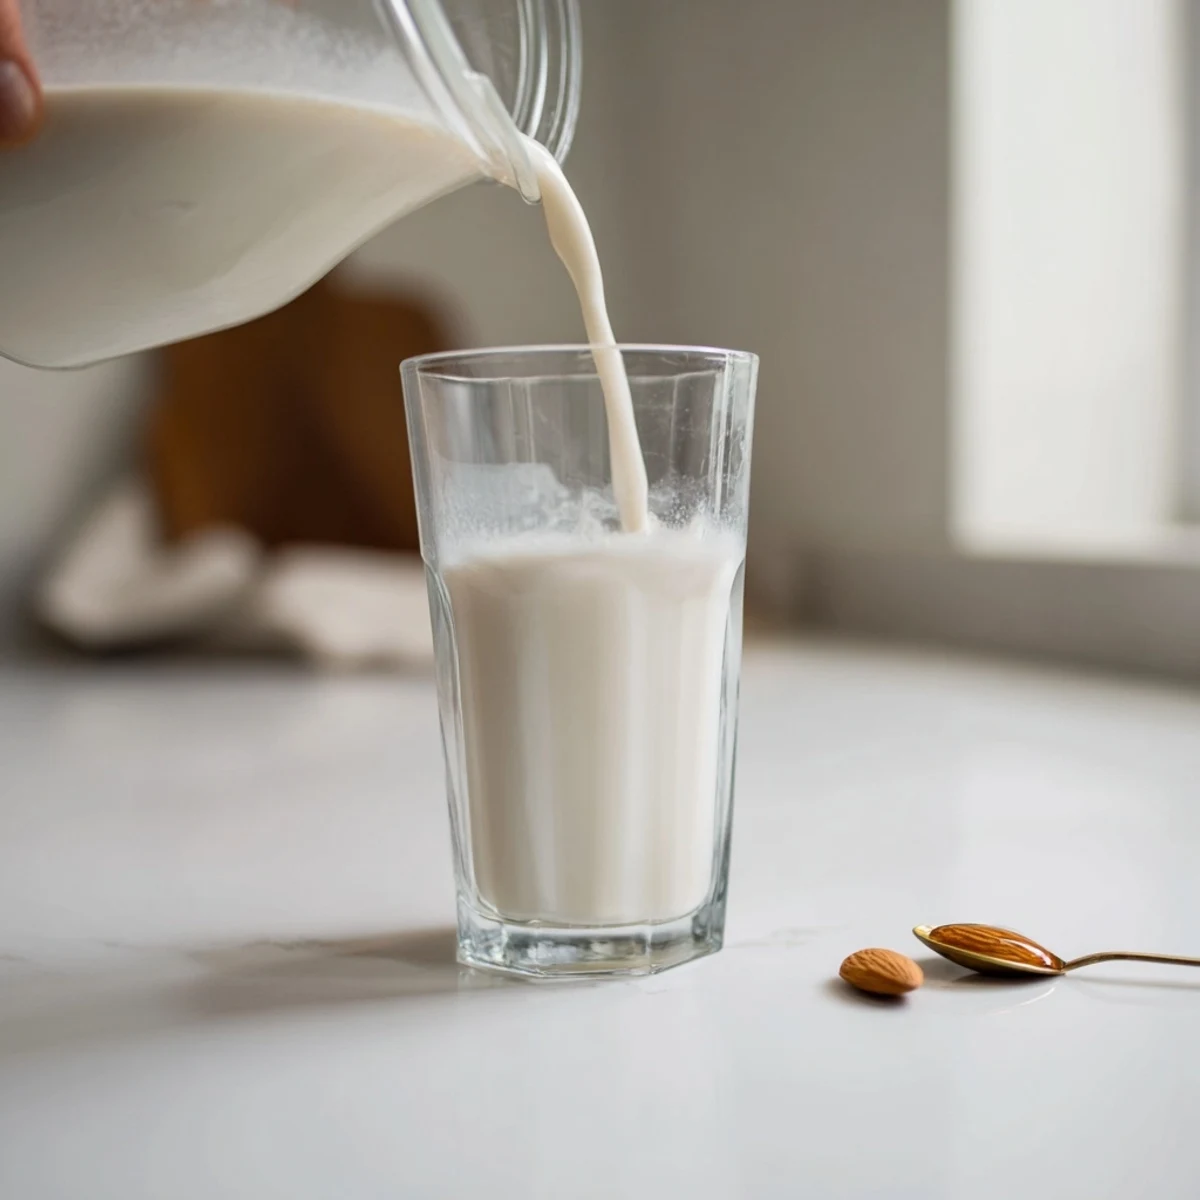
- Bottle and chill:
- Transfer the milk to a clean bottle or jar, seal it, and store it in the refrigerator for up to 5 days, shaking well before each use since separation is natural.
 Save to Pinterest
 There is something grounding about the ritual of soaking, blending, and squeezing that turns a handful of almonds into something nourishing. It makes you appreciate how simple real food can be.
Getting the Texture Just Right
If you prefer a richer, more luxurious milk that coats your coffee like cream, reduce the water to 3 cups instead of 4. For a lighter, more refreshing drink that works beautifully in smoothies, stick with the full 4 cups. The difference is subtle but noticeable once you start paying attention.
Flavor Variations Worth Trying
A tablespoon of cocoa powder blended in at the end transforms this into a chocolate milk that kids and adults will fight over. A cinnamon stick steeped in the finished milk overnight gives it a gentle warmth that feels like a hug in a mug during colder months. You can also blend in a few dates for natural sweetness with a caramel like depth.
Storage and Freshness
Homemade almond milk lacks the preservatives that keep commercial versions stable for weeks, so plan to use it within 4 to 5 days. Give the jar a good shake each time because separation is completely normal and just means nothing artificial is holding it together.
- Always use a very clean bottle because any lingering residue will shorten the shelf life significantly.
- Freeze extra milk in ice cube trays for smoothies if you cannot finish it in time.
- Trust your nose above all else because your senses know when fresh milk has turned.
 Save to Pinterest
 Once you start making almond milk at home, going back to the carton feels like drinking a memory of something better. Your morning coffee deserves the real thing.
Recipe FAQs
- → Do I need to soak the almonds first?
-
Yes, soaking is essential for creamy results. It softens the nuts, making them blend smoothly and helping release their healthy fats. Soak for at least 8 hours or overnight, then drain and rinse thoroughly before blending.
- → How long does homemade almond milk last?
-
Store your almond milk in a sealed bottle or jar in the refrigerator for 4-5 days. Always shake well before pouring, as natural separation occurs. Give it a sniff test before using—if it smells sour or off, it's time to make a fresh batch.
- → What can I do with leftover almond pulp?
-
Don't waste the pulp! Spread it on a baking sheet and dry at low temperature to use in baked goods, energy balls, or smoothies. It adds fiber and protein to cookies, muffins, and crackers. You can also freeze it for later use.
- → Can I make this without a nut milk bag?
-
A nut milk bag works best, but you can use a fine mesh strainer lined with several layers of cheesecloth. Pour slowly and press firmly with a spoon to extract the liquid. The straining process determines your final texture—taking time here means smoother milk.
- → Why did my almond milk separate?
-
Separation is completely natural and happens with all homemade plant milks. Simply shake vigorously before each use to redistribute. If you prefer a more stable emulsion, try adding a tiny pinch of sunflower lecithin during blending.
- → Can I use roasted almonds instead of raw?
-
Raw almonds work best for neutral flavor and creamy texture. Roasted nuts will create darker milk with a stronger, nuttier taste that may not work well in all applications. Stick to raw, unsalted almonds for the most versatile results.
