 Save to Pinterest
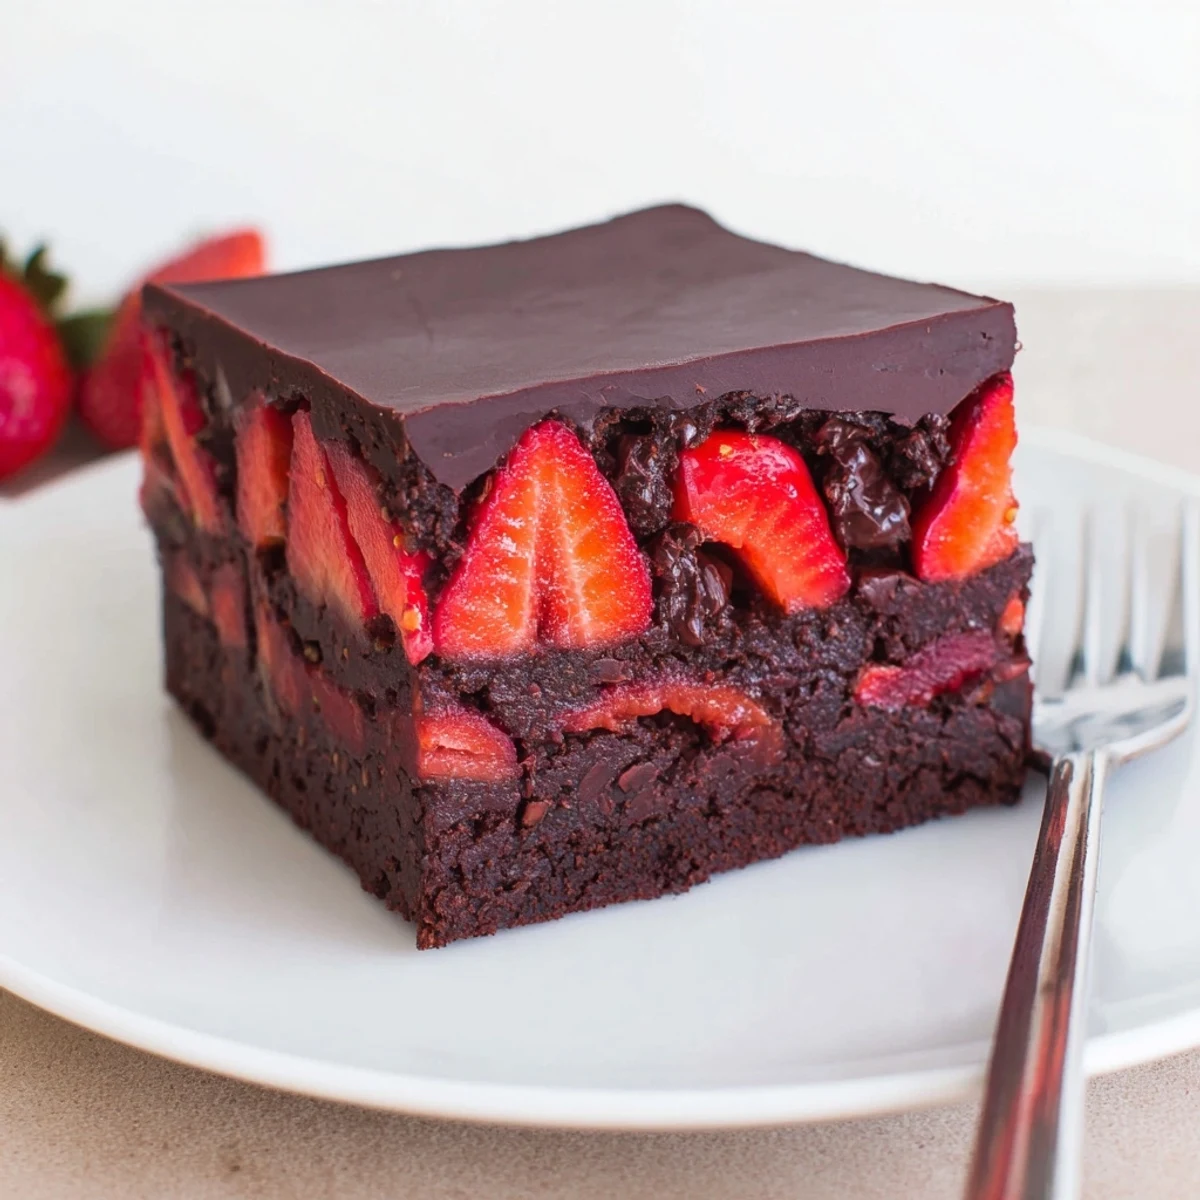
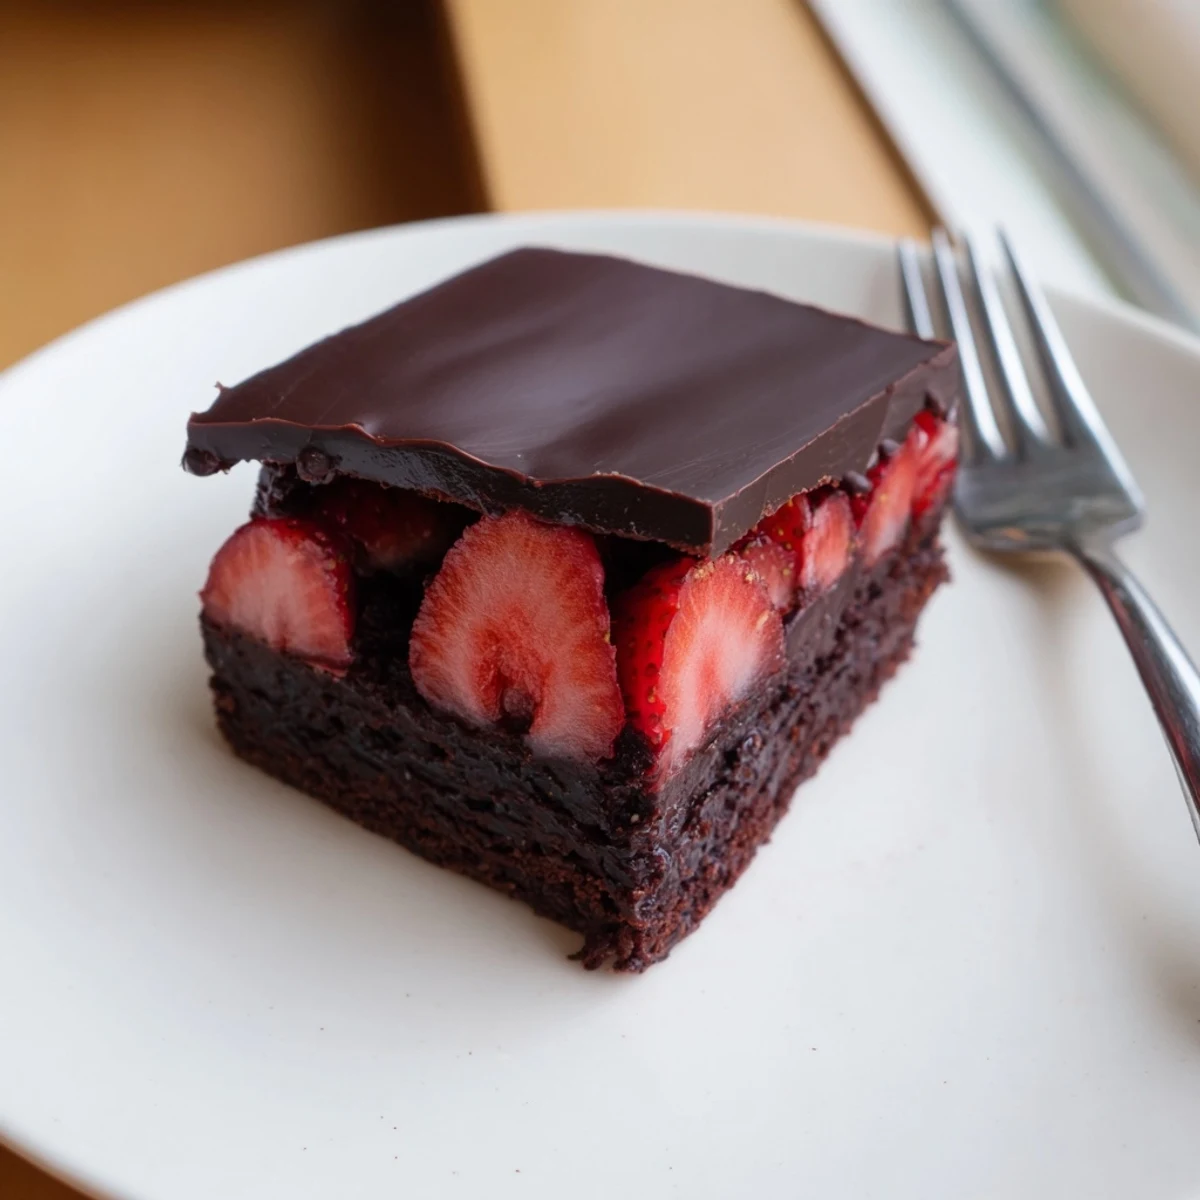
 These chocolate covered strawberry brownies combine three irresistible layers into one stunning dessert. A fudgy, dark chocolate brownie base serves as the foundation, baked until perfectly moist with a tender crumb.
Fresh strawberry halves are arranged across the cooled brownie surface, adding bright, fruity contrast to the rich chocolate beneath. A glossy coating of melted semi-sweet chocolate and coconut oil is poured over the berries, creating a snappy shell when chilled.
The entire pan sets in the refrigerator in under 30 minutes, then slices into elegant squares ideal for gatherings, celebrations, or any occasion that calls for something beautifully homemade.
Valentines Day three years ago, I burned the first batch of brownies because I was too busy arguing with my sister about whether dark or milk chocolate was superior. The second batch never even made it to the oven because I dropped the bowl reaching for my phone. By the third attempt, the kitchen smelled like a chocolate factory had exploded and I had somehow gotten batter in my hair, but those brownies with their strawberry crown became the thing everyone at that dinner party still asks about.
My friend Rafael took one bite, closed his eyes, and said absolutely nothing for about ten seconds, which is the highest compliment that man has ever given anything.
Ingredients
- Unsalted butter (120 g): Use good quality butter here because you will taste it in the crumb of the brownie.
- Dark chocolate at least 60% cacao (150 g), chopped: The higher the cacao percentage, the more depth your brownie base will have.
- Granulated sugar (150 g): This amount balances the bitterness of dark chocolate without making things cloying.
- Large eggs (2): Room temperature eggs blend more smoothly into warm chocolate mixture and prevent streaks.
- Vanilla extract (1 tsp): A small amount but it rounds out every harsh edge in the chocolate.
- All purpose flour (80 g): Measure by weight if you can because even a small overpour makes brownies cakey instead of fudgy.
- Unsweetened cocoa powder (25 g): This boosts the chocolate intensity without adding more fat or sweetness.
- Salt (1/2 tsp): Do not skip this because salt makes chocolate taste more like itself.
- Fresh strawberries (250 g), hulled and halved: Pick berries that smell fragrant at the stem end because that is the real test of ripeness.
- Semi sweet chocolate chips or chopped chocolate (180 g): This is for the coating so choose something you would happily eat by the handful.
- Coconut oil or unsalted butter (1 tbsp): This tiny addition makes the coating glossy and gives it a clean snap when set.
Instructions
- Prep the pan and oven:
- Heat your oven to 175 degrees C (350 degrees F) and line a 20x20 cm square pan with parchment, leaving the paper hanging over the edges like handles so you can lift the whole thing out later.
- Melt chocolate and butter:
- Set a heatproof bowl over simmering water and stir the butter and dark chocolate together until they melt into a glossy pool that smells absolutely incredible, then pull it off the heat to cool for a few minutes.
- Build the batter:
- Pour in the sugar and stir, then add the eggs one at a time, beating well after each so the mixture turns thick and slightly lighter in color before you add the vanilla.
- Fold in the dry ingredients:
- Sift the flour, cocoa powder, and salt straight into the bowl and fold gently with a spatula until you no longer see dry streaks, stopping before you overmix and toughen the crumb.
- Bake until just set:
- Spread the batter into your lined pan, smooth the top, and bake 20 to 25 minutes until a toothpick poked in the center comes out with a few moist crumbs clinging to it.
- Cool completely:
- Leave the brownies in the pan until they reach room temperature because warm brownies will melt the strawberry layer into a soggy mess.
- Arrange the strawberries:
- Place the halved strawberries cut side down in a snug single layer across the entire surface, pressing them gently so they nestle into the brownie.
- Make the chocolate coating:
- Melt the chocolate chips with the coconut oil in 30 second microwave bursts, stirring between each, until the mixture is smooth, shiny, and pourable.
- Enrobe everything in chocolate:
- Pour the melted chocolate over the strawberries and spread it with an offset spatula to seal every exposed bit of fruit under a glossy blanket.
- Chill until set:
- Slide the pan into the fridge for 20 to 30 minutes until the coating firms up and gives a satisfying snap when you tap it with your fingernail.
- Slice and serve:
- Grab the parchment handles, lift the whole slab out, and cut into 12 squares with a sharp knife, wiping the blade clean between each cut for neat edges.
 Save to Pinterest
 The moment you lift that parchment and see the cross section with its dark base, red fruit, and glossy cap is when you realize this recipe is really a small edible work of art.
A Few Words on Timing
These brownies need about an hour total from start to finished and chilled, but most of that is hands off waiting while things cool and set. I usually make them the morning of whatever event I am bringing them to, which gives the coating time to firm up without the strawberries weeping. If you refrigerate them longer than a few hours, let them sit at room temperature for ten minutes before slicing so the chocolate does not crack unpredictably.
What to Pair With These
A glass of chilled prosecco or sparkling rosé turns these into a proper celebration, though honestly a strong cup of coffee works just as well on a random Tuesday afternoon. The berries bring a bright acidity that cuts through the richness, so you do not need anything else fruity on the side.
Keeping and Storing
These are at their absolute best within two days because the strawberries are still plump and juicy beneath their chocolate seal. Store them in the fridge in a single layer or separated by parchment so the coating does not smudge.
- Avoid stacking them without parchment between layers or the tops will mark each other.
- For a nutty twist, fold 50 g of toasted pecans or walnuts into the brownie batter before baking.
- Always check your chocolate labels for nut or soy processing if you are serving anyone with allergies.
 Save to Pinterest
 Every time I make these, someone asks for the recipe, and I always say the same thing: just trust the cooling times and do not rush the chocolate. They are a little bit of effort and a whole lot of reward.
Recipe FAQs
- → Can I use frozen strawberries instead of fresh?
-
Fresh strawberries are strongly recommended for this dessert. Frozen berries release excess moisture as they thaw, which can seep into the brownie layer and prevent the chocolate coating from adhering properly. If you must use frozen, thaw and pat them completely dry with paper towels before arranging on the brownies.
- → How do I get clean slices when cutting the brownies?
-
Use a sharp knife and wipe the blade clean with a damp cloth between each cut. Chilling the brownies for the full 30 minutes helps the chocolate coating firm up, making cleaner cuts easier. You can also run the knife under hot water, dry it quickly, then slice for particularly neat edges.
- → What type of chocolate works best for the coating?
-
Semi-sweet chocolate chips or a good quality chopped semi-sweet baking bar both work well. The addition of coconut oil or butter helps the coating set with a smooth, glossy finish and a satisfying snap. Avoid using chocolate chips labeled as "baking resistant" as they contain stabilizers that prevent smooth melting.
- → How should these be stored?
-
Store the brownies in an airtight container in the refrigerator for up to two days. The fresh strawberries are best enjoyed within this window. Bring them to room temperature for about 15 minutes before serving, or enjoy them slightly chilled for a firmer chocolate coating.
- → Can I make the brownie base ahead of time?
-
Yes, the brownie base can be baked a day in advance. Let it cool completely, then wrap the pan tightly with plastic wrap and keep at room temperature. Add the strawberry layer and chocolate coating the next day when you are ready to serve. This also makes the dessert easier to assemble for events.
- → Why did my brownies turn out cakey instead of fudgy?
-
Overmixing the batter after adding the flour incorporates too much air, leading to a cakier texture. Fold the dry ingredients gently and stop as soon as no streaks of flour remain. Also ensure you are not overbaking — the toothpick should come out with a few moist crumbs, not completely clean.
